
Sarson Ka Saag

Yasmin
Chef
“Yasmin Khan is a passionate home cook and vlogger behind Yasmin's Cooking & Vlogging. She shares diverse recipes from Pakistan, India, Spain, Turkey, and beyond, helping home cooks worldwide explore authentic flavors and traditional techniques from multiple cuisines through her engaging cooking channel.”

Aarif
Food Journalist
Aarif is a devoted content writer at Regional Heritage Food (RHF), passionate about cooking and travel. He shares his culinary experiences and discoveries, inspiring others to explore new recipes and flavours.
Slow-Cooked Mustard Greens from Punjab: The Low-Flame Method, the Makki Atta Thickener, and the Ghee Tarka That Makes Everything Complete.
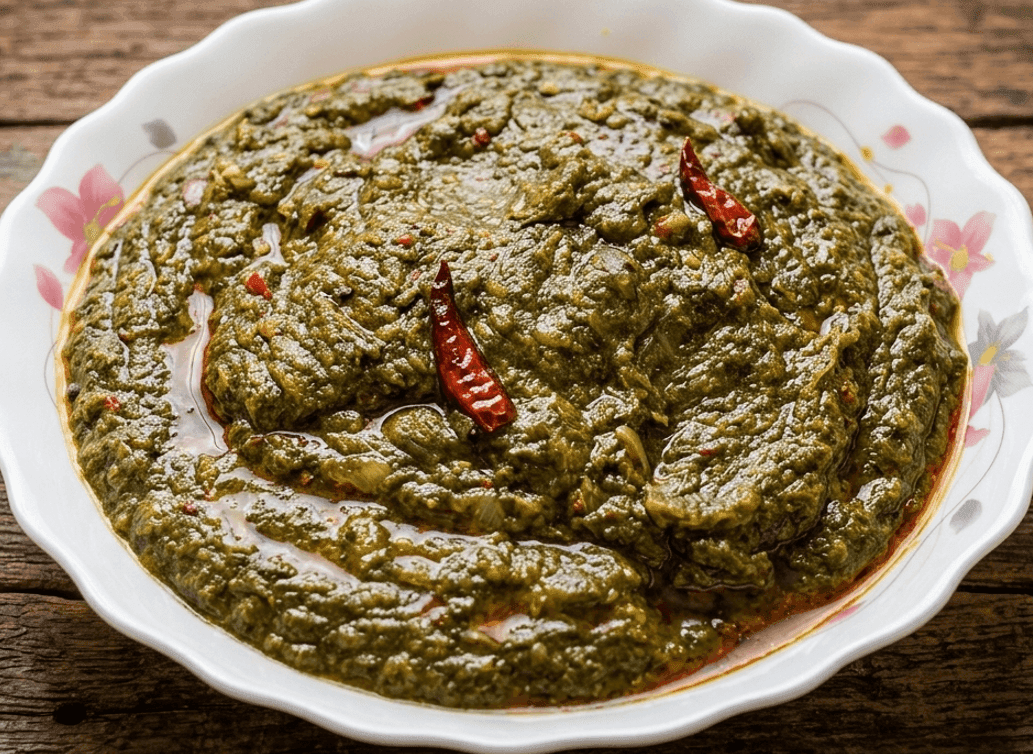
Saag is not a recipe that rewards impatience. Ask anyone who grew up eating it in Punjab in the winter months and they will tell you the same thing: their mother or grandmother would begin cooking it in the late morning and it would not be ready until the afternoon. The hours were not wasted. They were the point. Something happens to mustard greens over a long, uncovered, low-flame cook that nothing else can replicate, the bitterness mellows, the fibrous texture softens completely, the leaves collapse into a thick, fragrant mass that smells of winter and wood smoke and garlic and something harder to name.
What most people call saag is actually a blend. Sarson, the mustard green, provides the character, its sharpness, its deep green colour, its iron-heavy body. Palak, spinach, lightens that character and smooths the texture. Bathua, the wild chenopodium or lamb’s quarters, adds a slightly mineral quality that distinguishes a three-green saag from one made with two. Each green has a different cooking time and a different contribution to the finished dish. Cooked together from the start and at the same pace, the result is better than any of them alone.
Why This Recipe Works Better Than Others
Uncovered Low-Flame Cooking Concentrates Flavour:
Most saag recipes are finished too quickly or with the lid on, which traps steam, dilutes the flavour, and produces a watery, grey-green result. Chef Yasmin keeps the pot uncovered and the flame very low for the entire primary cook. Liquid evaporates slowly, the greens reduce dramatically in volume, and the flavour intensifies into something thick and deeply savoury. This takes time but no effort. The pot can be left almost unattended for long stretches.
Makki Ka Atta Thickens Without Pureeing:
A hand blender or churning the greens with a wooden mathni is how commercial saag is thickened. The problem is that blending destroys the textural variation that makes good saag interesting. Makki ka atta, coarse cornmeal, stirred in during the last 20 minutes of cooking, absorbs residual liquid and swells into the mass of greens without destroying their texture. The result is a saag that holds its shape on a roti without being pasty or gluey.
Three Greens, Not One, Build Complexity:
Sarson alone is too sharp and bitter without a very long cook. Palak alone is too mild and texturally soft. Bathua adds a quality that neither has a slight earthiness, a mineral freshness that makes the finished saag taste like something foraged rather than cultivated. The three together, in the proportions given here, produce a balance that neither two-green nor single-green saag can replicate.
Ghee Tarka Poured Hot Is Not Optional:
The tarka is not a garnish. It is the final seasoning layer that the dish cannot exist without. Onions fried in desi ghee until deep brown and caramelised, fragrant with dried red chilies bloomed in hot fat, pour residual heat and a second round of aromatic richness over the cooked saag. Restaurants often skip or reduce the tarka to save cost. Chef Yasmin does not reduce it. She increases it.
Ginger and Green Chili Added Twice, Not Once:
Fresh ginger and green chili are added once at the start of cooking where they soften and integrate into the base flavour of the saag. A second addition of fresh julienned ginger comes just before serving, where it retains its sharp bite and bright heat.
prep time
20 min
BLANCHING
10 min
cook time
1h 30m
servings
4
Ingredients
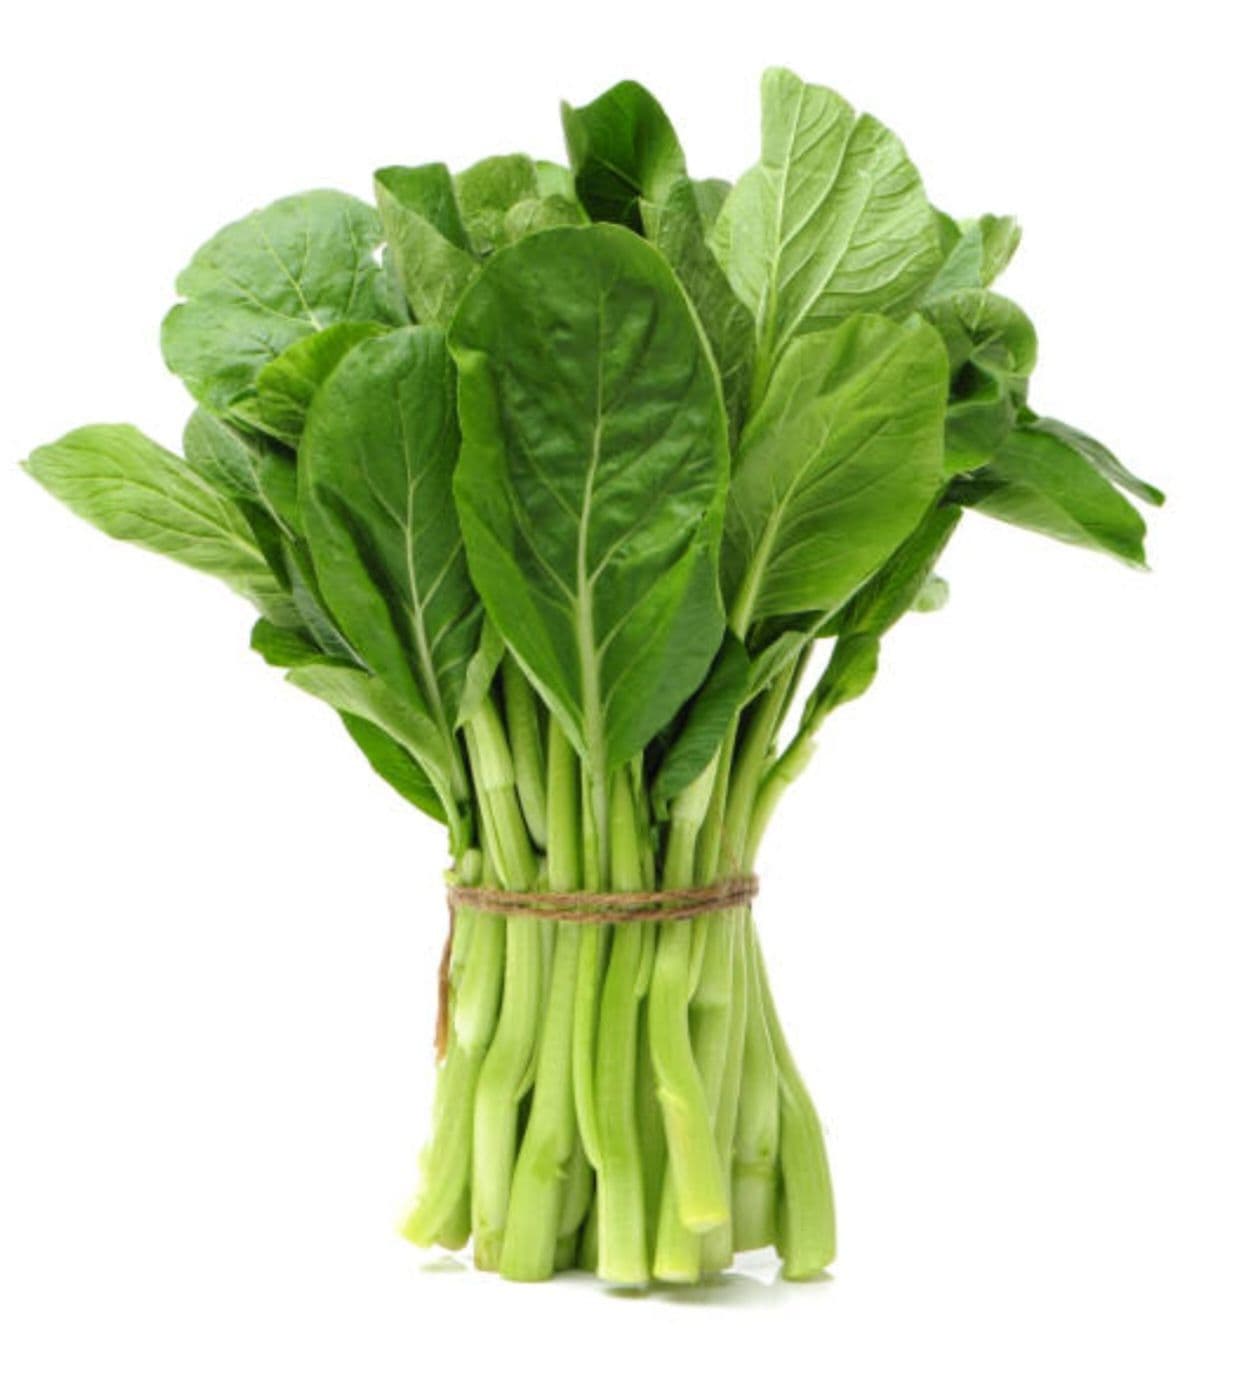 Sarson (mustard greens)500 g
Dark green leaves. Avoid yellowing or wilted bunches
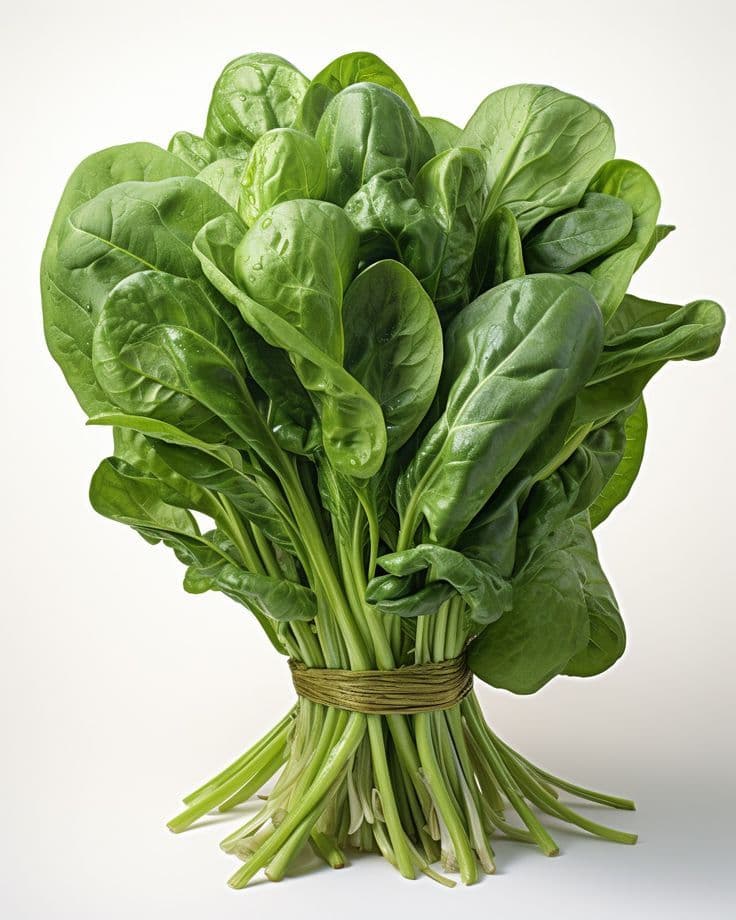 Palak (spinach)250 g
Fresh flat-leaf spinach
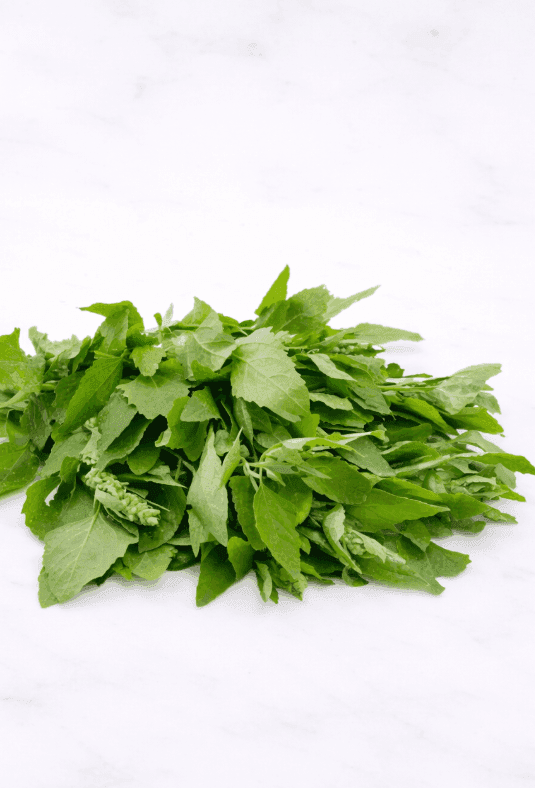 Bathua (lamb’s quarters / chenopodium)100 g
Use the tender leaves and fine stems; discard the coarse lower stalks
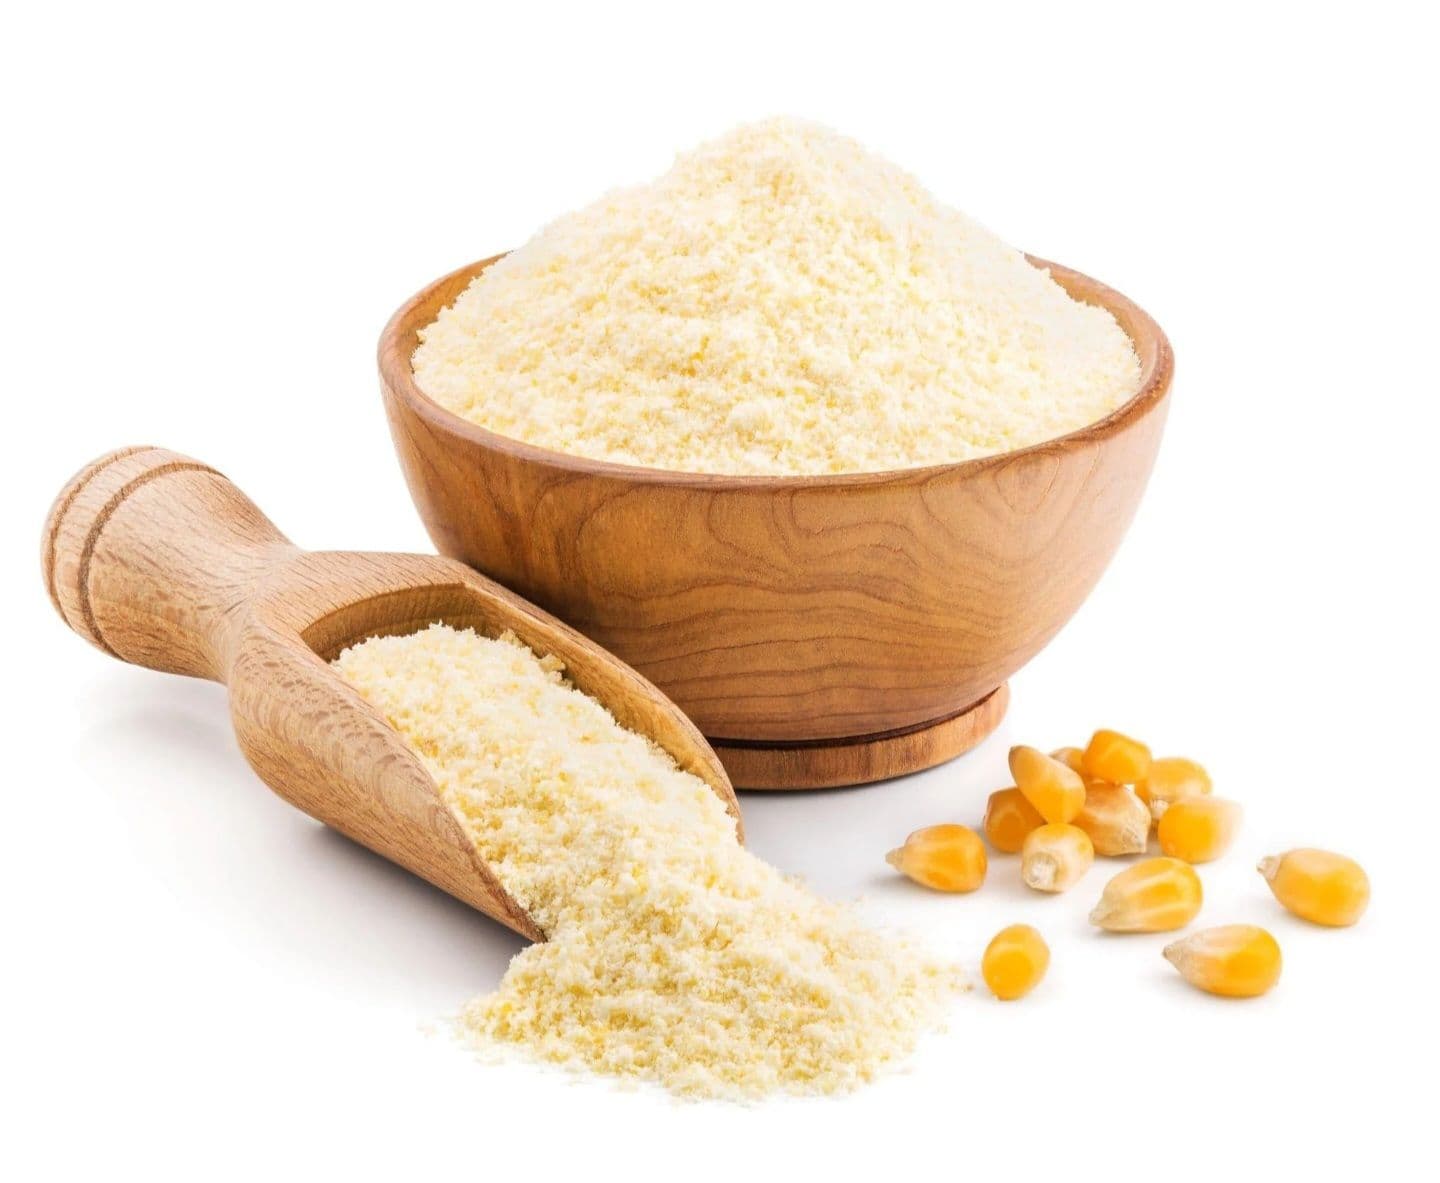 Makki ka atta (coarse cornmeal)3 tbsp
Use coarse-ground cornmeal, not fine cornflour
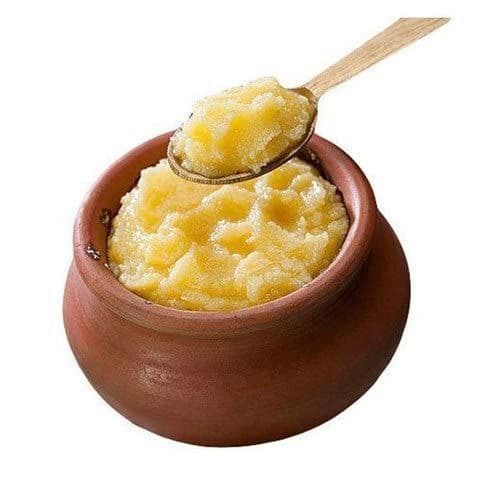 Desi ghee (clarified butter)4 tbsp
Method
Wash, Sort, And Chop The Greens
Separate the leaves and tender stems of all three greens, sarson, palak, and bathua.
Discard any yellowed leaves, thick fibrous stalks, and wilted outer layers.
Wash all the greens in three changes of cold water, agitating thoroughly each time.
Sarson grown in Punjab carries significant field soil that does not wash out in a single rinse.
Shake off excess water but do not dry the greens completely, the clinging water is sufficient for the initial steam.
Roughly chop into large pieces, approximately 5 to 7 cm.
Chef’s Tip
Do not be alarmed by the volume of raw greens. 850 g of raw mixed greens will reduce to approximately 350 to 400 g of cooked saag after the long uncovered simmer. A wet, high-volume pot of saag that has not reduced is undercooked.
First Boil: Soften The Greens
Place all the washed and chopped greens into a large, heavy-bottomed pot. Add the roughly sliced ginger (half the total quantity), the crushed garlic cloves, the chopped green chilies, and the salt.
Pour in approximately 2 cups of water — enough to come about a third of the way up the greens. Bring to a rolling boil over medium-high heat.
Once boiling, reduce the flame to medium-low and leave the pot uncovered. Cook for 25 to 30 minutes, stirring every 8 to 10 minutes, until the greens have wilted completely and are tender when pressed between two fingers.
Chef’s Tip
Sarson takes slightly longer to soften than palak or bathua. Press a piece of sarson stem between your fingers to test doneness, it should offer no resistance and feel completely soft. If any toughness remains after 30 minutes, continue cooking for 5 to 10 more minutes before moving to the next stage.
Rough-Mash Or Hand-Churn - No Blender
Use a wooden hand churner (mathni) or a potato masher to break down the greens inside the pot directly over very low heat.
Work the masher through the greens for 3 to 4 minutes until the texture is coarsely broken down not smooth, not pureed, but with visible fibrous texture remaining alongside the crushed portions.
If using a blender for convenience, pulse briefly in 2 to 3 one-second bursts only do not blend to a smooth consistency.
Chef’s Tip
This is the step most people get wrong. A fully blended, smooth saag looks like baby food and tastes like it. The fibrous texture is not a flaw to be corrected it is what makes properly made saag identifiably different from spinach soup. The hand churner is the traditional tool and produces the correct texture in 3 to 4 minutes.
Long Uncovered Simmer To Concentrate
Continue cooking the mashed saag over the lowest flame available, uncovered, for a further 40 to 50 minutes. Stir every 10 to 12 minutes, scraping from the bottom of the pot.
During this stage the remaining liquid evaporates, the greens darken slightly from a bright to a deeper olive green, and the mass thickens considerably. This slow evaporation is where the flavour concentrates.
If the saag sticks slightly at the bottom between stirs, this is acceptable and desirable, scrape it up and stir it back in. If it burns, the flame is too high and reduce further.
Chef’s Tip
This is the patience stage. A 40-minute uncovered simmer on the lowest flame can be left largely unattended with only periodic stirring. Do not be tempted to increase the flame to speed the process, higher heat causes the saag to spit, stick aggressively, and lose the gentle reduction that builds flavour.
Add Makki Ka Atta To Thicken
Once the saag has reduced and thickened from the long simmer, sprinkle 3 tablespoons of makki ka atta over the surface of the saag directly in the pot.
Stir thoroughly and immediately to incorporate the cornmeal before it can clump. Continue stirring for 2 to 3 minutes as the cornmeal absorbs liquid and swells into the saag.
Cook for a further 15 to 20 minutes on low flame, stirring frequently, until the makki atta is fully cooked through and no raw cornmeal taste remains. The saag should now hold its shape when scooped.
Chef’s Tip
Sprinkle the makki atta gradually rather than dumping all 3 tablespoons at once, and stir continuously as you add it. Cornmeal poured into a wet mixture without continuous stirring clumps into small balls that are difficult to break up later.
Prepare The Ghee Tarka
In a separate small karahi or heavy pan, heat 4 tablespoons of desi ghee over medium heat until shimmering but not smoking.
Add the whole dried red chilies first. Let them bloom for 20 to 30 seconds until they darken slightly and the ghee takes on their colour and aroma. Do not let them blacken.
Add the thinly sliced onion to the ghee and fry over medium heat, stirring regularly, for 12 to 15 minutes until deeply golden-brown and caramelised dark amber, not pale or lightly golden.
Pour the entire contents of the tarka pan ghee, onions, and chilies directly over the plated saag just before serving.
Chef’s Tip
The tarka pan is brought to the table and poured over the saag while still sizzling if possible. The hiss of hot ghee hitting the saag at the table is not drama, it is the last step of cooking. Never mix the tarka into the pot during cooking. Always pour it at the point of serving
Finish With Fresh Ginger And Serve
Transfer the cooked saag to a serving karahi or wide bowl. Pour the hot tarka over the top.
Scatter the remaining ginger cut into fine julienne strips over the surface of the saag immediately before bringing to the table. The raw ginger adds a sharp brightness that the cooked ginger inside the saag cannot provide.
Serve immediately with freshly made makki ki roti and a generous amount of white butter (makhan) on the side. Traditionally accompanied by raw sliced onion, a wedge of lemon, and green chili.
Chef’s Tip
Saag reheats beautifully and is arguably better on the second day once the flavours have had time to settle overnight. Reheat in a pot over low flame with a splash of water if needed. Do not reheat in a microwave. The tarka should always be made fresh at serving time.
The Secret Is Time: Why Slow Is the Only Way
Saag cannot be hurried. Every shortcut you take like increasing the flame, covering the pot to speed the cook, blending it smooth to save time, takes something away that you cannot put back. The bitterness of the sarson only mellows after a long, patient cook. The flavour only concentrates after the liquid has had time to evaporate slowly. The texture only becomes correct after the makki atta has had time to cook fully into the greens. This is a recipe where your patience is the most important ingredient. Give it the time it needs and it will give you something that no shortcut version ever can.
Nutritions
Per Serving (approx. 200g cooked saag with tarka)
People Also Ask
Yes. Replace the 100 g of bathua with an additional 100 g of sarson for a stronger mustard flavour, or with an additional 100 g of palak for a milder, smoother result. The three-green version is the ideal but not a requirement.
Bitterness in saag has three causes: the sarson was not cooked for long enough; the greens were not rinsed thoroughly enough; or the proportion of sarson was too high relative to palak. For the next cook, add slightly more palak and cook for the full time before adjusting.
Frozen spinach works well as a replacement for fresh palak, thaw completely and press out as much liquid as possible before adding. Frozen mustard greens are less satisfactory. If fresh sarson is unavailable, it is better to increase the palak rather than use poor-quality frozen sarson.
Yes. Replace the desi ghee in the tarka with a high-quality cold-pressed mustard oil or neutral coconut oil. The flavour of the tarka will be different but the technique is identical. The saag itself contains no animal products.
Three cues indicate readiness: the colour has shifted from bright to a deeper olive-green; the mass holds its shape when scooped; and the taste has no residual sharpness or bitterness. If any sharpness remains, continue cooking for another 10 to 15 minutes before testing again.