
Royal Beef Haleem

Zubda Tariq (Late)
Chef
“Zubaida Tariq (1945–2018), known as Zubaida Apa, was a legendary Pakistani chef and etiquette expert. Famous for her traditional recipes and home remedies (totkas), she became a beloved cultural icon.”

Aarif
Food Journalist
Aarif is a devoted content writer at Regional Heritage Food (RHF), passionate about cooking and travel. He shares his culinary experiences and discoveries, inspiring others to explore new recipes and flavors.
Seven-Grain, Slow-Cooked & Steeped in Generations of Tradition | A Haleem Worthy of Every Festive Table
Every year, a few weeks before Muharram, Pakistani households begin a particular kind of preparation. Grains are soaked. Meat is ordered in bulk. Pots are pulled out that only come down from the shelf a few times a year. Neighbours begin planning together because haleem on this scale is not a solo effort. It is a community undertaking, a collective act of remembrance, and by the morning of Ashura the smell of slow-cooked beef, wheat, and warming spice has settled into entire streets and neighbourhoods across Lahore, Karachi, and every city in between.
Haleem (Daleem) is one of the oldest dishes in South Asian Islamic cooking. It came with the Mughal court from Central Asia and Persia, spread through the kitchens of mosques and imambargahs, and became woven into the fabric of Muharram observance across the subcontinent. It is served in masjids, distributed freely on the street, and cooked at home by families who have made the same recipe for three or four generations.
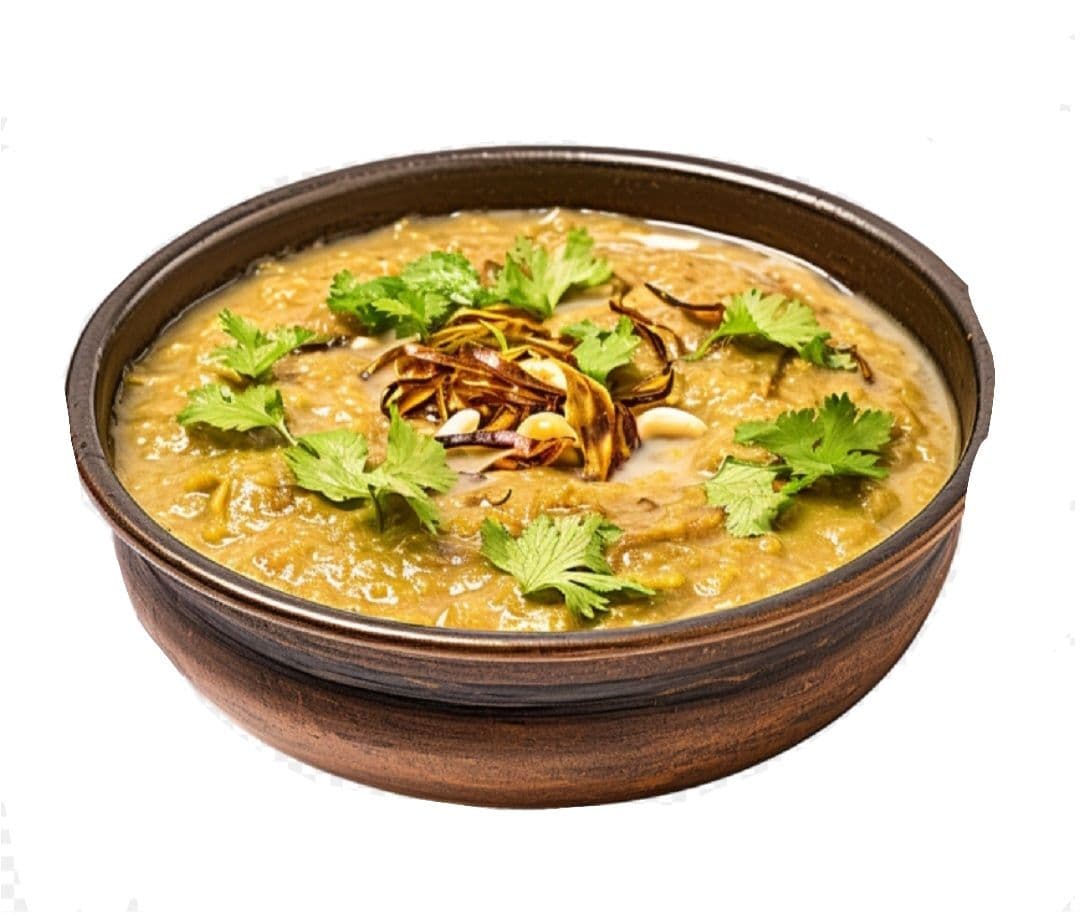
It is a bowl of something hot and deeply filling when the fog is thick over Lahore and nothing else will do. It is what you serve at a dawaat when you want the kind of dish people talk about on the drive home. Kitchen Diaries by Zubda's recipe covers all of it. Seven grains and dals soaked overnight, boneless beef cooked in a richly spiced broth until it falls apart completely, grains slow-cooked in the same broth until they dissolve into a thick, unified base, and then everything combined and cooked together until the haleem finds its texture. Finished with crispy birista, fresh ginger julienne, green chilli, coriander, lemon, and a dusting of chaat masala.
Why This Recipe Works Better Than Others
Seven Grains Build Real Depth:
Most home haleem uses two or three grains. This recipe uses seven: cracked wheat, barley, rice, chana dal, urad dal, masoor, and moong. Each one contributes something different creaminess, thickness, or texture. When all seven cook together in the same spiced broth as the meat, the result has a depth that a two-grain haleem simply cannot produce.
The Grains Cook in Meat Broth, Not Water:
After the meat is done, the broth is carrying all the flavour of the fat, whole spices, ginger garlic paste, and ground masala. Cooking the grains in this broth means every grain absorbs that flavour from the inside out. This is why a properly made haleem tastes like one unified dish rather than meat sitting on top of grain.
Overnight Soaking Is Not Optional:
Unsoaked grains cook unevenly, leaving hard fragments in the finished haleem that no amount of blending can fix. Eight hours of soaking fully hydrates every grain and lentil so they soften evenly, break down at the same rate, and blend smoothly into the broth.
Coarse Blending Gives the Right Texture:
Authentic haleem is neither a smooth puree nor a chunky stew. The grains are blended coarsely and the meat is shredded by hand into fibers. Over-blending produces a paste and under-blending produces a grainy stew. The right consistency sits between the two.
prep time
10 min
SOAKING
8h
cook time
3h
SERVINGS
12
Ingredients
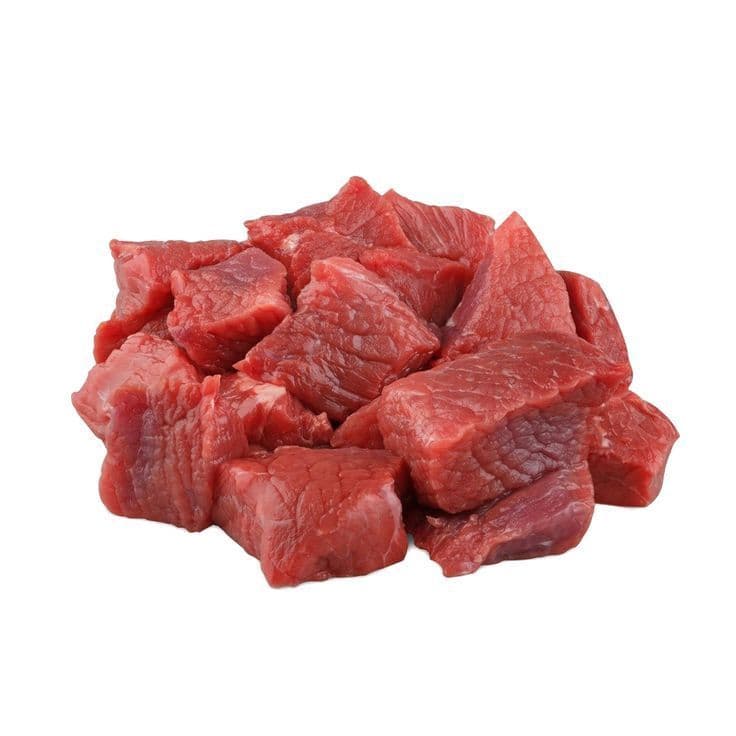 Beef2 Kg
Boneless cut into medium pieces
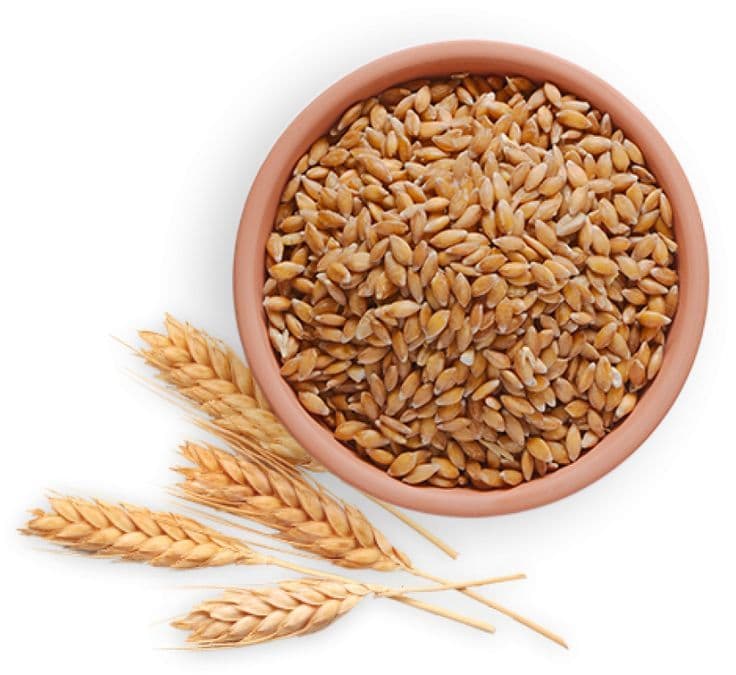 Wheat1 cup
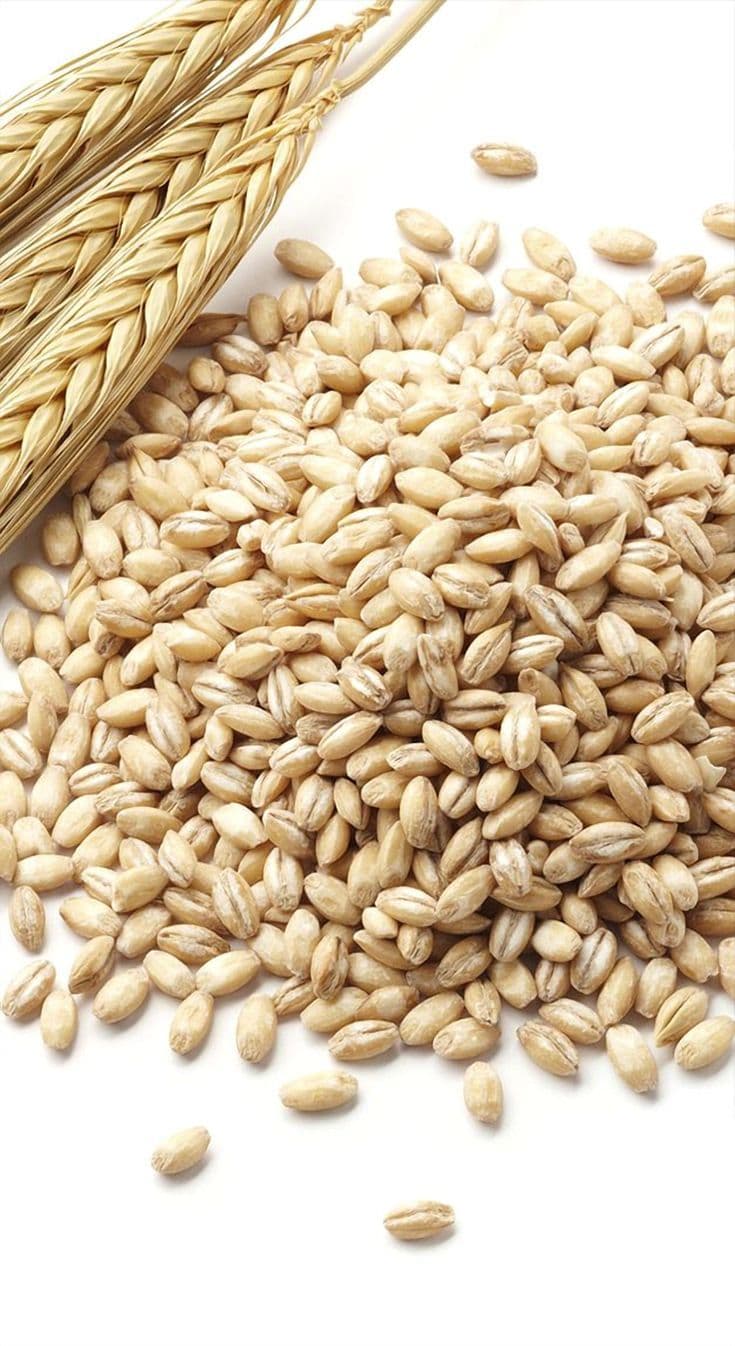 Barley0.5 cup
half cup
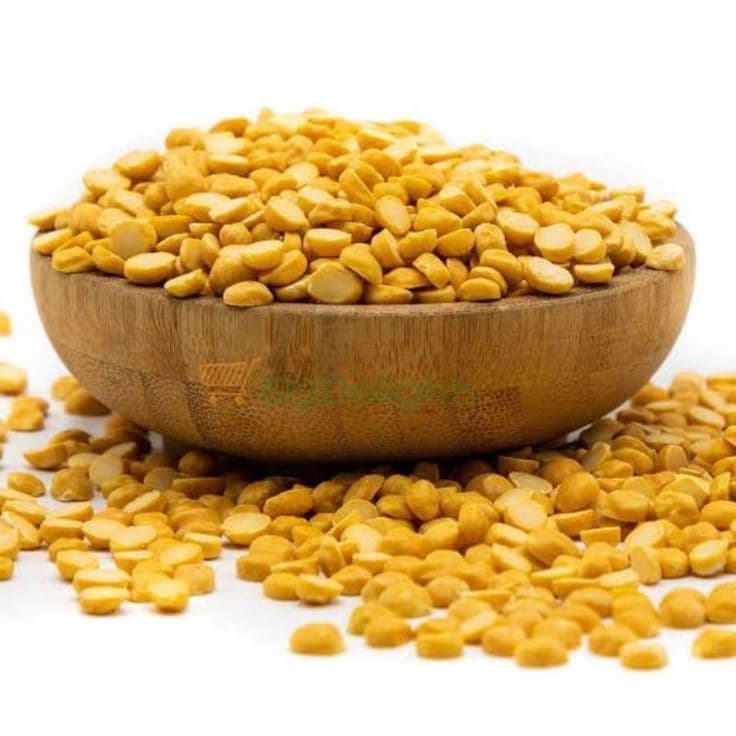 Chana dall0.5 cup
half cup
- Urad dal0.3 cup
Black masoor, one third cup
Method
SOAK THE GRAINS AND DALS OVERNIGHT
The evening before you plan to cook, combine cracked wheat, barley, rice, chana dal, urad dal, masoor dal, and moong dal together in a large bowl.
Rinse under cold water several times, swirling and draining, until the water runs completely clear. Cover generously with fresh cold water, making sure the water level is at least 3 to 4 inches above the grains as they will expand significantly.
Leave to soak for a minimum of 8 hours. By morning, the grains will have absorbed water, softened, and roughly doubled in volume. Drain before using.
Chef's Tip:
Use the largest bowl you have for soaking. It is easy to underestimate how much the grains expand overnight, especially the wheat and chana dal. Fill with extra water before going to sleep to be safe. Any grain left above the waterline does not soak properly and will take noticeably longer to cook than the rest
COOK THE MEAT IN SPICED BROTH
Heat 1 cup of oil in a large heavy-bottomed pot on medium-high flame. Add the sliced onions and fry, stirring regularly, until lightly golden and softened, about 8 to 10 minutes.
Add 4 tbsp ginger garlic paste and stir for 1 to 2 minutes until the raw smell disappears completely. Add the boneless meat pieces and stir on high heat until every surface has changed colour and no pink is visible.
Add all the ground spices: 1.5 tbsp salt, 1.5 tbsp red chilli powder, 1 tsp turmeric, 2 tbsp coriander powder, 1 tbsp cumin powder, and 1 tbsp garam masala. Mix thoroughly until every piece of meat is coated.
Pour in 2 litres of water, cover the pot tightly, and cook on low to medium heat. Beef on open flame takes 2.5 to 3 hours. In a pressure cooker, beef takes 45 to 50 minutes after steam begins. The meat is ready when it falls apart completely when pressed between two fingers.
Chef's Tip:
Do not rush the colour change on the meat before adding the spices. When raw meat pieces go into hot oil and are stirred on high heat, each surface seals and browns slightly before the next is exposed. This roasting of the meat surface before any liquid is added develops a depth in the broth that boiling raw meat in water directly cannot produce. Two minutes of stirring on high heat at this stage pays back in flavour throughout the entire long cook
SHRED THE MEAT COMPLETELY
When the meat is fully tender, remove each piece from the pot using a slotted spoon and place in a separate bowl.
Reserve all of the spiced broth in the pot. Do not discard a single drop of it.
Allow the meat to cool for 10 minutes until you can handle it comfortably.
Using two forks or your hands, shred every piece of meat into fibers by pulling it apart along the natural grain of the muscle.
The goal is long thin fibers, not chunks. Every piece should be completely shredded with no large portions remaining. Set the shredded meat aside.
Chef's Tip:
Hand shredding produces long, natural fibers that give haleem its characteristic texture when combined with the grain base. Chopping the cooked meat or blending it produces small uniform pieces that disappear into the haleem rather than giving it that slight resistance in every bite.
COOK THE GRAINS IN THE SPICED BROTH
Drain the soaked grains and dals and add them directly into the same pot that still holds the spiced meat broth.
Do not rinse the pot or replace the broth with water. Add additional water if needed to keep the grains fully covered by at least 2 inches.
Bring to a boil on medium heat, then reduce to low, cover, and cook for 45 to 60 minutes, stirring every 10 to 15 minutes to prevent the grains from sticking at the bottom.
The grains are ready when every single one is completely soft and dissolving. Press a piece of wheat between your fingers. It should mash with almost no pressure at all.
When fully cooked, use a hand blender to blend the grains coarsely in short pulses, or mash with a heavy wooden spoon, until the mixture is thick and unified but still has some texture.
Chef's Tip:
Resist the urge to add too much water at this stage. The grain mixture will look very thick and almost porridge-like at first, but it loosens considerably as the grains fully break down over the 45 to 60 minute cook. Adding extra water early to thin it out results in a haleem that is watery and thin by the end. Add water only in small amounts and only if the grains are catching at the bottom despite stirring. The broth from the meat contains enough liquid for the grains to cook properly in most cases.
COMBINE MEAT AND GRAINS
Add all the shredded meat back into the pot with the cooked grain mixture. Stir well to distribute the meat evenly throughout.
Place the pot back on low heat and cook together for 15 to 20 minutes, stirring every 3 to 5 minutes. The haleem will continue to thicken as the meat fibers absorb the surrounding broth and the mixture becomes fully unified.
Use the hand blender one more time if you prefer a slightly smoother texture, but do not over-blend.
The finished haleem should fall off a spoon slowly and heavily. It should hold a slight mound shape when served in a bowl and the surface should look slightly glossy from the oil rising to the top.
Chef's Tip:
This is the stage where the haleem is most likely to stick and catch at the bottom of the pot. Low heat and constant stirring every few minutes is the only way to prevent it. A thick-bottomed pot distributes the heat more evenly than a thin one and significantly reduces the risk of burning. If you hear any crackling or see any darkening at the edges, immediately reduce the heat further and add 2 to 3 tablespoons of hot water while stirring vigorously
FINAL SEASONING CHECK
Before turning off the heat, take a spoonful of haleem and taste it carefully.
Haleem concentrates significantly as it cooks and the seasoning you added at the beginning of the cook may need adjusting now that the dish has reduced to its final consistency.
Check for salt first, then for chilli heat. Add a squeeze of lemon directly into the pot and stir in. Adjust any element that feels off balance.
The haleem should taste rich, warming, slightly spiced, and have a brightness from the lemon underneath the richness of the meat. Once the seasoning is right, turn off the heat.
Chef's Tip:
Always taste the haleem at this stage with a piece of naan or a neutral biscuit if possible, not just on its own. Haleem eaten alone can taste saltier than it does when eaten with bread because the bread absorbs and distributes the salt across more surface area. Tasting with bread gives you a more accurate sense of how it will eat at the table
Haleem Always Tastes Better the Next Day
Haleem is one of the rare dishes where making it a day ahead is not a compromise. It is actually the preferred approach among experienced Pakistani home cooks. The reason is straightforward. When haleem cools overnight, the fat distributes evenly through the grain and meat mixture rather than sitting on top. The spices continue developing and the distinct edges between the grain flavour, the meat flavour, and the masala flavour begin to dissolve into each other. By the following morning, the haleem has a unified, deep, settled flavour that freshly cooked haleem does not have. Reheat slowly on low flame with a splash of water, stirring constantly. Check the seasoning again after reheating as concentration during cooking will have intensified the salt. Add fresh garnishes when serving. For Muharram and Eid when you are cooking for large numbers, making the haleem the evening before and reheating on the day is not only more practical but produces a better dish.
Nutritions
Per Serving (approx. 300g)
People Also Ask
Cracked wheat is the one grain that cannot be skipped. It forms the thick starchy backbone of the haleem and without it the consistency will be wrong regardless of what else is in the pot. The other six grains can be adjusted if necessary. If one specific dal is unavailable, replace it with an equal quantity of a similar one. The overall ratio of about 2.5 cups of mixed grains and dals to 2 kg of meat is what matters most. The exact split between each individual grain affects the flavour and texture but the dish will still work if small substitutions are made.
Too much water was added during the grain cooking stage. Haleem thickens very significantly as it cooks and even more as it cools. A mixture that looks slightly thin at the end of the grain cooking stage will often reach the correct consistency by the time the meat is combined and the final 20 minutes are done. If the haleem is genuinely too thin after combining, cook it uncovered on low heat while stirring every few minutes until it reduces to the right consistency. The correct consistency is thick enough to fall off a spoon slowly and hold a slight mound shape in the bowl.
Lift a spoonful of haleem and tilt it slowly. It should fall off the spoon heavily and slowly, not pour off like a liquid. When served into a bowl, it should hold a slight mound shape for a few seconds before settling and the surface should look slightly glossy from the oil rising to the top. If it pours like soup, it needs more time on low heat uncovered. If it sits stiff like a paste, add small amounts of hot water and stir to loosen. The correct consistency sits between the two and looks like a thick, slightly glossy stew that has real body.
The pressure cooker is the most effective shortcut for the meat cooking stage and it genuinely does not compromise quality. Beef that would take 3 hours on open flame takes 45 to 50 minutes under pressure and the result is identical in tenderness and flavour. The grain cooking stage still requires 45 to 60 minutes of slow heat and this cannot be rushed without producing uneven texture. The final combining stage also needs 15 to 20 minutes. A pressure cooker version of this recipe takes approximately 2 to 2.5 hours from start to finish rather than 3.5 to 4 hours, with no reduction in quality.
Yes. Replace the mutton or beef with boneless chicken thighs, which hold up better during the long cook than breast meat. Chicken requires approximately 30 to 40 minutes on open flame or 15 to 20 minutes in a pressure cooker. Reduce the spice quantities by about 20 percent as chicken absorbs flavour more intensely than red meat and the haleem can become overly spiced with the full quantities. The grain ratios, grain cooking method, and combining process all remain exactly the same as the original recipe.