
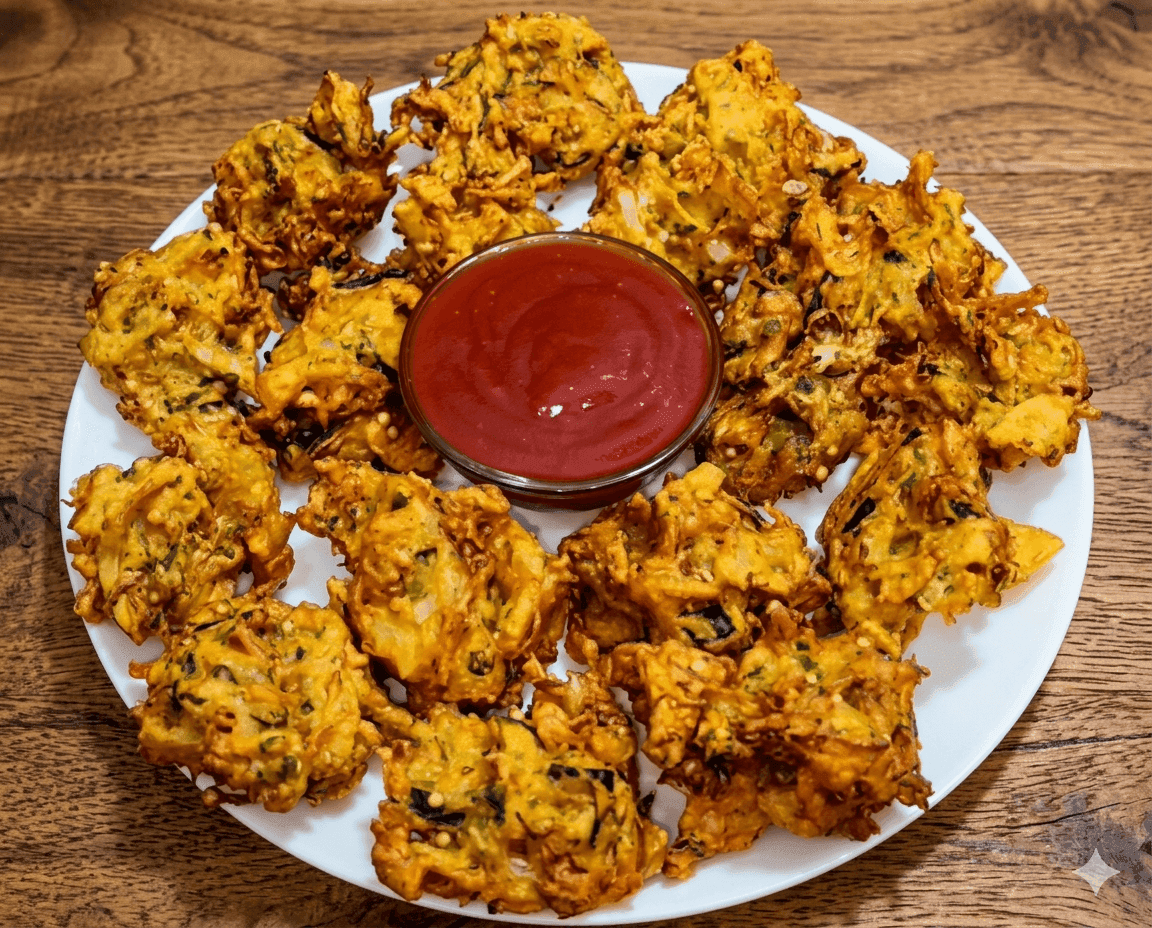
Crispy Vegetable Pakora

IJAZ ANSARI
Chef
“Ijaz Ansari is a well-known Pakistani chef and digital creator, recognized for his engaging cooking tutorials. He shares both traditional and modern recipes, making flavorful, step-by-step dishes accessible to home cooks.”

Aarif
Food Journalist
Aarif is a devoted content writer at Regional Heritage Food (RHF), passionate about cooking and travel. He shares his culinary experiences and discoveries, inspiring others to explore new recipes and flavors.
A crisp Pakora texture perfected with rice flour, minimal water, hand-crushed spices, and gentle low-flame frying
There is a specific, quiet magic that settles over a Pakistani home the moment a plate of fresh pakoras hits the table. Whether it is the centrepiece of an iftaar spread, the companion to a steaming cup of chai on a rainy afternoon, or a roadside comfort during a long drive, the pakora is more than a side dish. It is the reason people drift toward the kitchen while the oil is still crackling, drawn by the scent of toasted spices and the promise of that first, shattering bite.
While the pakora is everywhere, the difference between a soggy fritter and a truly great one comes down to a few specific decisions made before anything hits the oil. It is not about a secret ingredient or a family trick passed down in hushed tones. It is about understanding what actually happens inside the batter, inside the oil, and inside the spice when you do things the right way.
What makes Ijaz Ansari's approach different from the hundreds of other pakora recipes out there is exactly this: a clear understanding of four technical decisions that separate a great pakora from a forgettable one. These are not complicated techniques. They are specific ones. Follow each of them exactly and the result will be pakoras with an exterior that shatters when bitten, an interior that is completely cooked through, and an aroma that fills the kitchen the moment they hit the oil.
Why These Recipes Work Better Than Others
Rice Flour Is The Trick.
Mix 2 parts besan with 1 part rice flour. It makes the coating shatter when you bite it, much better than besan alone. The crunch also stays longer after draining, so your pakoras don't go soft by the time they reach the plate.
Don't Add Water.
Onions and potatoes already have enough water inside them. Just add salt, squeeze the vegetables, and let that moisture mix the batter. Adding extra water only thins the coating and is the main reason pakoras come out oily and soft.
Crush Your Spices Fresh.
Rub whole cumin and coriander between your palms right before using. The smell from a jar is nothing compared to freshly crushed, and that aroma goes straight into the taste. This one small step is what makes some pakoras smell amazing from across the room.
Keep The Oil On Medium-Low Heat (160–170°C).
High heat seals the outside too fast and leaves the inside doughy. Slow frying dries everything out properly and gives real crunch all the way through. Most home recipes never mention this, but every good pakora wala already knows it.
Press Them Flat.
Before dropping in the oil, flatten each pakora slightly. More surface means more crust and more crunch, simple as that. Round ball shaped pakoras take longer to cook inside and usually end up overbrowned on the outside before the middle is even done.
prep time
15 min
BATTER REST
5 min
FRYING TIME
25 min
servings
5
Ingredients
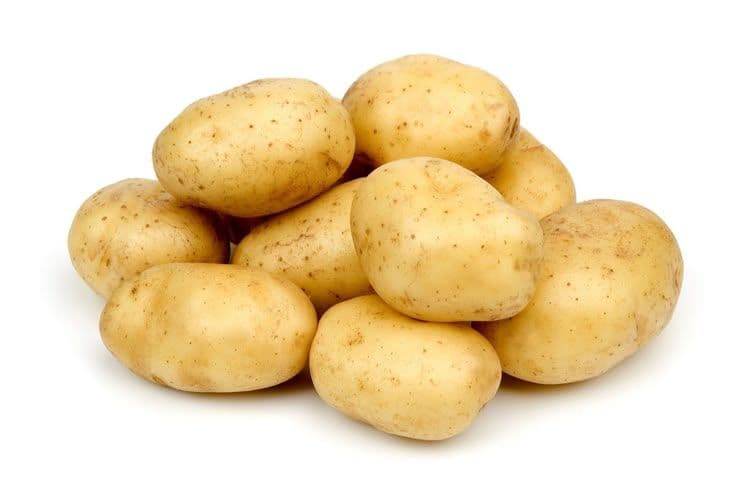 Potatoes3 Pieces
peeled and cut into thin strips, soaked in cold water until needed to prevent browning
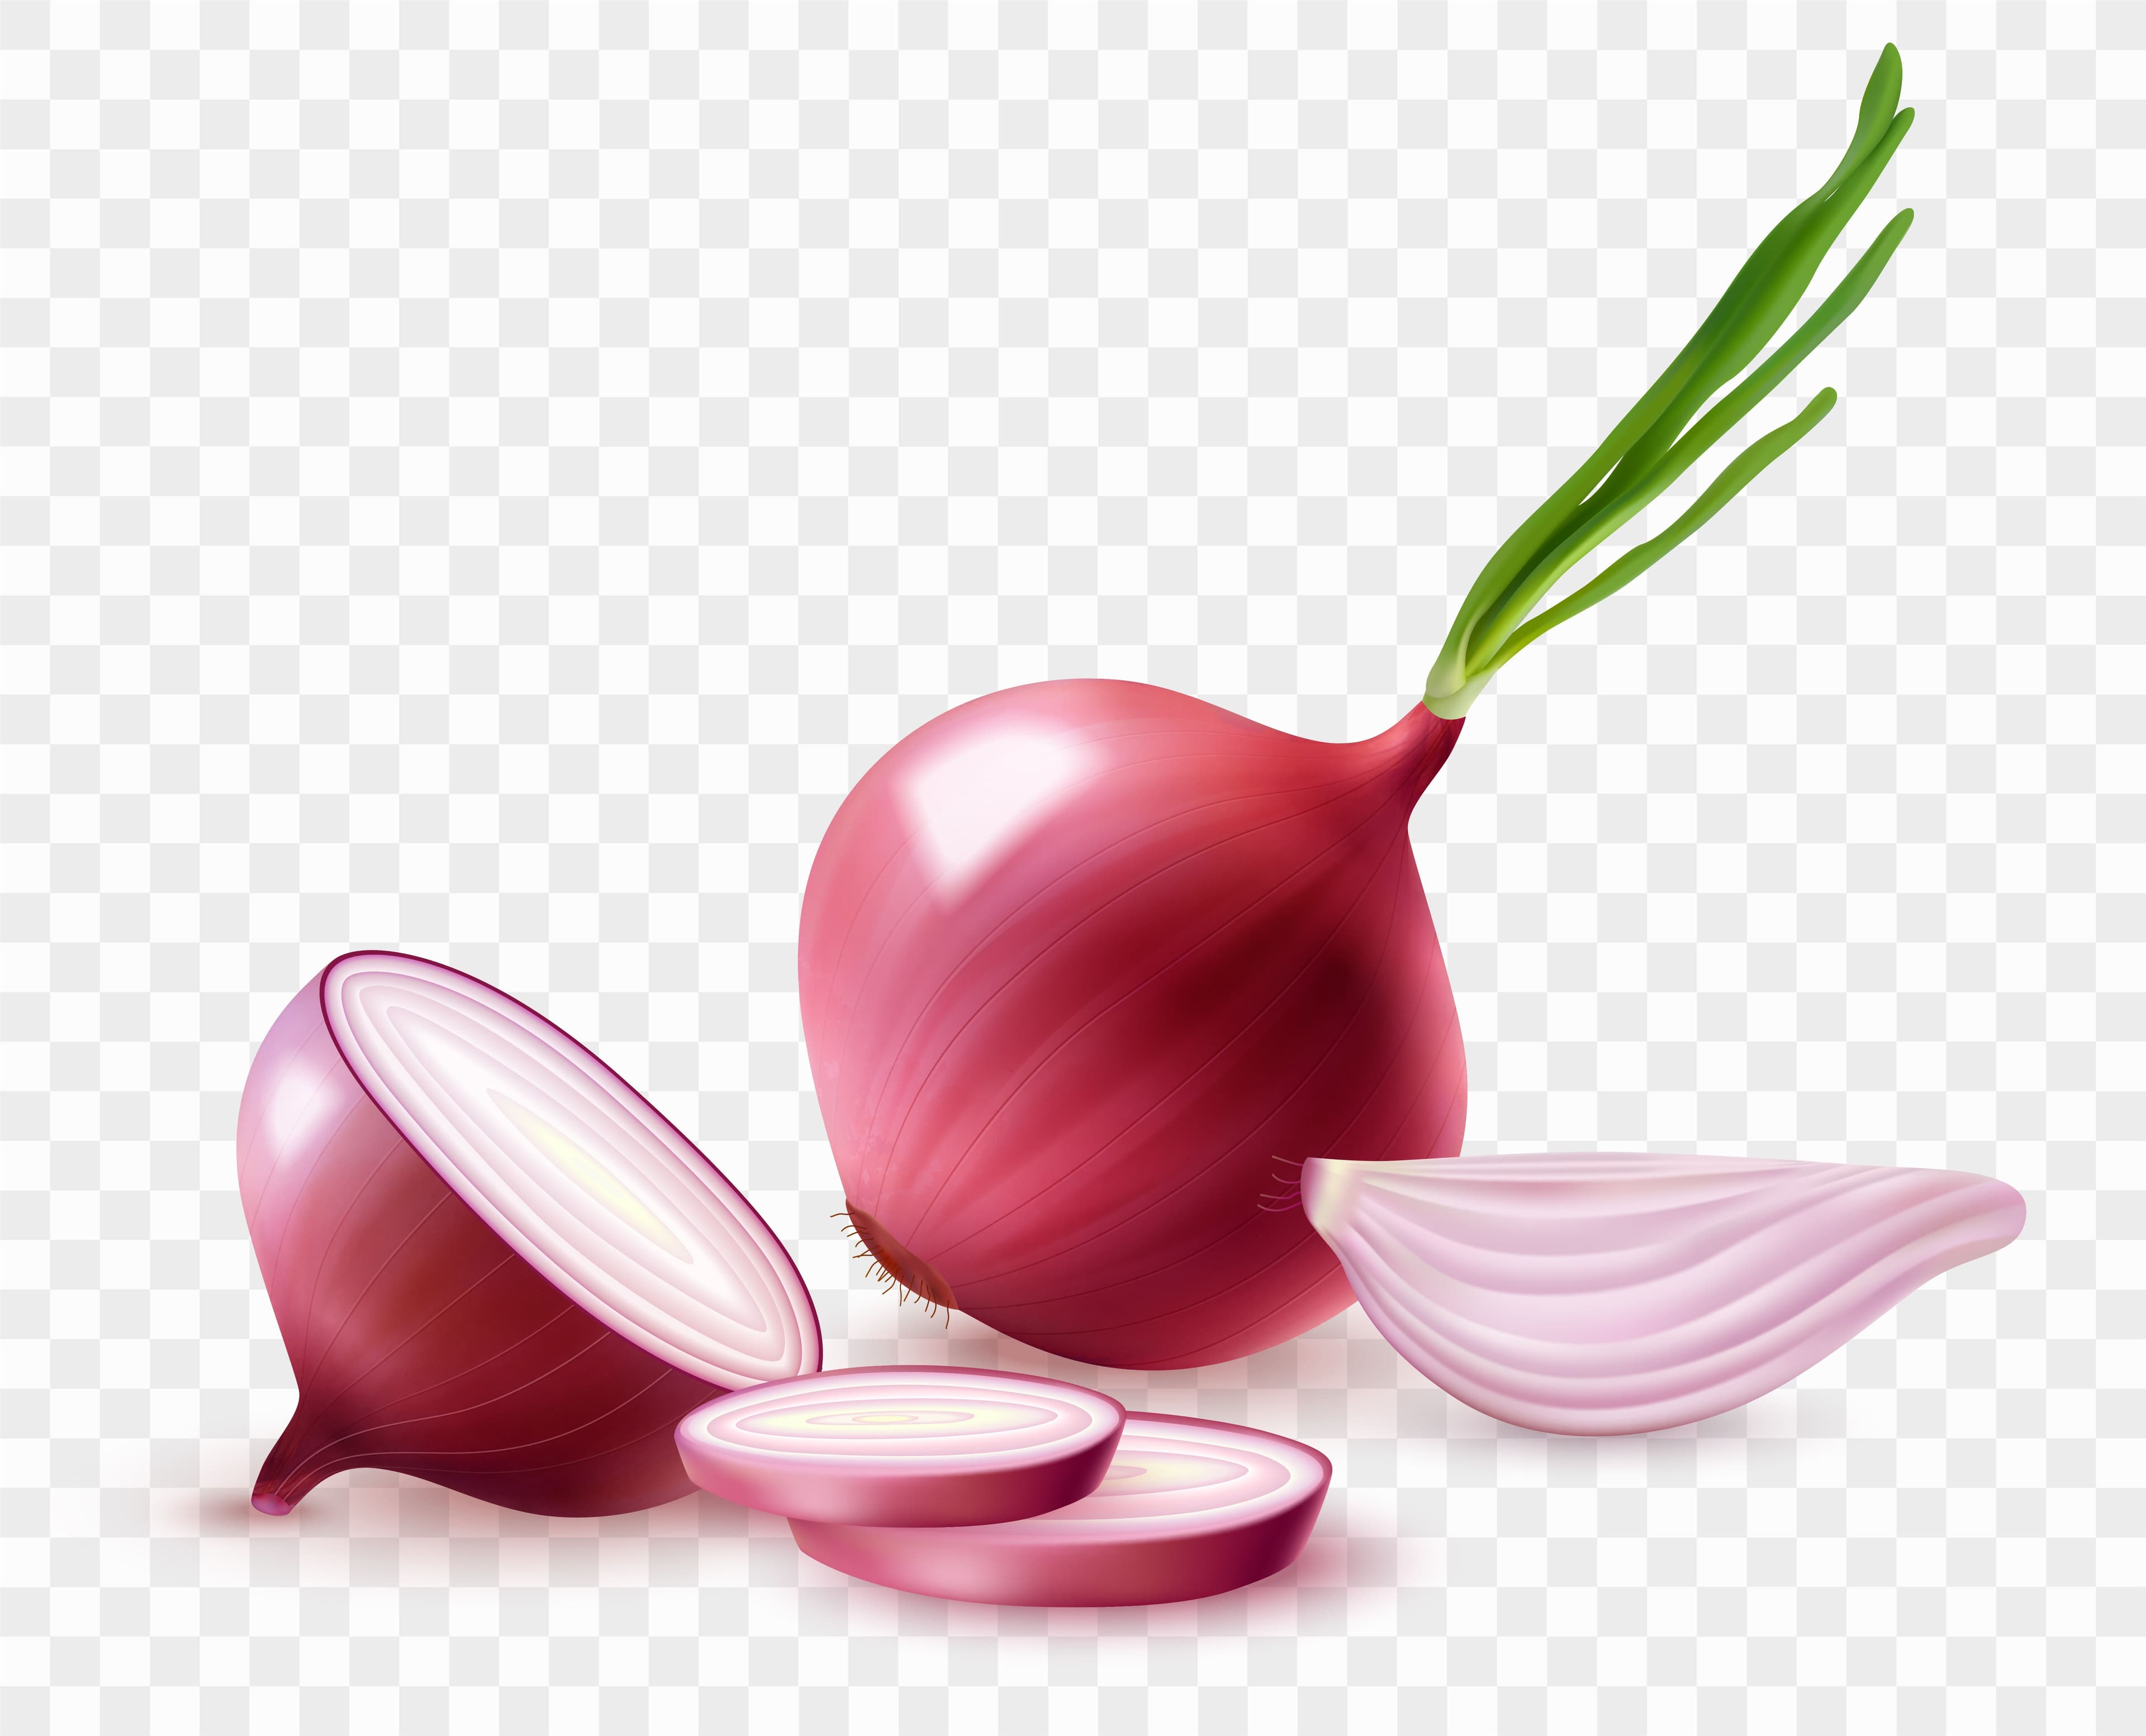 Onion1 Piece
large, halved and sliced thin lengthwise, all layers separated
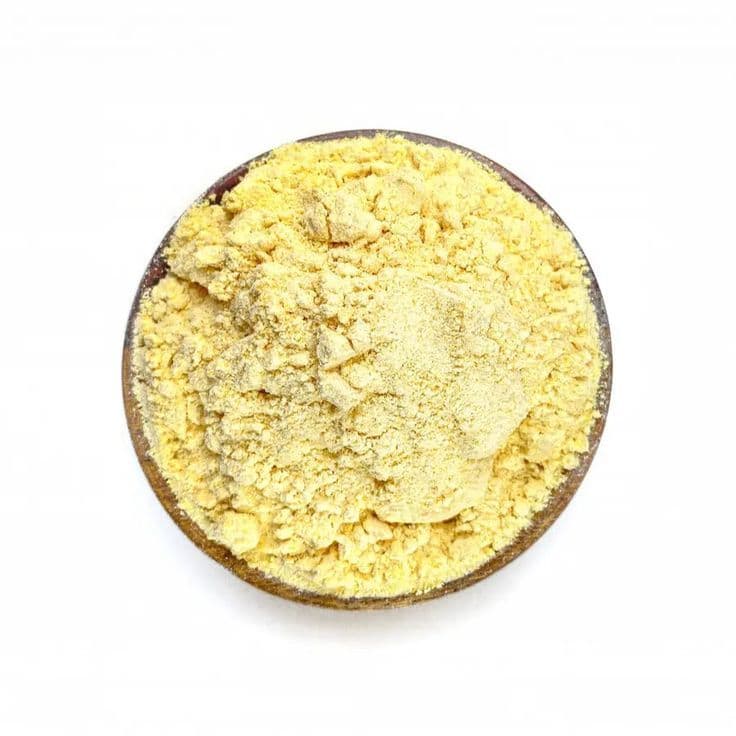 Gram flour (besan)1 cup
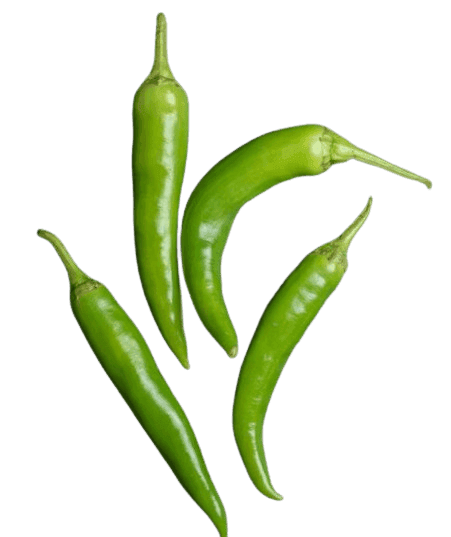 Green chilies2 Pieces
cut lengthwise into large pieces, not finely chopped.
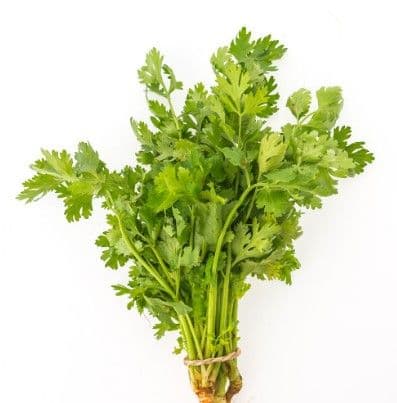 Fresh coriander2 tbsp
finely chopped
Method
Prepare And Dry The Vegetables
Peel the potatoes and cut into thin slices, then cut each slice lengthwise into thin strips. Place immediately into cold water to prevent browning. If knife cuts are not producing uniformly thin strips, use the coarse side of a box grater.
Peel the onion, halve, and slice into thin lengthwise strips, separating all layers.
Cut the green chilies lengthwise into large pieces. Drain the potato strips completely and spread on a clean cloth or paper towels, pressing to remove as much remaining water as possible.
Any water left on the potatoes will dilute the batter immediately on contact.
Chef's Tip:
The drying step for potatoes is the single most important preparation detail in this recipe. Wipe the potatoes completely dry after soaking. Wet potatoes will release water into the batter, making it too thin. Dry potatoes let only the natural vegetable juices control the batter's thickness, which is a smaller, more manageable amount.
Combine Vegetables, Add Spices, And Rest
In a large bowl, combine the completely dry potato strips, onion strips, green chili pieces, and fresh coriander.
Add the spices: coarsely crushed dry coriander seeds, crushed cumin seeds, and ajwain crushed between the palms directly over the bowl for each.
Add the single pinch of kasuri methi.
Add salt, red chili powder, turmeric, and the pinch of baking soda.
Mix thoroughly with both hands, pressing the vegetables together, for 2 minutes.
Cover the bowl and leave to rest for 5 full minutes.
Chef's Tip:
Rest the batter for 5 minutes after mixing. Potatoes release moisture slowly, so this rest lets them add natural liquid to the flour. Skipping this step means adding extra water, which makes the coating thin. Set a timer and wait before frying.
Add Gram Flour In Stages
After the 5-minute rest, add half cup gram flour, vegetable and spice mixture.
Mix thoroughly until the flour is fully incorporated.
Assess the consistency, the mixture should be noticeably damper than before the rest and should be starting to hold together.
Add the remaining gram flour gradually in small additions, mixing between each, until the batter coats the vegetables thoroughly and holds together when squeezed.
If and only if the batter is still too dry to hold after all the flour is incorporated, add 1 tablespoon of water.
Chef's Tip:
Taste the raw batter before frying. It should taste very salty and spicy. This is normal because spices become mild after frying. If the batter tastes just right now, the finished pakora will taste bland. Fix salt and chili at this stage, not after frying.
Fold In Optional Additions
If using any of the optional additional ingredients such as Spinach leaves, Methi and Paneer, add them now, after the gram flour is fully incorporated.
Spinach and fresh methi leaves fold in directly without preparation.
Grated cauliflower should be squeezed in a clean cloth to remove excess moisture.
Crushed peanuts and chaat masala fold in last.
Anardana should be pressed lightly between the fingers to crack the dried seeds before adding.
After folding in additions, taste the batter once more and adjust seasoning.
Chef's Tip:
Each extra ingredient changes the batter moisture. Wet ingredients like corn or fresh methi release water during frying and soften the inside. If adding multiple wet ingredients, skip the tablespoon of water completely. Dry ingredients like peanuts or chaat masala need no change. Add extras one by one until you find the right balance.
Shape Flat And Fry On Medium-Low Flame
Heat oil in a deep pan over medium flame.
Test with a small piece of batter, it should rise to the surface within 2 to 3 seconds and sizzle actively.
Take portions of the batter with a spoon or damp hands and lower them carefully into the oil.
Immediately use the back of a spoon to press and spread each one flat in the oil, not round, not ball-shaped, but flat and slightly spread out so both potato and onion are distributed across the surface.
After adding 5 to 6 pakoras, reduce the flame to medium-low and maintain it for the full 8 to 10 minutes.
Turn carefully once or twice. The pakoras are done when deeply golden brown on both sides and completely crispy throughout.
Drain on paper towels and serve hot immediately.
Chef's Tip:
Mix veg pakoras take longer to cook than onion pakoras because of the potato inside. Always fry on low to medium flame. High heat burns the outside but leaves the potato raw inside. Fry flat shaped pakoras for 8 to 10 minutes so the potato cooks fully. Do not rush.
Secret Ingredient: Rice Flour
Gram flour (besan) fries beautifully. It produces a smooth, golden, flavourful crust with a pleasant chew. But it does not shatter. Rice flour does. Rice flour is composed of harder, less absorbent starch granules than besan. When mixed with besan in the batter and submerged in hot oil, these granules resist the oil rather than absorbing it, creating a rougher, more irregular surface on the batter.
Mix besan and rice flour together in a 2 to 1 ratio as besan-to-rice-flour pakora is immediately apparent in the first bite: one bends slightly, the other shatters. Rice flour is available at every grocery store alongside besan.
People Also Ask
Three causes account for almost every soft pakora. The first is too much water in the batter, follow the minimum water rule strictly and rely on vegetable moisture. The second is oil temperature too high, which sets the exterior crust before the interior can dry out and traps moisture inside. The third is round ball shaping, which creates a thick center that holds moisture long after the exterior browns. Correct all three: minimum water, medium-low flame after adding to the oil, and flat shaping with the back of a spoon as each pakora enters the oil.
Rice flour creates a coarser, more irregular batter surface during frying that develops significantly more crunch than gram flour alone. Its hard starch granules resist oil absorption where besan absorbs, creating the blistered exterior texture that is the signature of this recipe. You can skip it and the pakoras will still be good.
The volatile aromatic oils in coriander and cumin seeds are concentrated at the surface of the seed and begin dissipating the moment the seed is broken. Commercial pre-ground coriander and cumin powder has already lost most of these oils through exposure to air over weeks or months. Crushing whole seeds between the palms immediately before use releases the full oil intensity directly into the batter. The aromatic difference between a pakora made with freshly crushed seeds and one made with packaged powder is noticeable from across the kitchen when the pakoras hit the oil. This technique costs nothing and requires no equipment.
Yes, with a realistic expectation of what the result will be. Brush or spray the shaped pakoras generously with oil and air fry at 200 degrees Celsius for 12 to 15 minutes, shaking halfway through. Air-fried pakoras will be lighter, less oily, and reasonably crispy on the outside. They will not develop the same deep golden crust, blistered rice-flour texture, or completely dry interior that oil frying produces. The oil is part of what creates the colour and crust in the Maillard reaction. Air frying is a reasonable lighter alternative but should not be confused with the fried version as described in these recipes.
Place drained pakoras on a wire rack set over a baking tray, not directly on paper towels. Paper towels trap steam underneath and accelerate softening. Place the rack and tray in a low oven at 100 degrees Celsius. Pakoras held this way stay crispy for up to 30 minutes. Never cover hot pakoras and never stack them, trapped steam softens them within minutes. To revive pakoras that have already softened, place them in a hot dry pan or air fryer for 2 to 3 minutes. They will recover most of their original crunch.
Avoid vegetables with very high water content: tomatoes, zucchini, cucumber, and mushrooms all release too much liquid during frying, making the batter soggy and difficult to manage. Spinach, cauliflower, fresh methi, thinly sliced eggplant, capsicum, and corn kernels all work well because their moisture levels are manageable. Always pat or squeeze added vegetables dry before folding them into the batter, regardless of the variety.
The spiced vegetable mixture can be prepared up to 2 hours in advance and kept covered in the refrigerator. However, add the gram flour and any water only 10 to 15 minutes before frying. Batter that sits for too long with the flour already incorporated becomes waterlogged as the vegetables continue releasing moisture over time, thinning the batter and reducing its coating effectiveness. The 5-minute rest specified in the mix veg recipe is the optimal hydration time, not 5 minutes and not 30 minutes.
Yes. Chicken pakora is extremely popular. Use boneless chicken cut into small cubes or thin strips. Marinate separately for 30 minutes in ginger-garlic paste, salt, and red chili powder before adding to the pakora batter. Do not mix raw chicken with a vegetable mixture, prepare it as a completely separate batch. The frying time increases to 10 to 12 minutes on medium-low flame to ensure the chicken is fully cooked through. The batter for chicken pakora benefits from the rice flour addition equally, use the same 2:1 besan to rice flour ratio.
The correct starting temperature is medium approximately 170 to 175 degrees Celsius. Without a thermometer, use the batter-drop test: drop a pea-sized piece of batter into the oil. It should sink slightly, then rise to the surface within 2 to 3 seconds and begin sizzling actively but not violently or spattering aggressively. If it rises immediately and sizzles fiercely, the oil is too hot. If it sinks and stays at the bottom, the oil is too cold. After adding the pakoras, reduce to medium-low. The batter-drop test is reliable enough to produce consistent results without any equipment.