
Aloo Samosa

COOKING FOODIE
Chef
“The Cooking Foodie is run by David Davidov, a self-taught cook and baker who launched the channel in 2017. Known for stunning visuals and foolproof techniques, David creates accessible recipes ranging from Middle Eastern classics to decadent desserts, empowering home cooks through clear, professional-grade guidance”

Aarif
Food Journalist
Aarif is a devoted content writer at Regional Heritage Food (RHF), passionate about cooking and travel. He shares his culinary experiences and discoveries, inspiring others to explore new recipes and flavors.
Handmade Dough | Perfectly Spiced Aloo Filling Samosa
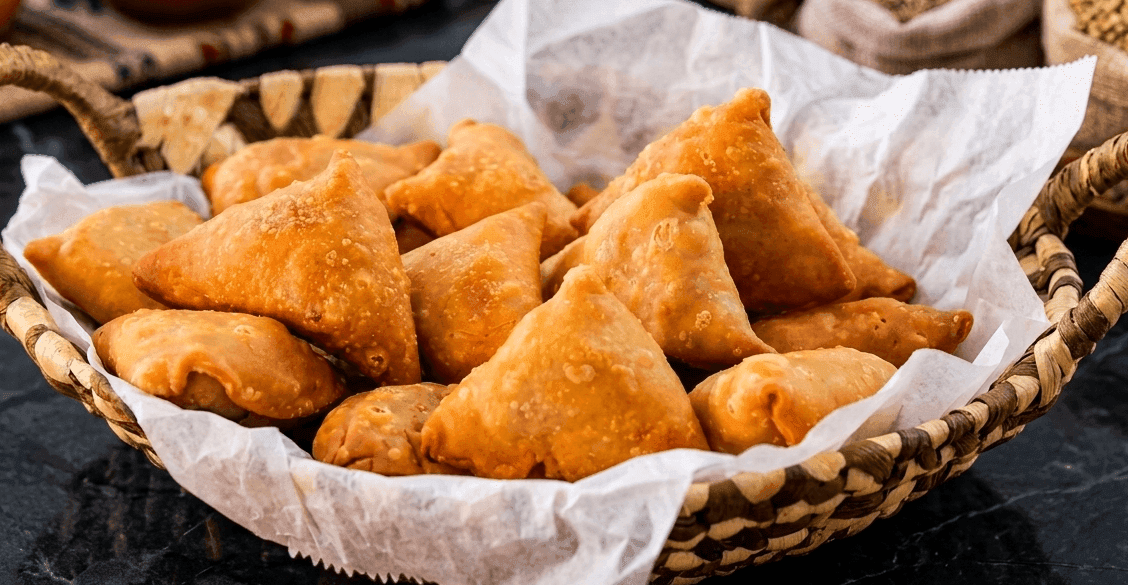
Samosa in South Asian eating culture is not a side dish. It is the thing people look for first on the iftaar table, the first thing that runs out at a party, and the snack whose absence from a chai gathering is noticed and commented upon. And the gap between a great samosa and a bad one appears in a second when you bite it and the kind that yields softly with no resistance and leaves a grease mark on the paper towel.
The Cooking Foodie's Perfect Samosa Recipe explains the technical difference with complete precision. The dough must be stiff, not soft. The fat must be rubbed into the flour until the mixture looks like fine dry breadcrumbs before any water is added. This is the step that creates the flaky blistered shell. The filling must be completely cold before it goes inside. The oil must start hot and immediately drop to medium-low after the samosas go in. These are not style preferences. Each one has a specific reason and each one, if skipped, produces a specific, identifiable failure.
Why This Recipe Works Better Than Others
Rubbing Fat into Flour Creates the Flaky Shell
Rub fat into flour for 3 to 4 minutes until every bit of flour is coated. This stops gluten from forming, making the dough tender and layered instead of stretchy. In hot oil, the fat between layers turns to steam and creates a flaky, crispy shell that shatters.
Stiff Dough Produces Crispness, Soft Dough Produces Bubbles
Samosa dough must be stiffer than chapati or paratha dough. Soft dough has too much water, which turns to large uneven bubbles when fried. Stiff dough has less water, fries evenly, and stays crispy longer after coming out of the oil.
Every Seam Needs Water to Stay Sealed
Dry dough does not stick to itself. Always brush water on both edges of every seam before pressing firmly. A dry seam feels secure when raw but splits open in hot oil. Even one small gap is enough for oil to enter and break the samosa open.
Cold Filling Prevents Bursting
Hot filling inside a sealed samosa creates steam pressure during frying and forces the shell open. Spread the filling on a wide plate and let it cool completely before filling. Cold filling produces no steam inside and the samosa holds its shape throughout frying.
Two Stage Oil Temperature Gives Even Golden Colour
First fry on high heat to set a firm outer crust quickly. Then lower to medium heat so the inner dough cooks through without burning the outside. One temperature throughout gives either pale greasy samosas or burnt outsides with raw insides. Two stages gives even colour and fully cooked dough.
PREP TIME
20 min
DOUGH REST
30 min
FILLING TIME
20 min
FRYING TIME
20 min
SAMOSAS
14
Ingredients
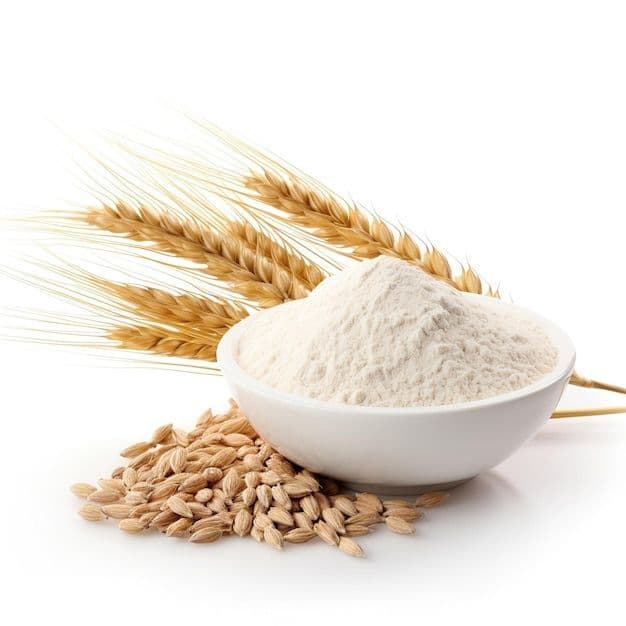 All-purpose flour (maida)250 g
 Oil60 ml
 Water60 ml
 Salt0.5 tsp
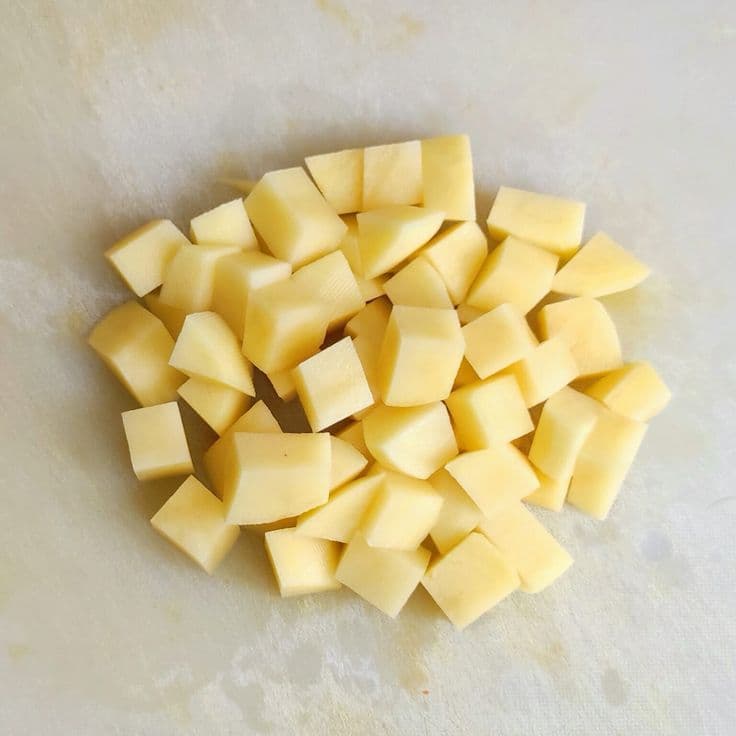 Potatoes500 g
roughly chopped or lightly mashed, not smooth puree
Method
Rub The Fat Into The Flour
In a wide mixing bowl, combine 2 cups of flour and half a teaspoon of salt.
Add the quarter cup of oil or melted ghee. Begin rubbing the fat into the flour immediately using your fingertips in a light, rapid, circular pressing motion.
Rub continuously for 3 to 4 full minutes without pausing. The mixture is ready when every visible trace of loose, dry flour has disappeared and the entire mixture looks and feels like fine, dry breadcrumbs.
Pick up a small handful and squeeze it briefly. It should clump momentarily and then crumble apart cleanly. If it still looks powdery or has dry patches, rub for another minute.
Chef's Tip:
Do not shortcut this step to 30 or 60 seconds of mixing. The rubbing motion is not decorative. It physically coats every flour particle with a thin layer of fat, and it is this coating that creates the layered structure of the samosa shell. The fat layers separate during frying and produce the blistering and flakiness that makes a correctly made samosa shell shatter when bitten. A mixture that has been stirred rather than rubbed has no layering and will produce a smooth, uniformly doughy exterior regardless of the oil temperature used for frying.
Form The Stiff Dough And Rest
Begin adding the quarter cup of water one small pour at a time.
After each addition, bring the mixture together with your hands and assess whether more is needed.
Continue until the dough just comes together into one smooth ball.
The dough must be stiff. It should feel noticeably firmer than chapati or roti dough. If it feels even slightly soft or gives easily when pressed, add flour one tablespoon at a time until it firms up.
Shape into a smooth ball, cover with a damp cloth, and rest at room temperature for 30 minutes.
Chef's Tip:
The 30-minute rest is when the small amount of gluten that did form in the dough relaxes. Rested dough rolls out smoothly without springing back and produces a more even thickness across the samosa shell. Skipping the rest means the dough will resist rolling, spring back to a smaller size, and produce shells of uneven thickness that cook at different rates. Use the resting time to make the filling so both components are ready at the same time
Build The Spice Base
Heat 2 tablespoons of oil in a wide pan on medium flame.
Add the cumin seeds and let them sizzle for 30 seconds until the oil around them is fragrant.
Add the crushed coriander seeds, chili powder, turmeric, and garam masala. Stir continuously and cook for 30 to 60 seconds, the spices will sizzle and begin to smell roasted.
Add the crushed garlic, ginger paste, and finely chopped green chili.
Cook for 1 minute, stirring, until the raw smell of the garlic and ginger disappears completely.
Chef's Tip:
Blooming whole and ground spices in hot oil before any liquid is added extracts far more aromatic compound from them than adding them to a wet filling later would. The oil carries these compounds into every part of the filling. A spice base that smells richly aromatic when the garlic goes in is the foundation of a filling that tastes equally aromatic in the finished samosa. If the spices smell faintly raw or dusty rather than roasted and fragrant after the first minute, give them another 30 seconds over the heat
Build And Cool The Aloo Filling
Add the roughly chopped and lightly mashed boiled potatoes and the green peas to the spice base.
Add the lemon juice, the quarter cup of water, and salt to taste. Stir everything together and cook on medium flame for 4 to 5 minutes, turning and folding the filling regularly so every piece of potato is coated in the spiced oil.
Add the crushed cashews if using and cook for one minute more. Turn off the heat.
Add the chopped fresh coriander and stir through. Spread the entire filling out in a single layer on a wide plate or tray.
Allow to cool completely to room temperature before stuffing, a minimum of 20 to 30 minutes.
Chef's Tip:
Never fill samosas with filling that is still warm. Even slightly warm filling releases steam inside the sealed samosa during frying and this steam pressure splits the seam or wall. Spreading the filling flat on a wide plate rather than leaving it in the deep pan significantly speeds up the cooling process. A filling in a deep bowl retains heat in the center for a long time. A filling spread flat loses heat quickly from all surfaces. Boil and cool the potatoes well in advance.
Roll And Cut The Dough Into Semicircles
Once the dough has rested, knead it briefly for 30 seconds.
Divide into 6 to 7 equal balls. Keep all unused balls covered under a damp cloth at all times, exposed dough dries out within minutes and cracks when shaped.
Working one ball at a time, roll it on a lightly floured surface into an oval approximately 15 cm long and 10 cm wide.
The thickness should be slightly thinner than a one-rupee coin but not paper-thin, thin enough to allow crispness but thick enough to hold the filling without tearing.
Use a knife or pastry cutter to cut the oval in half across its width. Each half becomes one samosa.
Chef's Tip:
Keep the damp cloth over the shaped samosas as you work, not just over the dough balls. A semicircle of rolled dough left uncovered for 5 minutes dries along its cut edge and the dry edge does not seal properly with water. Any part of the seam that was dry when pressed will open in the oil. Cover everything that is waiting to be used or already shaped.
Form The Cone And Seal The Seam
Working with one semicircle at a time, use a pastry brush or your fingertip to brush a thin, even coat of water along the entire straight cut edge.
Pick up the two corners of the straight edge and bring them toward each other, overlapping them by approximately 5mm to form a cone shape.
Press firmly along the entire overlapping seam from top to bottom with a fingertip.
Run your nail along the seam once to ensure no gap exists anywhere. You should have a clean cone shape with an open circular top and a single sealed seam running from the top opening to the pointed base.
Chef's Tip:
The quality of this seam determines whether the samosa survives frying intact. Hold the cone up and look at the seam against the light. Any transparent or thin spot in the seal is a potential gap. Press those spots again with a moistened fingertip. The overlap should be at least 5mm along its full length, a smaller overlap gives less sealing surface and more opportunity for the seam to part under the pressure of hot oil
Fill And Seal The Top
Hold the open cone in one hand. Spoon 1 to 2 tablespoons of completely cooled filling into the cone.
Do not overfill, the filling should sit comfortably below the open rim with 5mm of empty dough above it.
Brush water along both inside edges of the open rim. Press the two edges firmly together, pinching along the entire top seam from one end to the other.
The samosa should now hold its triangular shape without deforming and without any visible cracks or gaps anywhere on its surface.
Place on a tray and cover with the damp cloth. Repeat with remaining dough and filling.
Chef's Tip:
The filled samosa should feel firm when gently pressed. A samosa that feels soft or squashy is either overfilled or the dough is too thin. Overfilling puts pressure on the seams from inside during frying and is one of the most common causes of bursting. Work within the 1 to 2 tablespoon limit. If the filling is well spiced, a smaller amount delivers full flavour and the samosa remains more structurally sound in the oil.
Two-Stage Frying For Even Golden Colour
Pour enough oil into a deep heavy pan for deep frying and heat on high until the oil reaches approximately 175 degrees Celsius.
To test without a thermometer: drop a small piece of raw dough into the oil. It should rise to the surface within 2 to 3 seconds without browning immediately.
Carefully lower 4 to 5 samosas into the hot oil one by one. Immediately reduce the heat to medium-low.
Fry for 4 to 5 minutes, turning occasionally with a slotted spoon, until all surfaces are an even deep golden brown with a crisp, dry surface.
Remove with a slotted spoon and drain on paper towels. Bring the oil back to temperature before each new batch.
For frozen samosas: fry directly from frozen at the same temperature with 2 to 3 additional minutes — do not thaw.
Chef's Tip:
Never fry more than 4 to 5 samosas at once in a standard home pan. Adding more than this drops the oil temperature significantly and the samosas will absorb excess oil and come out greasy rather than crisp. Allow the oil to return to temperature between each batch, this takes approximately 2 minutes. A consistent frying temperature across all batches produces consistent colour and crispness. The first and last batches should look identical when done correctly.
Secret Technique: The Breadcrumb Test Before Any Water Is Added
The single most important quality test in this entire recipe happens before the dough is even formed. After 3 to 4 minutes of rubbing fat into flour, pick up a small handful of the mixture and squeeze it. Release it. It should clump momentarily as the fat binds the particles together, and then crumble apart cleanly with no sticky patches and no loose dry flour.
This is the breadcrumb test and it is the only reliable way to know whether the fat has fully coated the flour before water is added. If the mixture still has loose dry patches when squeezed, it needs more rubbing. If it clumps and stays clumped without crumbling, it has too much moisture already from the fat and water should be added very cautiously.
Passing this test means that every flour particle is coated, the layering structure is in place, and the dough will produce a flaky, blistered shell when fried. Failing this test and proceeding anyway means producing a dough with uneven fat distribution that cannot bister properly regardless of frying temperature or technique.
Nutritions
Per Samosa (aloo filling)
People Also Ask
Three causes and all three must be addressed together: unsealed seams, hot filling, and overfilling. Brush every seam edge generously with water before pressing and run a fingertip firmly along the entire sealed edge to ensure no gaps. Allow the filling to cool completely to room temperature before stuffing — warm filling generates steam pressure inside the sealed shell that forces it open. Fill with no more than 1 to 2 tablespoons of filling per samosa. All three conditions must be met simultaneously. A samosa that seals perfectly but is filled while warm will still burst.
Three possible causes. The dough was too soft, if it is, add flour until the dough is noticeably firmer than roti dough. The fat was not rubbed into the flour thoroughly enough. The mixture must look and feel like fine dry breadcrumbs before any water is added. The oil was not hot enough when the samosas went in, or the pan was overcrowded and the oil temperature dropped. Use the dough-drop test to verify oil temperature before each batch and fry a maximum of 4 to 5 samosas at a time.
Yes. Brush samosas generously with oil or melted ghee on all surfaces and bake at 200 degrees Celsius for 25 to 30 minutes, turning once halfway through. Baked samosas will not achieve the same deep crispness, blistering, or shattering texture as fried ones because the fat-coating mechanism that produces the flaky shell relies on immersion in hot oil. The result is still good and the flavour is the same, but the shell is smoother and more uniformly crisp than flaky.
Shape the samosas completely with all seams fully sealed but do not fry them. Place on a parchment-lined tray with space between each one and freeze until completely solid, approximately 2 hours. Transfer to sealed freezer bags and store for up to one month. To cook from frozen, place directly into hot oil at the same temperature used for fresh samosas. Do not thaw first, thawing softens the dough and produces a greasy result. Add 2 to 3 minutes to the total frying time. The frozen-to-fried method produces samosas that are indistinguishable in crispness from freshly shaped ones.
Yes. Wrap the rested dough tightly in cling film and refrigerate for up to 24 hours. Store the cooled filling in an airtight container in the refrigerator. Remove the dough from the refrigerator 20 minutes before shaping to bring it to room temperature, cold dough is stiffer than usual and harder to roll evenly. The filling can go into the samosas directly from the refrigerator as it will be cold, which is exactly the condition required.