
Mutton Mutter Qeema

Ranveer Brar
Chef
“Ranveer Brar is a celebrated Indian chef, author, and MasterChef India judge from Lucknow. Known for his soulful storytelling and expertise in regional cuisine, he became India’s youngest executive chef at 25 and now inspires millions through his popular YouTube channel.”

Aarif
Food Journalist
Aarif is a devoted content writer at Regional Heritage Food (RHF), passionate about cooking and travel. He shares his culinary experiences and discoveries, inspiring others to explore new recipes and flavors.
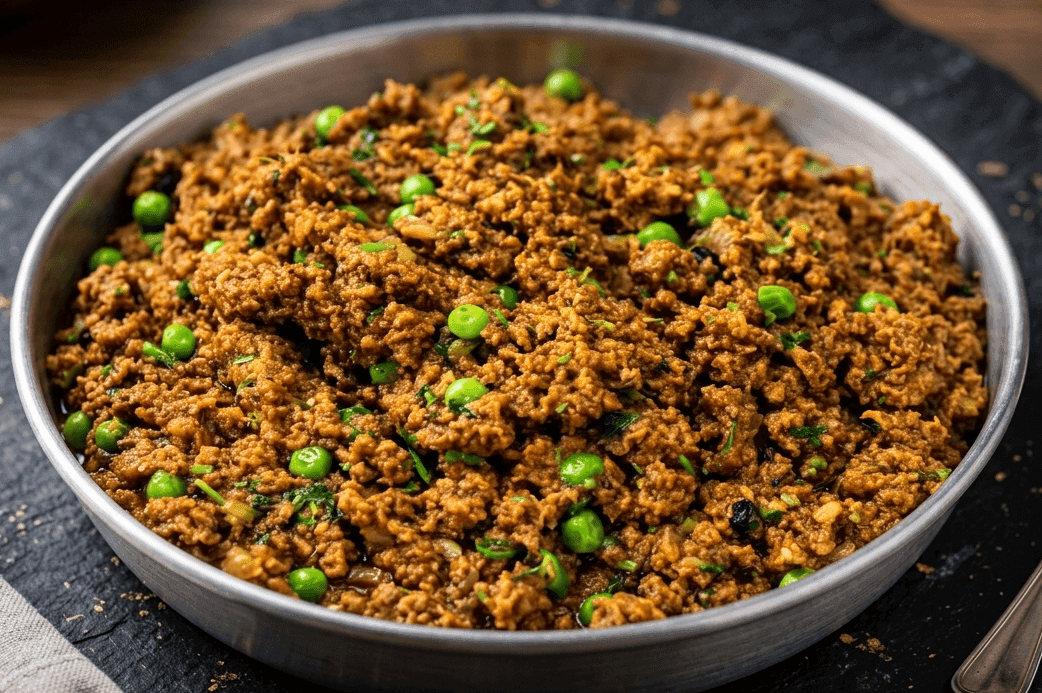
Flavor-Packed Mutton Mince with Peas | Easy Traditional Recipe
In South Asian kitchens, there is a hidden divide in how we cook qeema. You can either take the fast route by tossing mince into a hot pan with boxed spices for a quick meal, or you can choose the slower, more traditional path. The traditional way is almost like a ritual. It starts with marinating the meat overnight and simmering bones on the side to add richness. This method isn't about rushing; it is about patience and using a slow sautéing technique called bhuna to bring out deep aromas and rich colors. This is the version we save for family feasts and special weekends.
Mutton Mutter Qeema is the perfect example of this slow-cooked tradition. In this dish, the sweetness of green peas is more than just a garnish. The peas provide a fresh burst of flavor that balances the heavy, spiced mutton perfectly. Every grain of mince is coated in a thick, flavorful masala that has been cooked down with care. Whether it is the star of an Eid spread or the heart of a cozy winter dinner, this dish is a masterpiece of balance. It proves that when you take the time to treat simple ingredients with respect, you create something truly refined.
Beyond the ingredients, this dish is really about the memories created around the table. The deep, savory scent of the roasting meat fills the house, signaling to everyone that something special is being prepared. When you serve it with warm, buttery naan or crispy parathas, it becomes more than just a recipe; it becomes a connection to heritage and home. Every spoonful carries the warmth of a kitchen where time was never the priority, but flavor and love were.
Why This Recipe Works Better Than Others
Two-Stage Cooking: Marinate First, Bhuna Second
Most keema recipes cook the mince directly in the masala from the start. Ranveer Brar separates the process: the keema is first marinated in curd, ginger-garlic, and whole spices and pressure-cooked with mutton bones. This pre-cooking extracts the collagen and richness from the bones into the mince itself, making it far more flavourful before it even enters the masala.
Mutton Bones Are Not Optional
The inclusion of 5 to 6 mutton bones in the pressure cooker with the mince is the step most home cooks skip, and it is the step that makes the biggest difference. Bones release gelatin, marrow fat, and deep umami during the pressure cook. This transfers entirely into the mince, giving the keema a richness and body that pure boneless mince cannot replicate. The bones are removed before the keema enters the masala, but they have already done their work.
Whole Nutmeg in the Marinade
A whole nutmeg goes into the pressure cooker with the mince. Unlike ground nutmeg, a whole piece releases its oils slowly during the pressure cook, imparting a warm, faintly sweet depth to the mince without overpowering it. This is a classic Awadhi and Mughal technique using whole spices in slow-cooked meats rather than powders and it is what gives this keema its distinctive aromatic backbone.
Asafoetida in the Masala
A pinch of asafoetida (hing) in the curd-spice mixture for the masala is a Ranveer Brar signature. Asafoetida amplifies the savoury depth of the dish while acting as a natural digestive especially valuable in a heavy meat dish. It also balances the richness of the ghee and the sharpness of the curd, rounding the masala into something more complex and harmonious.
Freshly Ground Garam Masala at the Very End
The home-ground masala: black peppercorns, cloves, black and green cardamom is added in the last minute of cooking. The essential oils in whole spices begin degrading within minutes of grinding. By grinding and adding them immediately before serving, they release at maximum intensity directly into the keema, providing a top note of fragrance that pre-mixed store-bought masala simply cannot provide.
prep time
15 min
cook time
35 min
Servings
4
Ingredients
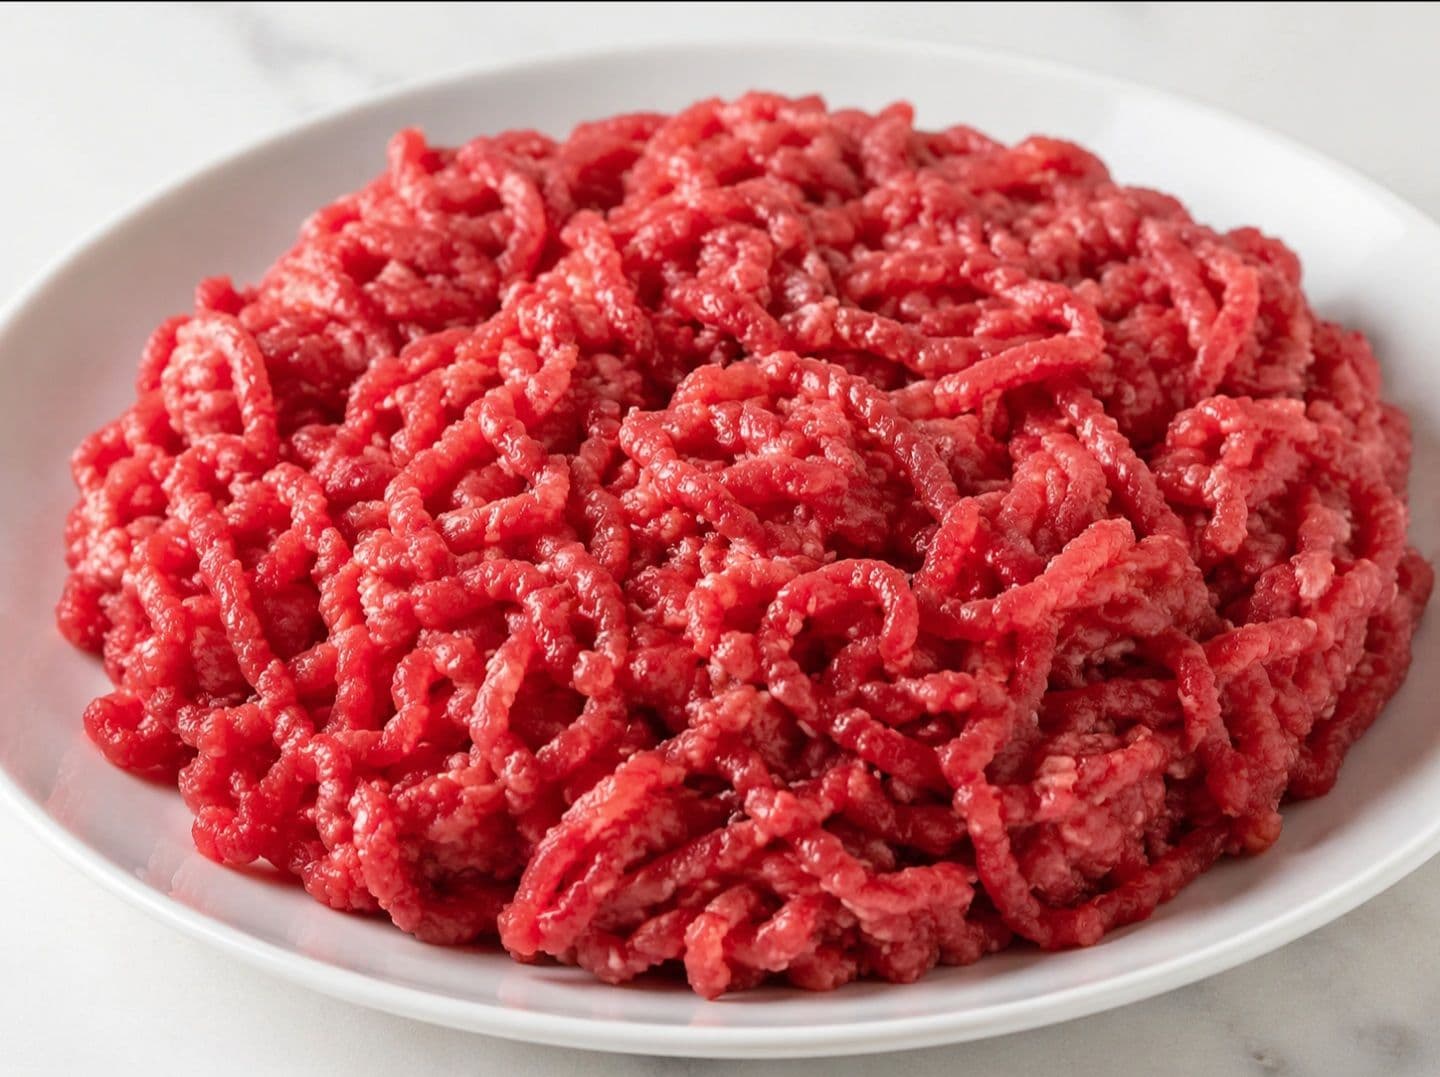 Mutton mince1 kg
fresh, not frozen
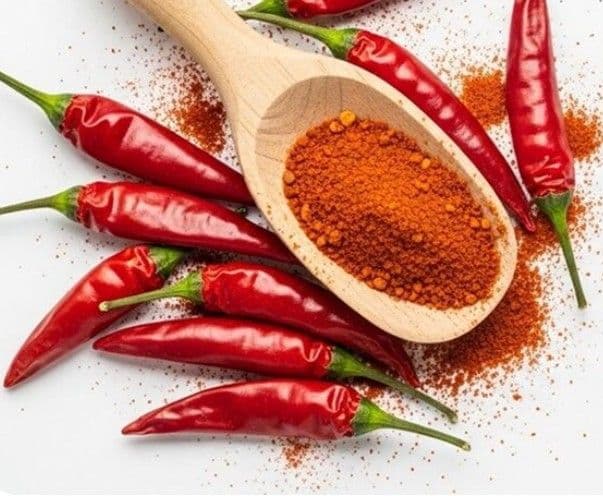 Red chilli powder1 tbsp
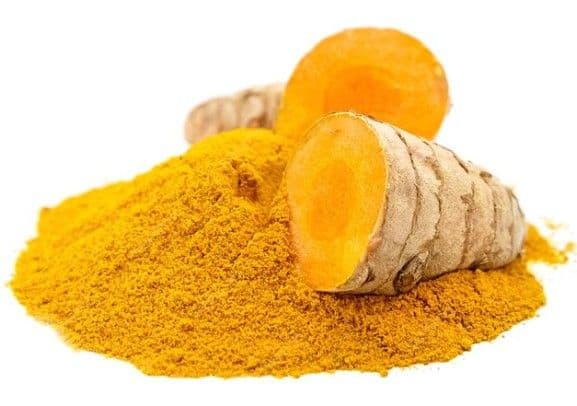 turmeric powder1 tsp
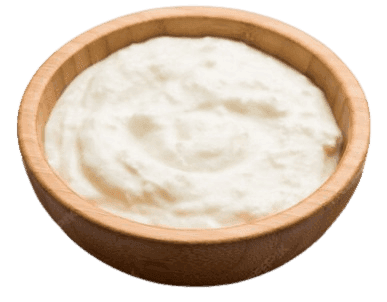 Curd2 cup
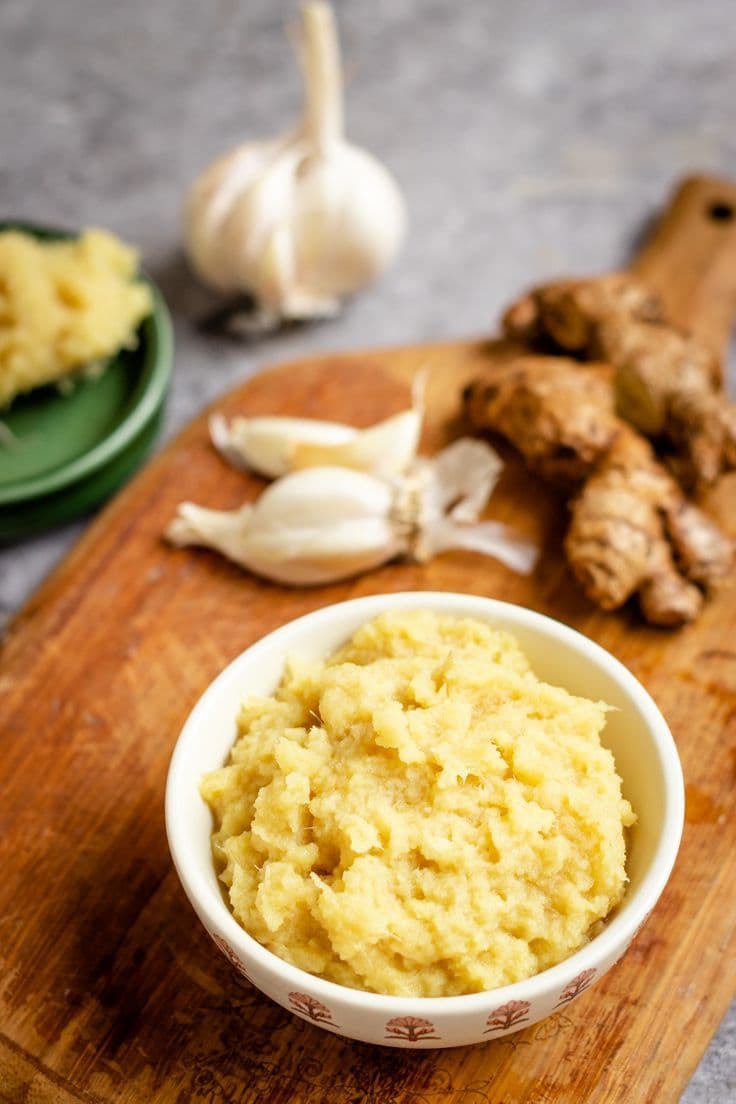 Ginger-garlic paste4 tbsp
Method
Grind The Masala
Add the 3 tbsp black peppercorns, 5 pods black cardamoms, 3 pods green cardamoms, and 3 cloves to a dry grinder.
Grind to a fine powder.
Measure out 1 tbsp for the main recipe and store the remainder in an airtight jar away from heat and light.
Chef's Tip:
Grinding whole spices fresh on the day of cooking is not optional here, it is the step that makes the most dramatic difference to the final aroma. Pre-ground garam masala loses 70% of its volatile oils within 48 hours of grinding. The home-ground masala added at the end of this recipe is what makes guests think you ordered from a restaurant.
Marinate & Pressure-Cook The Keema
In a large bowl, combine the mutton mince with red chilli powder (1 tbsp), turmeric powder (1 tsp), beaten curd (1.5 cup), salt to taste (0.5 tsp), ginger-garlic paste (2 tbsp), slit green chillies (2 whole), and the whole nutmeg (1 whole).
Mix thoroughly until every strand of mince is coated in the marinade.
For best results, cover and rest for 30 minutes at room temperature or up to overnight in the refrigerator.
Transfer the marinated mince into a pressure cooker.
Add the mutton bones and 3 tbsp ghee. Cover and cook on high heat until 2 to 3 whistles.
Remove from heat and allow pressure to release naturally.
Once cooled, open the cooker. Remove and discard the whole nutmeg and all the mutton bones.
The keema is now cooked, fragrant, and enriched with bone stock. Set aside.
Chef's Tip:
Do not rush the pressure cooking phase. The 2 to 3 whistles on high heat is the sweet spot, it fully cooks the mince while allowing the bones to release their gelatin and marrow into the meat. Over-cooking will dry out the mince before it even enters the masala.
Build The Masala
Heat a heavy-bottomed karahi or kadhai on medium-high flame.
Add ¼ cup ghee and 2 tbsp oil together, the combination prevents the ghee from burning.
Add the bay leaf, cloves, whole black peppercorns, and black cardamoms.
Let them splutter and release their fragrance for 30 to 45 seconds.
Add the finely chopped onions. Bhuno on medium heat, stirring frequently, until they turn a deep golden brown, this will take 12 to 15 minutes.
Do not rush. Light golden is not enough; the onions must be fully caramelised for the masala base to have body and sweetness.
While the onions cook, mix together in a bowl: beaten curd, ginger-garlic paste, degi red chilli powder, coriander powder, turmeric powder, cumin powder, and the pinch of asafoetida. Whisk until smooth.
When the onions are golden, increase the heat to high. Pour in the curd-spice mixture.
Bhuno vigorously on high heat, stirring continuously, for 6 to 8 minutes until the oil separates from the masala and the mixture turns deep red-orange and glossy.
Chef's Tip:
The oil must visibly separate from the masala before the keema is added, this is the critical moment called 'tarka charna' and it cannot be skipped. If you add the keema before the oil separates, the mince will steam in undone masala and the flavours will never integrate properly. Patience at this step is what separates good keema from great keema.
Add Keema, Peas & Finish
Remove the mutton bones and whole nutmeg from the pressure-cooked keema.
Add the keema to the masala and fold everything together on medium-high heat for 4 to 5 minutes until the keema and masala are fully integrated.
Add the chopped coriander stems and green peas.
Mix gently, the peas should not be crushed.
Cover and cook for exactly 2 minutes on medium heat.
The peas will cook through while retaining their colour and slight bite.
Add the 1 tbsp of home-ground garam masala. Fold it in gently.
Cook uncovered for 1 more minute on high heat.
Turn off the heat. Add the chopped green chillies, fresh coriander leaves, and mint leaves.
Fold through gently, these are finishing ingredients and must not be cooked.
Chef's Tip:
The green peas are a deliberately timed addition, they go in only after the keema-masala integration is complete. Adding them too early turns them mushy and grey. The 2-minute covered cook gives them exactly the time they need to become tender and bright. The coriander stems are added separately from the leaves because stems can be cooked; leaves cannot.
Storage and Reheating
Allow the keema to cool fully before storing. Transfer to an airtight container and refrigerate for up to 3 days. The masala intensifies overnight, many cooks agree this tastes even better on Day 2. Freeze for up to 2 months in a freezer-safe container. Do not freeze with the fresh herb garnish; add these fresh upon reheating.
Reheat in a karahi or non-stick pan on medium-low heat with a splash of water (2 to 3 tablespoons only). Cover for 4 to 5 minutes then uncover and finish on high for 1 minute to restore texture. Do not microwave, it makes the mince rubbery and causes the masala to split.
Do not reheat more than once. Do not add water generously during reheating, a small splash is enough. Do not skip the mutton bones in the pressure cooker, they are what makes this keema taste different from all others. Do not add the fresh herbs before turning off the heat.
Nutritions
Per Serving (~300g)
People Also Ask
Yes, but the result will be different. Pressure cooking the keema with the bones extracts gelatin and marrow that enrich the mince before it ever meets the masala. If you cook the keema directly, bhuno the mince in the masala for 15 to 20 minutes on high heat until all moisture evaporates and you see oil separation. The keema will be good but will lack the depth the bone-infused version provides
Yes. For beef mince, the recipe works almost identically, increase the pressure cook time by one whistle as beef can be tougher. For chicken mince, reduce the pressure cook time to 1 whistle only and reduce the amount of degi red chilli powder by half, as chicken is more delicate. Chicken keema with peas is a lighter, excellent version of this dish.
Degi red chilli powder (also called Kashmiri mirch) is a mild chilli variety that gives an intense, deep red colour without excessive heat. It is what gives restaurant-style keema its vivid colour. Regular red chilli powder is hotter but gives less colour. Ranveer Brar uses degi specifically in the masala for this visual effect. You can substitute with a mix of ½ regular red chilli powder and ½ paprika if degi is unavailable.
Three likely causes: the pressure cook time was too long and dried out the mince before bhunai; the bhunai stage on high heat was continued too long after the masala was ready; or not enough ghee was used at the tempering stage. Mutton mince naturally has less fat than beef, always use the full amounts of ghee specified. If dry, add 2 to 3 tablespoons of warm water or reserved stock from the pressure cooker and fold it in off the heat.
Yes. Aloo Mutter Keema is a popular variation. Add 1 to 2 medium potatoes, peeled and diced into 1-cm cubes, along with the green peas at Step 4. Cover and cook for 6 to 8 minutes instead of 2 minutes, until the potatoes are fully cooked through. The starch from the potatoes will slightly thicken the masala, which is a pleasant bonus.
Pure ghee alone has a lower smoke point than oil and can burn quickly on the high heat required for proper bhunai. Combining ghee with neutral oil raises the effective smoke point of the fat mixture, allowing you to cook at the high temperatures needed for caramelising onions and bhunoing the masala without burning the ghee. The ghee still contributes its full flavour you get the aroma without the risk of burning.