
Masoor Dal Tadka
Hebbar's Kitchen
Chef
“Hebbar's Kitchen was founded in 2017 by Supritha and Bhavana, two sisters-in-law from Bangalore, Karnataka, driven by a passion for sharing authentic Indian vegetarian cooking. Known for clear, tested, step-by-step recipes.”

Aarif
Food Journalist
Aarif is a devoted content writer at Regional Heritage Food (RHF), passionate about cooking and travel. He shares his culinary experiences and discoveries, inspiring others to explore new recipes and flavors.
The Restaurant Secret That Belongs in Your Home Kitchen
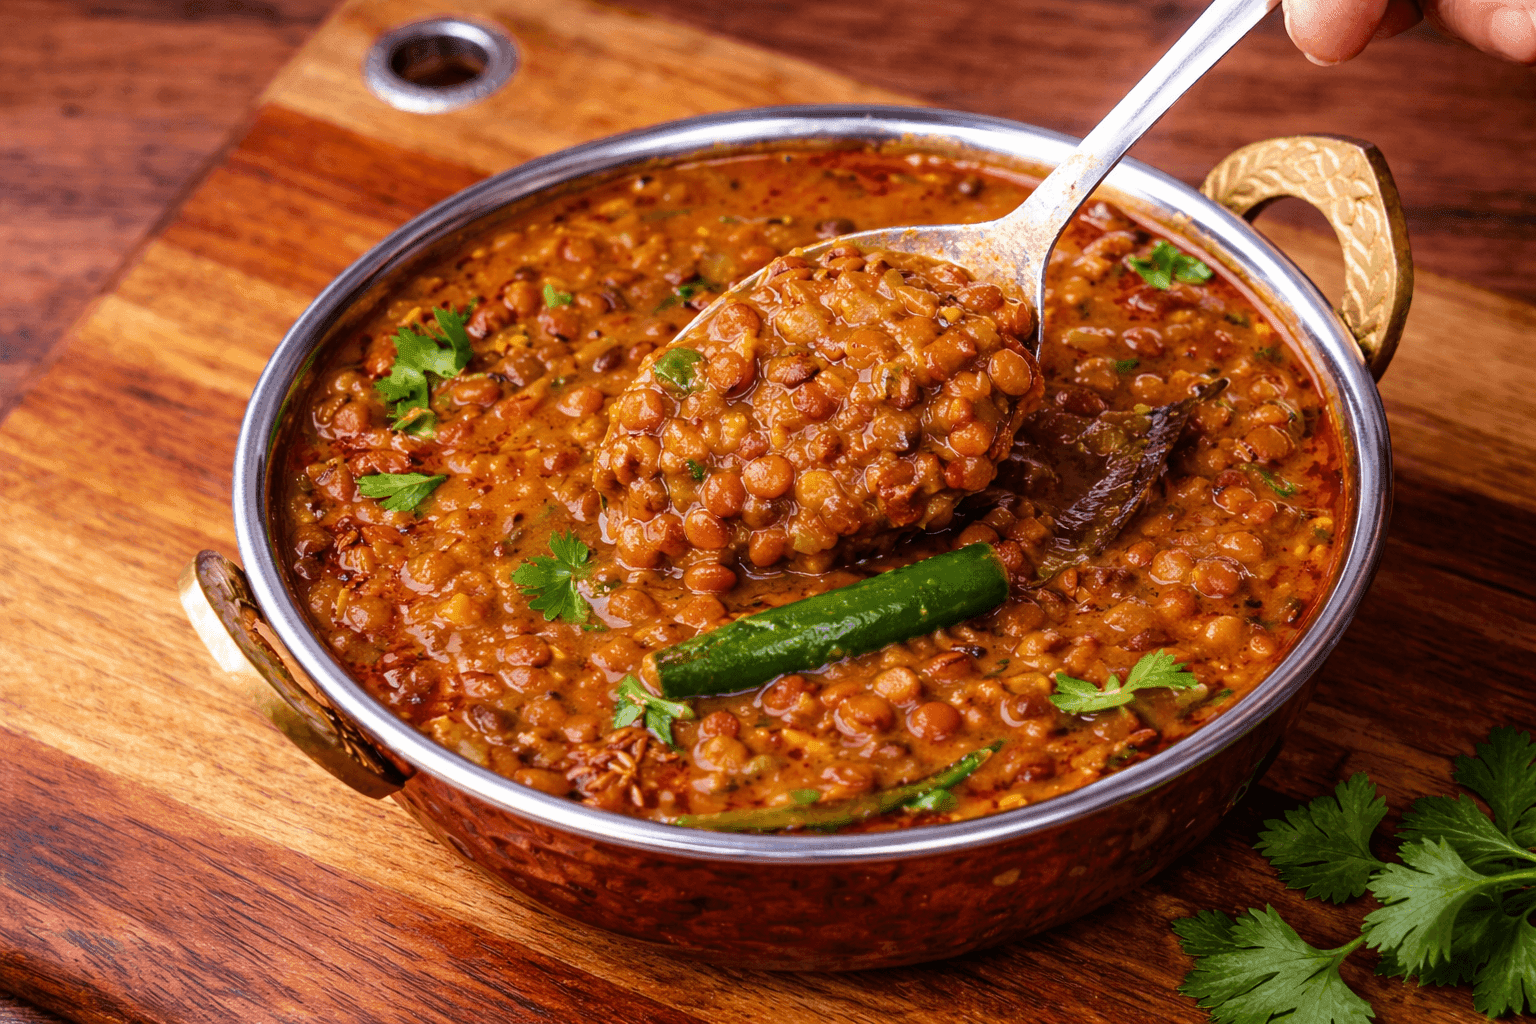
Most home-cooked dal is fine. Hebbar's Kitchen Masoor Dal Tadka is something else entirely, and the difference is not in exotic ingredients or complicated technique. It is in two things: the quality of the masala base and the double tadka that finishes the dish.
Masoor dal (whole brown lentils) is one of the fastest-cooking and most nutritious pulses in South Asian cooking. It breaks down quickly, has a mild, earthy sweetness, and absorbs spice beautifully. The secret to Hebbar’s Kitchen’s success lies in treating dal as a layered dish rather than a simple soup. They focus on two critical stages: first, building a rich masala base by cooking tomatoes and onions until the oil separates, and second, adding a final "tadka" of spices sizzled in ghee right before serving.
This recipe has been tested thousands of times in home kitchens across India, Pakistan, and beyond. It works on a stovetop without a pressure cooker, scales up easily for large families, and delivers consistent results every single time.
Why This Recipe Works Better Than Others
The Double Tadka Technique
Most dal recipes use only a single tadka, added either at the beginning or at the end. Hebbar's Kitchen uses two. The first tadka builds the masala base: cumin seeds, onion, ginger-garlic, and tomatoes cooked until the oil separates and the raw smell is completely gone. The second tadka is added right before serving: mustard seeds, dried red chillies, and garlic slivers bloomed in hot ghee and poured directly onto the finished dal. This second tadka is what gives the dish its signature restaurant aroma and makes the difference between good dal and unforgettable dal.
Oil Separation as a Quality Check
The recipe insists on cooking the masala until the oil clearly separates and floats on the surface before adding the cooked dal. This is not aestheticc, it is functional. When the oil separates, it means all the moisture has evaporated from the masala, the onions and tomatoes have completely broken down, and the spices have been properly fried rather than merely simmered. Dal added to an under-cooked masala tastes watery and raw. Dal added to a properly bhunai'd masala tastes deep, rich, and integrated.
Kasuri Methi — The Finishing Touch
Dried fenugreek leaves (kasuri methi) are rubbed between the palms and stirred into the dal in the final minute of cooking. This is a technique used consistently across Hebbar's Kitchen recipes and is one of the most impactful small additions in Indian cooking. Kasuri methi adds a distinctive slightly bitter, hay-like aroma that is the defining background note of restaurant-style dal. Without it, the dal tastes homemade. With it, it tastes like it came from a proper dhaba.
Ghee for the Second Tadka, Oil for the First
Using cooking oil for the initial masala build (where it needs to cook for a long time) and then switching to ghee for the finishing tadka is both economical and technically correct. Ghee has a high smoke point and a rich, nutty flavour that is best preserved when it is heated briefly and poured immediately over the dal, not cooked for 20 minutes. This approach gets the best out of both fats without wasting expensive ghee on long cooking.
prep time
10 min
Soak Time
30 min
cook time
30 min
servings
4
Ingredients
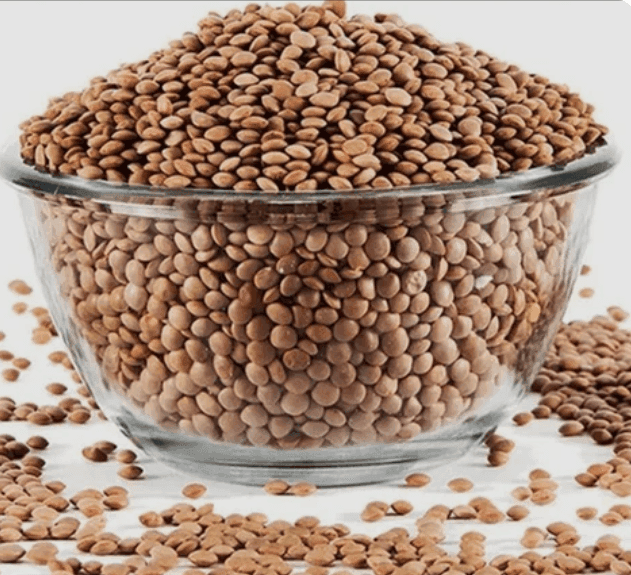 Masoor dal1 cup
200 gram, brown lentil
 Water3 cup
Ratio 1:3 dal to water for perfect consistency
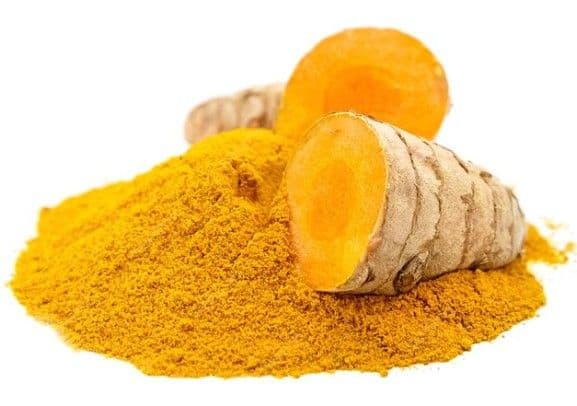 Turmeric powder0.25 tsp
 Salt0.5 tsp
adjust as per taste
 Cooking oil2 tbsp
Method
Rinse the Masoor Dal
Place 1 cup of masoor dal in a bowl and wash under cold running water, swirling and draining, until the water runs completely clear, usually 3 to 4 rinses.
This removes excess starch, surface dust, and any bitterness. After rinsing, soak in fresh cold water for 30 minutes. Soaking shortens the cooking time and ensures even, complete cooking.
Chef Tip:
Do not skip the soaking step even though masoor dal cooks faster than other lentils. Soaked dal breaks down more evenly and produces a creamier, smoother texture in the finished dish.
Boil the Dal
Drain the soaked dal and transfer to a medium saucepan. Add 3 cups of fresh water, ¼ tsp turmeric, and ½ tsp salt.
Bring to a full boil over high heat, skimming off any white foam that rises to the surface in the first few minutes.
Once boiling, reduce to medium-low heat. Cook uncovered for 20–25 minutes, stirring occasionally, until the dal is completely soft and the grains have broken down into a thick, creamy consistency.
If using a pressure cooker, cook for 2 whistles. The finished texture should be smooth and pourable, not grainy.
Chef Tip:
Cook the dal until it is slightly softer than you think necessary. It will firm up slightly when mixed with the masala. Undercooked dal always tastes grainy in the final dish regardless of how good the masala is.
Bloom Cumin in Oil
Heat 2 tbsp of cooking oil in a wide, heavy-bottomed pan over medium-high heat.
Once the oil shimmers, add 1 tsp of cumin seeds. Wait, do not stir, until the seeds begin to crackle and turn a shade darker, approximately 20–30 seconds.
You will hear them pop and smell a warm, nutty aroma. This is the first flavour layer of the dish.
Chef Tip:
The cumin must crackle in hot oil before you add anything else. Adding onion to oil that is not hot enough means the onion steams rather than fries and steamed onion never produces the deep golden colour you need for a proper masala.
Cook the Onion to Golden
Add the finely chopped onion to the crackling cumin. Stir well and cook on medium-high heat, stirring every minute or so, for 8–10 minutes until the onion is deep golden brown, not pale yellow, not burnt, but a consistent deep amber.
This long onion cook is what gives the masala its sweet depth and rich colour.
Reduce heat to medium if the pan gets too hot.
Chef Tip:
Finely chopped onion cooks faster and more evenly than roughly chopped. A food processor or a sharp knife for an almost-transparent fine chop will produce a masala that integrates more smoothly into the dal.
Add Ginger-Garlic & Green Chillies
Add ½ tsp ginger paste, ½ tsp garlic paste, and the 2 slit green chillies to the golden onion.
Stir continuously and cook for 1–2 minutes until the raw smell of ginger and garlic completely disappears.
The mixture will darken slightly and smell deeply aromatic.
Chef Tip:
If making the pastes at home, blending fresh ginger and garlic separately (rather than combined) gives you more control over the ratio. The ginger:garlic ratio in this recipe is deliberately 1:1 for a balanced result.
Add Tomatoes & Cook Down
Add the 2 finely chopped tomatoes to the pan. Stir to combine with the onion and ginger-garlic.
Cook on medium heat for 8–10 minutes, pressing and stirring the tomatoes regularly with the back of the spoon, until they have completely broken down and the oil begins to visibly separate from the masala.
The mixture should look thick, dark, glossy and not wet or soupy. This is the most important step in the entire recipe.
Chef Tip:
Adding a small pinch of salt with the tomatoes speeds up their breakdown by drawing out moisture. Do not add the spice powders before the tomatoes have fully broken down, spices added to wet masala taste raw and harsh.
Add Spice Powders & Bhunai
Add ¼ tsp turmeric, ½ tsp red chilli powder, and 1 tsp coriander powder to the pan.
Stir immediately and continuously for 1–2 minutes on medium heat. The spices will absorb into the masala and the mixture will smell intensely fragrant.
Cook until the oil separates again after adding the powders. Add 2 tbsp of water if the mixture sticks but do not let the spices burn.
Chef Tip:
Always stir continuously for the first 60 seconds after adding powdered spices to hot oil. Undisturbed, they will burn and turn bitter in under a minute. Continuous stirring prevents hot spots and ensures even cooking.
Add Cooked Dal to the Masala
Pour the cooked masoor dal directly into the masala pan. Add 1 tsp salt (adjusting to taste).
Stir well to fully combine the dal and the masala. Add ½ to 1 cup of hot water to reach your preferred consistency.
Hebbar's Kitchen style is medium-thick, pourable but not watery.
Bring to a gentle boil, then simmer on low for 5 minutes to allow the dal and masala to integrate fully.
Chef Tip:
Always add hot water, not cold, when adjusting dal consistency. Cold water shocks the dal, causes the temperature to drop unevenly, and can make the texture slightly gluey.
Add Kasuri Methi
Take 1 tsp of kasuri methi in your palm and rub firmly between both palms over the dal. The rubbing crushes the dried leaves and releases their essential oils and aroma that would otherwise stay locked in the leaf.
Stir into the dal and simmer for 1 final minute. Taste and adjust salt.
Chef Tip:
Rubbing kasuri methi between your palms before adding is not a formality, it genuinely releases 3 to 4 times more aroma than simply sprinkling the leaves whole. This is the single most impactful technique in the recipe.
Prepare the Second Tadka (Finishing)
Heat 1 tbsp of ghee in a small pan over high heat until it shimmers. Add ½ tsp mustard seeds, wait for them to pop and splutter (10–15 seconds).
Add the thinly sliced garlic cloves and cook, stirring, until they turn golden and crispy, approximately 30–40 seconds.
Add the 2 whole dried red chillies. Remove from heat and immediately add ¼ tsp Kashmiri red chilli powder (off the heat, it burns instantly if added to live flame).
The tadka will sizzle dramatically. Pour this entire tadka, ghee and all, directly over the finished dal.
Do not stir, let it sit on top.
Chef Tip:
The second tadka must go on at the very last moment, just before serving. If you add it and then keep cooking, the crispy garlic softens and the dramatic layered presentation is lost. Prepare it as your bowls are being set on the table.
Secret Ingredient: Kasuri Methi (Dried Fenugreek Leaves)
Kasuri methi contains volatile aromatic compounds that mimic the 'restaurant smell' of professional dal. It adds a slightly bitter, grassy, hay-like depth that is almost impossible to identify by name but immediately recognisable as 'that restaurant flavour'. Without it, even a perfectly cooked dal tastes homemade.
Always add kasuri methi in two stages: once with the masala (for background flavour) and once at the very end, rubbed between the palms (for aroma). This double addition is Hebbar's Kitchen's actual technique and the reason their dal has more aromatic complexity than most.
Nutritions
Per Serving (~250 g)
People Also Ask
The most common cause is an under-cooked masala. If the oil has not properly separated from the tomato-onion mixture before you add the dal, the masala is still carrying excess moisture, which dilutes the finished dish. Cook the masala longer, upto 10 full minutes after adding the tomatoes and wait until you clearly see oil pooling at the edges before proceeding.
The second most common cause is skipping or under-using kasuri methi, which provides the aromatic depth that makes dal taste 'complete'.
It is the single most impactful step in the recipe. The second tadka with crispy garlic, spluttering mustard seeds, whole red chillies, and Kashmiri chilli powder bloomed in ghee is what creates the dramatic visual and aromatic presentation. It adds a smoky, nutty, garlic-forward top note that makes the dal smell and taste like it was professionally made. Technically the dal is edible without it. But it would be like making a burger without the sauce, technically it is fine, noticeably inferior.
Allow the dal to cool completely, then store in an airtight container in the refrigerator for up to 3 days. Masoor dal thickens considerably in the refrigerator as the starch gels. Reheat gently on the stovetop over low heat, adding a few tablespoons of hot water to restore the original consistency. Stir regularly to prevent sticking.
Prepare a fresh small second tadka (step 10) when reheating. This takes 2 minutes and dramatically restores the freshness of the dish. Do not reheat the same tadka; it loses its crispness.