
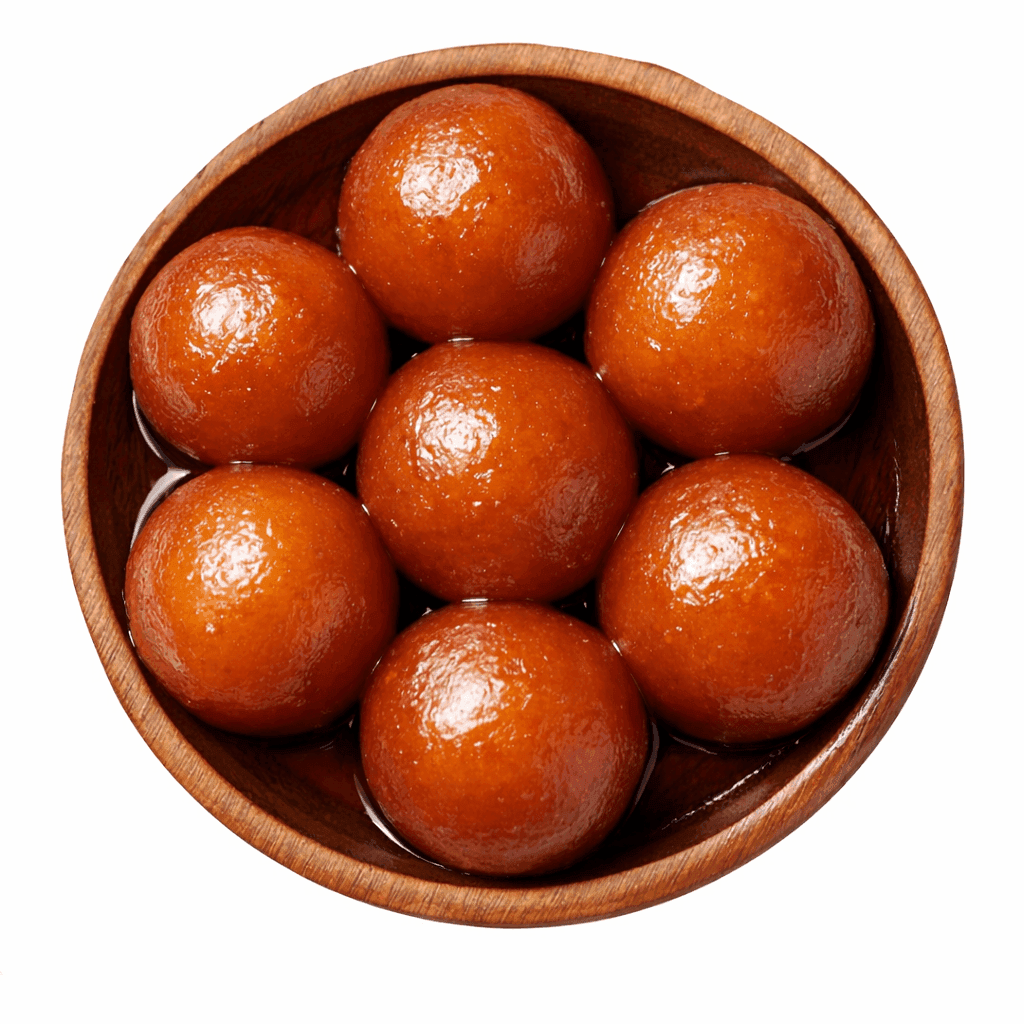
Gulab Jamun

Kabita's kitchen
Chef
“Kabita Singh, creator of Kabita’s Kitchen, is an Indian YouTuber and self-taught cook known for her simple, home-style recipes. Starting as a homemaker, she turned her passion for cooking into a digital career, amassing over 14 million YouTube subscribers and becoming a leading culinary influencer in India”

Aarif
Food Journalist
Aarif is a devoted content writer at Regional Heritage Food (RHF), passionate about cooking and travel. He shares his culinary experiences and discoveries, inspiring others to explore new recipes and flavors.
Super Soft, Crack-Free and Made with Milk Powder, No Khoya Needed
There is a specific moment at every Eid gathering, every wedding mithai spread, and every dawaat dessert table that needs no announcement. The Gulab Jamun arrive. Everyone already knew they were there. This is not a dessert that people consider politely. It is a dessert people move toward.
Gulab Jamun is the mithai that holds more food memories per bite than almost anything else in South Asian cooking. The first one at Eid as a child. The bowl passed around at a wedding. The plate your mother made on a rainy afternoon when the kitchen smelled of ghee and warm syrup and the whole house felt more comfortable than usual. These are not small associations. They are the reason people are particular about their Gulab Jamun in a way they are not particular about other sweets.
The traditional recipe uses khoya, dried reduced milk solids, and that is exactly where most home cooks stop. Khoya is not always available, it is not always affordable, and it requires a separate preparation that adds time and effort. Kabita's Kitchen's milk powder method removes that barrier without removing anything that matters. The same deep golden colour. The same spongy, melt-in-your-mouth interior. The same syrup that soaks all the way through rather than sitting on the surface. Made from ingredients already sitting in the kitchen, ready in under an hour.
Why This Recipe Works Better Than Others
Milk Powder Replaces Khoya Without Losing Anything
Traditional Gulab Jamun requires khoya, which takes hours to prepare and is not always easy to find. Milk powder combined with a small amount of maida and ghee, hydrated with boiled milk, produces the same rich, dense base. The finished jamun is indistinguishable from the khoya version in texture, colour, and flavour.
Rub the Ghee In Properly
Rubbing ghee into the dry mixture before any liquid is added coats every particle of flour with fat. This prevents gluten from developing into a tough network when liquid is added. Skip this step and the result is a rubbery jamun that does not absorb syrup evenly. Two full minutes of rubbing with the fingertips is what keeps the texture soft.
Every Step Prevents Cracks
A crack in raw dough becomes a full burst in hot ghee, destroying the shape and preventing even syrup absorption. The ghee in the dough keeps it pliable, the milk is added gradually to keep it soft, the palms are greased before rolling, and any crack is pressed shut before the ball goes into the ghee. Each of these steps exists for the same reason.
The Chashni Consistency Explained Simply
Chashni that is too thin produces faintly sweet jamuns. Too thick and it crystallizes and prevents even absorption. The correct consistency coats the back of a spoon and falls in a single slow drip. This recipe explains that test in plain language rather than using terms like single-thread consistency that mean nothing to a beginner.
A Specific Test for the Right Frying Temperature
Low heat means a small piece of raw dough dropped into the ghee should take 4 to 5 full seconds before it slowly begins to rise. If it rises immediately the ghee is too hot. Ghee that is too hot browns the outside in minutes while the inside stays raw. The problem only shows when the jamun is bitten and by then it cannot be fixed.
prep time
30 min
cook time
40 min
Jamuns
15
Ingredients
 Sugar150 g
 Water1.5 cup
 Lemon juice0.3 tsp
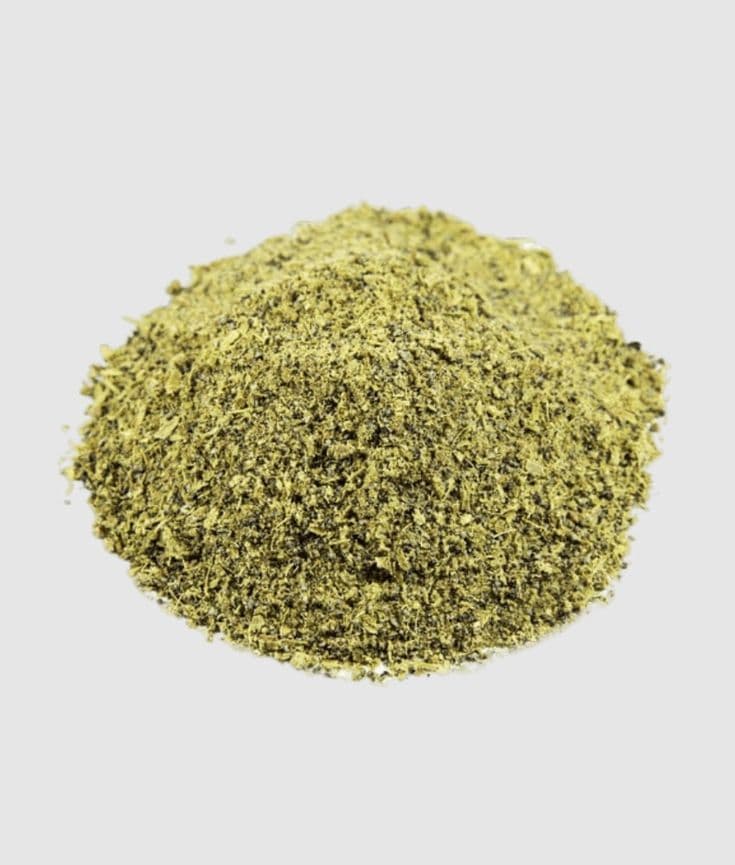 Cardamom pods (crushed)4 pods
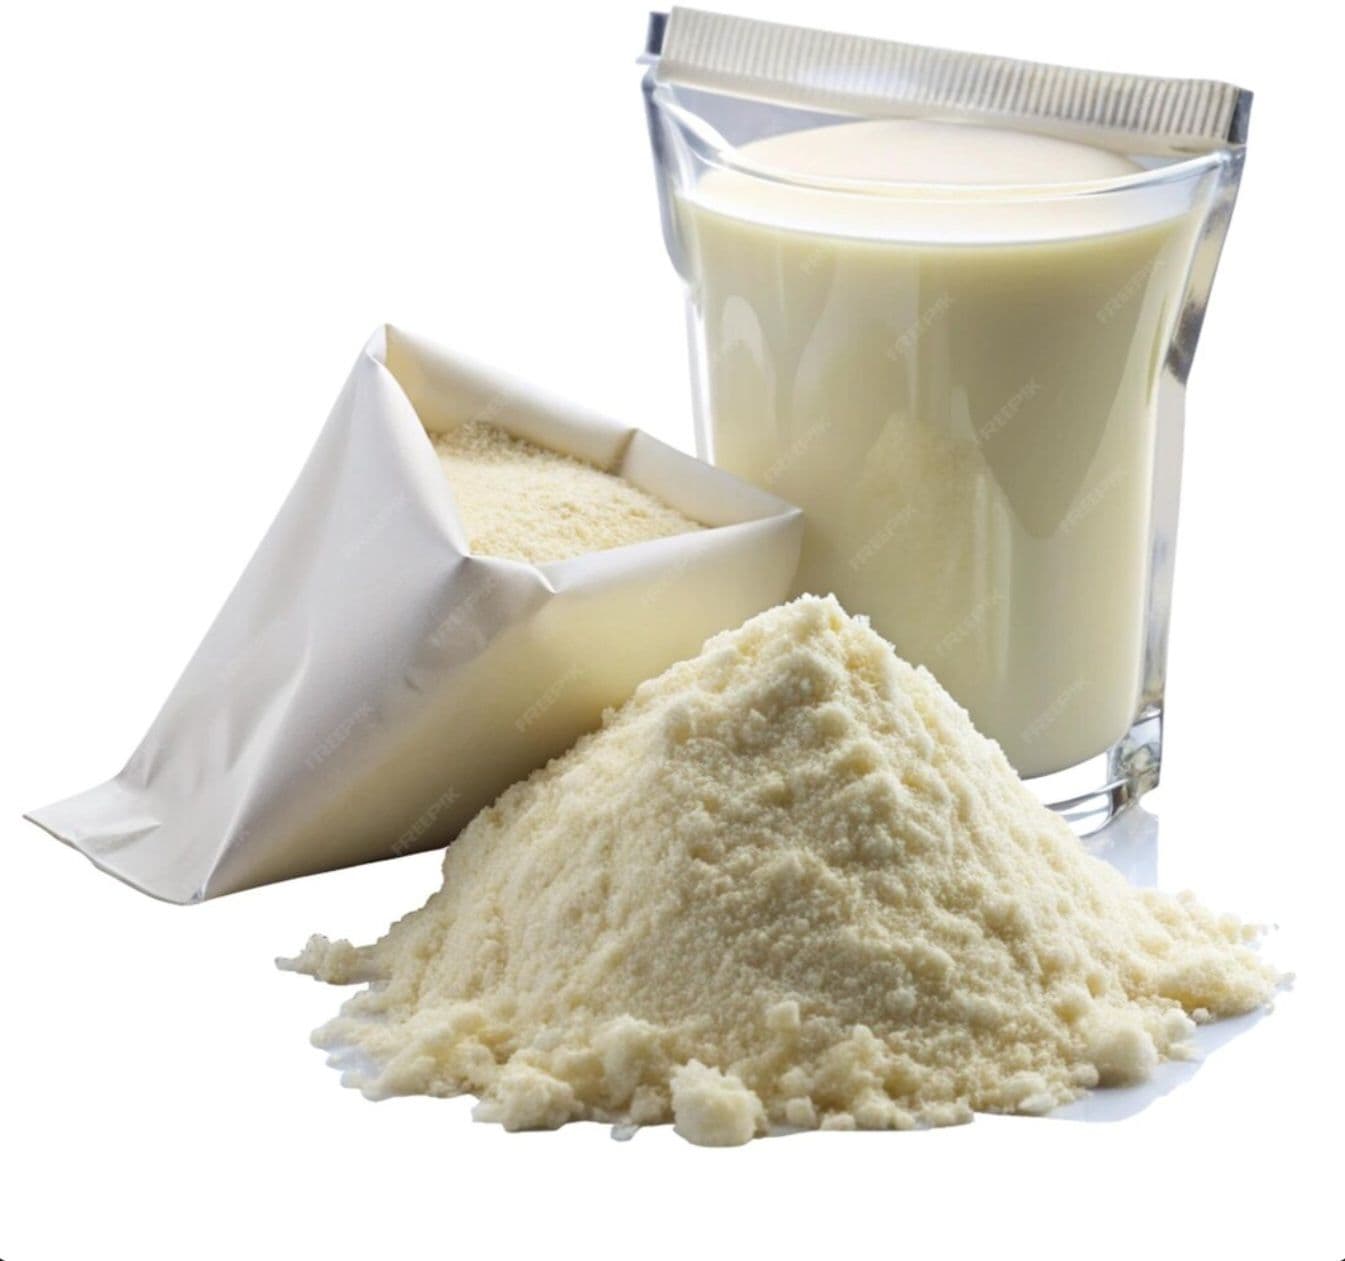 Milk powder100 g
Method
MAKE THE SUGAR SYRUP FIRST
Combine 150g sugar and 225ml water (1.5 cup) in a heavy-bottomed pot.
Place on medium heat and stir continuously until every grain of sugar has fully dissolved before the liquid comes to a boil. Once it reaches a boil, stop stirring completely.
Add one third tsp of lemon juice and the crushed cardamom pods. Reduce the heat to low and let the syrup simmer undisturbed for 12 to 15 minutes.
To test readiness: lift a spoon out of the syrup. The syrup should coat the back of the spoon lightly and fall off in a single slow, heavy drip.
Press a drop between your thumb and finger, then pull them apart. It should not form a thread or string. If it threads, it has cooked too long. Remove from heat, cover with a lid, and keep warm.
Chef's Tip:
Always make the syrup before the dough and keep it warm throughout the entire process. If the syrup cools completely by the time the fried jamuns go in, the outer skin hardens before the inside has a chance to absorb any sweetness. The result is jamuns that taste sweet on the outside and plain in the center. A warm syrup absorbs evenly all the way through. If the syrup has cooled while you were frying, reheat it gently on low flame for two minutes before adding the jamuns.
MIX THE DRY INGREDIENTS
In a wide mixing bowl, add 100g milk powder, 1 tbsp maida, and 2 small pinches of baking soda if using.
Use your fingers or a spoon to mix the three together until they are evenly combined with no lumps or visible patches of any single ingredient remaining.
The mixture should look uniformly pale and powdery throughout.
Chef's Tip:
Do not be tempted to add more maida than the recipe specifies. One tablespoon is the deliberate upper limit. Maida contains gluten and every extra gram of it risks producing a tougher, more elastic dough. The milk powder is the primary structure of this recipe. The maida is present only to provide a small amount of binding support. More maida changes the texture of the finished jamun noticeably and not for the better.
RUB THE GHEE INTO THE DRY MIX
Add 2 tbsp of room-temperature ghee to the dry mixture.
Using your fingertips, rub the ghee into the powder using a circular pressing motion, the same motion used when making shortcrust pastry.
Press, rub, and lift repeatedly until no dry powder remains visible and the entire mixture feels like fine, slightly damp, sandy crumbs.
This takes approximately 2 full minutes of steady rubbing. Every particle of milk powder and maida should feel coated in fat before you move to the next step.
Chef's Tip:
This is the most important step in the entire recipe and the one most commonly rushed. The fat coating that the ghee creates around each particle of flour is what prevents gluten from developing when the liquid is added. Without this coating, the maida absorbs the milk directly and begins forming gluten strands. With this coating, the fat insulates the flour and the resulting dough stays tender. Spend the full two minutes here. The difference between two minutes of proper rubbing and thirty seconds of careless mixing is the difference between a melt-in-your-mouth jamun and a rubbery one.
FORM THE DOUGH
Add the boiled and cooled milk one tablespoon at a time.
After each tablespoon, bring the mixture together gently with your fingers and press it to see whether it holds together or still crumbles.
The goal is a dough that forms one smooth, soft, slightly tacky ball with no cracks on the surface. Knead as little as possible.
The moment the mixture comes together into a smooth, crack-free ball, stop adding milk and stop kneading. The entire liquid addition and bringing together should take under 2 minutes.
Chef's Tip:
Stop adding milk earlier than feels comfortable. The dough will continue to hydrate and come together slightly as it rests. A dough that feels barely moist enough at this stage will be perfect after two minutes of resting. A dough that feels just right will be slightly too wet after resting. If the dough becomes sticky after coming together, do not add more flour. Rub a tiny amount of ghee onto your palms instead. Adding flour at this point disrupts the milk powder to maida ratio that the recipe is built on
SHAPE THE JAMUNS WITH GREASED PALMS
Pour a few drops of ghee onto both palms and rub them together until lightly coated. Pinch off a portion of dough roughly the size of a large marble.
Place it between your palms and roll in slow, gentle, circular motions with light, even pressure.
The ball should become perfectly round and completely smooth with no cracks visible anywhere on the surface. Set each finished ball on a clean flat plate.
Do not cover them with a cloth. Repeat with all remaining dough. Remember that each ball will expand to nearly double its raw size after soaking in syrup, so roll them smaller than the size you want to serve.
Chef's Tip:
Examine each ball before putting it on the plate. Any crack visible on a raw jamun, no matter how small, will open fully the moment it hits hot ghee. A cracked jamun loses its shape, absorbs ghee into the center instead of syrup, and does not produce the right texture after soaking. If you see a crack forming, press it gently shut with a fingertip and continue rolling until the surface is completely smooth. Regreasing your palms after every two or three balls keeps the rolling smooth and prevents dragging that creates surface tears.
FRY ON THE LOWEST POSSIBLE HEAT
Pour enough ghee into a heavy-bottomed kadai or deep pan for deep or generous shallow frying. Place on the stove on very low flame.
Before adding any jamuns, test the temperature with a small pinch of raw dough. Drop it in and count slowly.
It should take 4 to 5 full seconds before it slowly rises to the surface. If it rises instantly or sizzles aggressively on contact, the ghee is too hot.
Remove the pan from the heat for one minute and test again. Once the temperature is correct, gently lower 3 to 4 jamun balls into the ghee using a spoon.
Keep the flame on the absolute lowest setting throughout. Rotate the jamuns continuously and gently so all sides colour evenly.
Fry each batch for 8 to 10 full minutes until a deep, even, warm golden-brown is achieved all over every surface. Remove with a slotted spoon.
Chef's Tip:
The ghee temperature at this stage is the single most common cause of failed Gulab Jamun and it is the one thing that cannot be fixed after the fact. When the ghee is too hot, the surface of the jamun sets and browns in 2 to 3 minutes while the interior remains completely raw. From the outside it looks perfect. The problem only reveals itself when bitten. If your jamuns are browning in under 5 minutes, the heat is too high regardless of what the flame looks like. Every stove and every pan runs differently. Use the dough test every single time.
SOAK IN WARM SYRUP
Check that the syrup is warm, not hot and not cold. Reheat gently on low flame for two minutes if it has cooled.
Carefully slide the fried jamuns into the warm syrup one at a time using a spoon.
Place the pot on low to medium heat and let the jamuns cook gently in the syrup for 8 to 10 minutes, moving them very gently with a spoon every couple of minutes. Watch them as they sit in the syrup.
You will see them visibly expand and swell as they absorb the liquid. This swelling is the sign that everything has gone right.
Once they feel soft and spongy when pressed very lightly with the back of a spoon, turn off the heat. Leave them in the syrup for at least 15 to 20 minutes before serving.
Chef's Tip:
The 15 to 20 minute rest after the heat is turned off is when the most important absorption happens. The jamuns continue drawing in syrup as the temperature drops and by the end of the rest period they will have absorbed significantly more than they had when the heat was on. Serving them immediately after the heat goes off means serving them at perhaps 60 to 70 percent of their final flavour. Wait the full time. If you are making them ahead, leaving them in the syrup overnight in the refrigerator produces the best result of all. The flavour deepens overnight and the texture becomes perfectly even from the inside out.
Secret Ingredient: Lemon Juice in the Chashni
One third of a teaspoon of lemon juice added to the syrup after it comes to a boil is the ingredient most home cooks consider optional and most experienced cooks consider non-negotiable. Its job is chemical rather than flavour-based. Sugar dissolved in water is sucrose. When sucrose is heated and then cools, it tends to recrystallize, forming a cloudy, grainy syrup that does not absorb into the jamuns smoothly.
The acid in lemon juice breaks the sucrose down into glucose and fructose during the cooking process. These two simple sugars do not recrystallize. The syrup stays clear, pourable, and absorbable even after cooling completely. Without lemon juice, syrup that looks perfect during cooking can crystallize within an hour of cooling and produce jamuns with an uneven, grainy sweetness rather than the smooth, even saturation that makes a great Gulab Jamun.
One third of a teaspoon is all it takes and the difference is permanent.
Nutritions
Per Jamun (approx.)
People Also Ask
The dough was too dry, was overworked, or had air pockets trapped inside during rolling. Every crack on a raw jamun, no matter how small, opens fully the moment it contacts hot ghee. The jamun loses its shape, absorbs ghee into the center, and does not soak evenly in the syrup afterward.
The fix is prevention: add the milk gradually and stop the moment the dough holds together, grease your palms before rolling each ball, roll slowly and evenly with light pressure, and examine each ball carefully before it goes into the ghee. If a crack appears during rolling, press it shut with a fingertip and keep rolling until the surface is completely smooth.
Two causes. The first is too much maida in the dough or over-kneading after the liquid was added. Use exactly 1 tablespoon of maida and handle the dough as little as possible once it comes together. The second is cold syrup. If the syrup had cooled completely when the fried jamuns went in, the outer skin of each jamun hardened before the inside could absorb any sweetness. Always ensure the syrup is warm when the jamuns are added. Reheat it gently on low flame if it has cooled during the frying stage.
The ghee was too hot. This is the most common failure in Gulab Jamun and there is no fix after the fact. Prevention is the only solution. Before adding any jamuns, test the ghee with a small piece of raw dough. It should take 4 to 5 full seconds before it slowly rises. If it rises immediately or sizzles aggressively, remove the pan from the heat and wait one full minute before testing again. Keep the flame on the absolute lowest setting throughout the entire frying process. A properly fried jamun takes 8 to 10 minutes per batch. If yours are done in 3 to 4 minutes, the heat is too high.
Dip a spoon into the syrup and lift it out. The syrup should coat the back of the spoon lightly and fall off in one single slow, heavy drip rather than running off freely like water. Now press a drop of syrup between your thumb and finger and slowly pull them apart. It should not form a string or thread. If it threads, the syrup has cooked too long and is too thick. Thick syrup makes the jamuns cloyingly sweet and prevents even absorption. If you have overcooked it, add a tablespoon of hot water and stir gently on low heat for one minute to thin it slightly.
Either the lemon juice was skipped, or the syrup was stirred after it came to a boil, or it cooked for too long. Lemon juice is the ingredient that prevents crystallization. Its acid breaks the sucrose into glucose and fructose during cooking, and these two simple sugars do not recrystallize. Stirring a boiling syrup introduces crystal nuclei that trigger recrystallization as the syrup cools. Add the lemon juice exactly as directed, stop stirring the moment the syrup reaches a boil, and remove from heat when the single-drip test is satisfied.