
Eggless Chocolate Cake

Kitchen with Amna
Chef
“Chef Amna, creator of "Kitchen with Amna," is a popular Pakistani food vlogger known for her easy-to-follow recipes. Her engaging videos help home cooks master both traditional and modern dishes.”

Aarif
Food Journalist
Aarif is a devoted content writer at Regional Heritage Food (RHF), passionate about cooking and travel. He shares his culinary experiences and discoveries, inspiring others to explore new recipes and flavors.
Super Soft Chocolate Sponge with Dark Chocolate Ganache Icing | No Eggs, No Oven
Eggless baking has a long, practical history in South Asian kitchens, shaped by religious dietary traditions, household budgets, and the reality that many homes lack a conventional oven. Kitchen With Amna's Eggless Chocolate Cake is the definitive Pakistani answer to all three constraints at once. It uses condensed milk in place of eggs to bind and sweeten the batter, butter to provide richness and crumb tenderness, and a vinegar-baking soda reaction to create the chemical lift that makes the cake rise without an egg white foam.
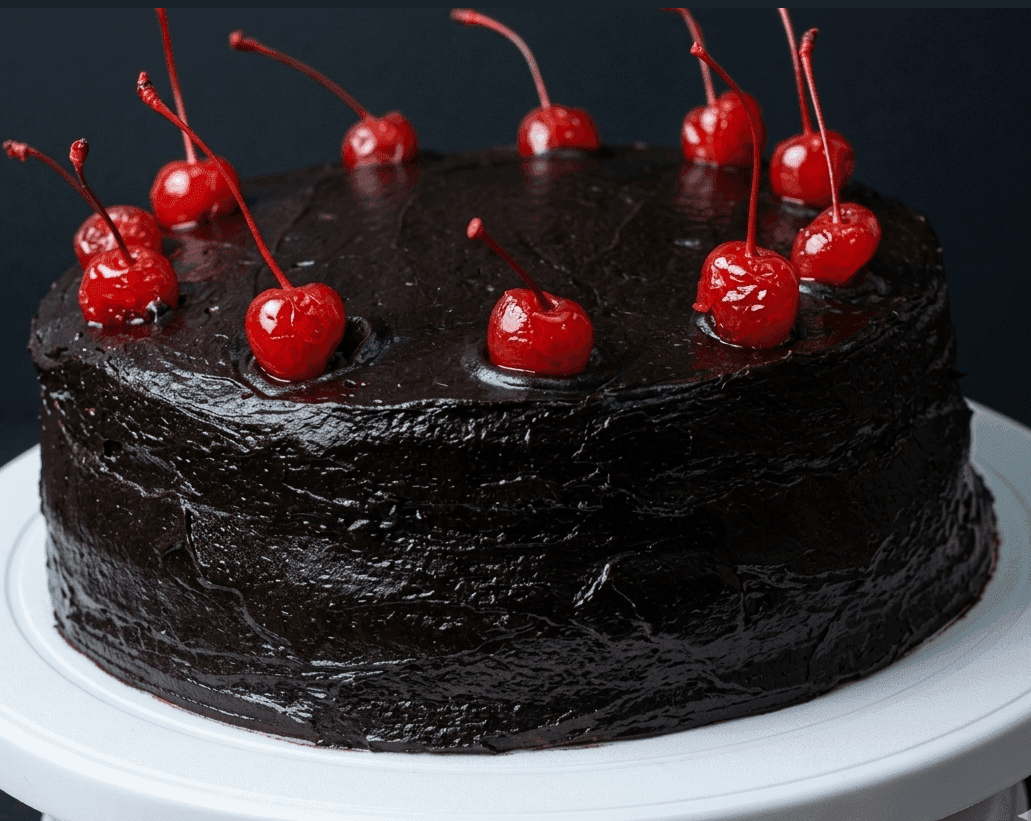
The whole batter goes into a cake mould placed inside a large pot or pressure cooker with salt at the base, the salt conducts dry heat upward, mimicking the floor of an oven, and the lid traps it to create an enclosed baking environment. The result is a soft, moist, deeply chocolatey sponge that bakes without electricity, without specialist equipment, and without eggs, finished with a simple dark chocolate ganache icing made from melted cooking chocolate and cream, and decorated with cherries.
Why This Recipe Works Better Than Others
Condensed Milk Replaces Eggs with Superior Results
Condensed milk does three things eggs normally do in a cake: it binds the batter, provides fat for moisture and tenderness, and adds sweetness. But it does one additional thing eggs cannot, it keeps the crumb moist for days after baking. A condensed milk-based cake stays soft and fresh-tasting at room temperature for 48-72 hours, where an egg-based cake of the same size begins to dry within 24 hours. The 400g quantity in this recipe is calibrated to the 250g flour base for exactly the right binding-to-flour ratio.
Vinegar Activates the Baking Soda for Maximum Rise
One teaspoon of white vinegar added to the batter at the final stage reacts with the baking soda to produce CO2 bubbles, this is the same chemical reaction as a baking soda volcano. Those bubbles are trapped in the batter as it heats in the cooker and cause the cake to rise. This vinegar-soda activation is the eggless baker's equivalent of whipped eggs. The reaction begins the moment the vinegar touches the soda, which is why the batter must be transferred to the tin and into the preheated cooker immediately after the vinegar is folded in, any delay allows the bubbles to escape before baking begins.
Salt in the Cooker Base Creates True Dry Heat
Placing 2 cups of table salt at the base of the pressure cooker and preheating for 10 minutes before the cake goes in is the key to making the cooker behave like an oven. Salt distributes and holds heat evenly across the base without adding moisture. Water cannot be used, the steam would produce a wet, pudding-like texture rather than a baked sponge. The salt acts as a heat buffer, preventing the bottom of the cake tin from scorching directly on the metal surface of the cooker.
Dark Chocolate Ganache Is the Simplest Professional Icing
The icing is just two ingredients: 500g sweetened dark cooking chocolate and 200g cream, melted together and whisked until smooth. This is a ganache, one of the most forgiving icings in baking because it sets firmly enough to coat the cake cleanly but stays soft enough to cut through without crumbling the sponge. No icing sugar, no food colouring, no piping required. The ganache is poured over the layered cake and spread with a knife, then set in the refrigerator. It produces a clean, glossy, professional finish with zero technical skill required
prep time
15 min
Preheat Cooker
10 min
Bake Time
1h
servings
8
Ingredients
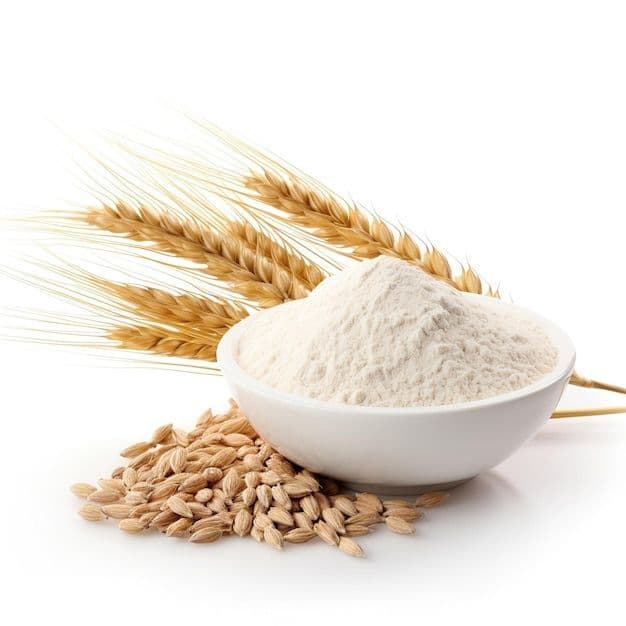 Flour (maida)250 g
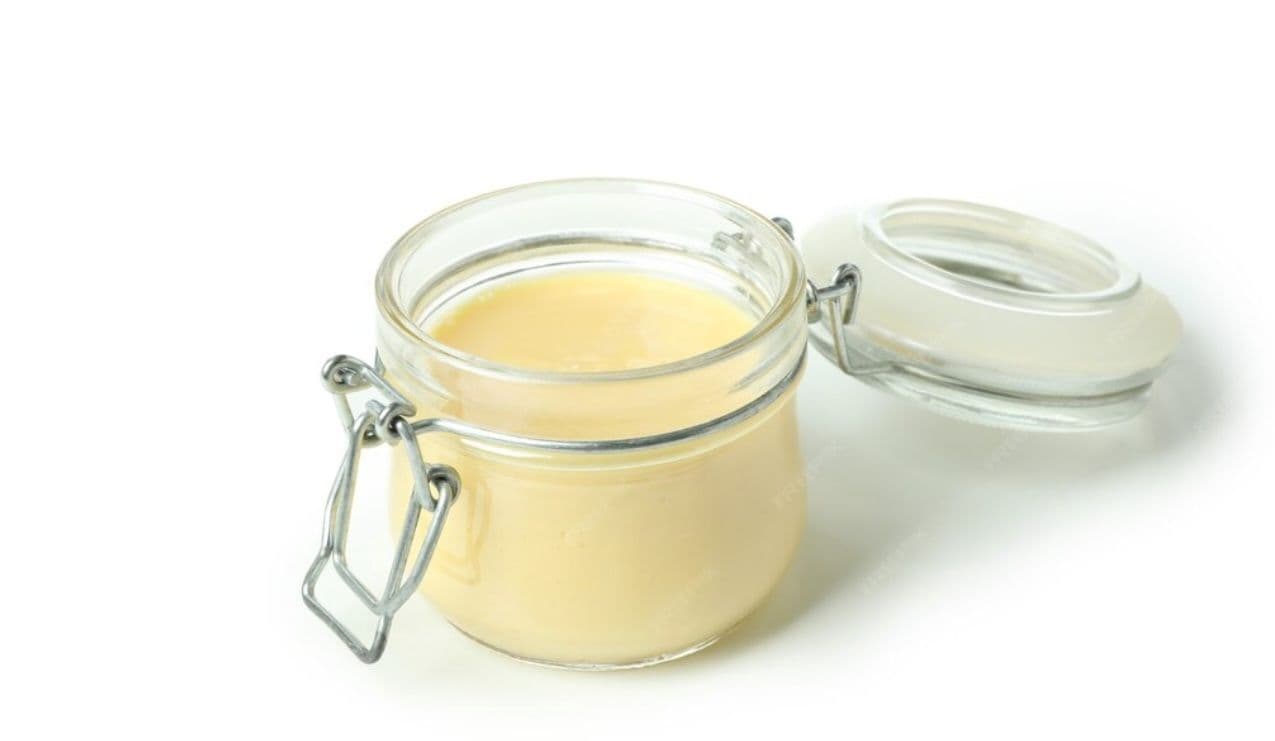 Condensed milk400 g
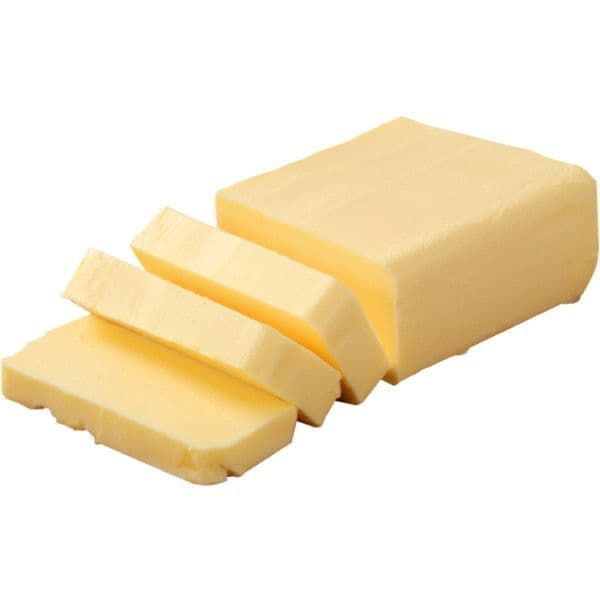 Butter100 g
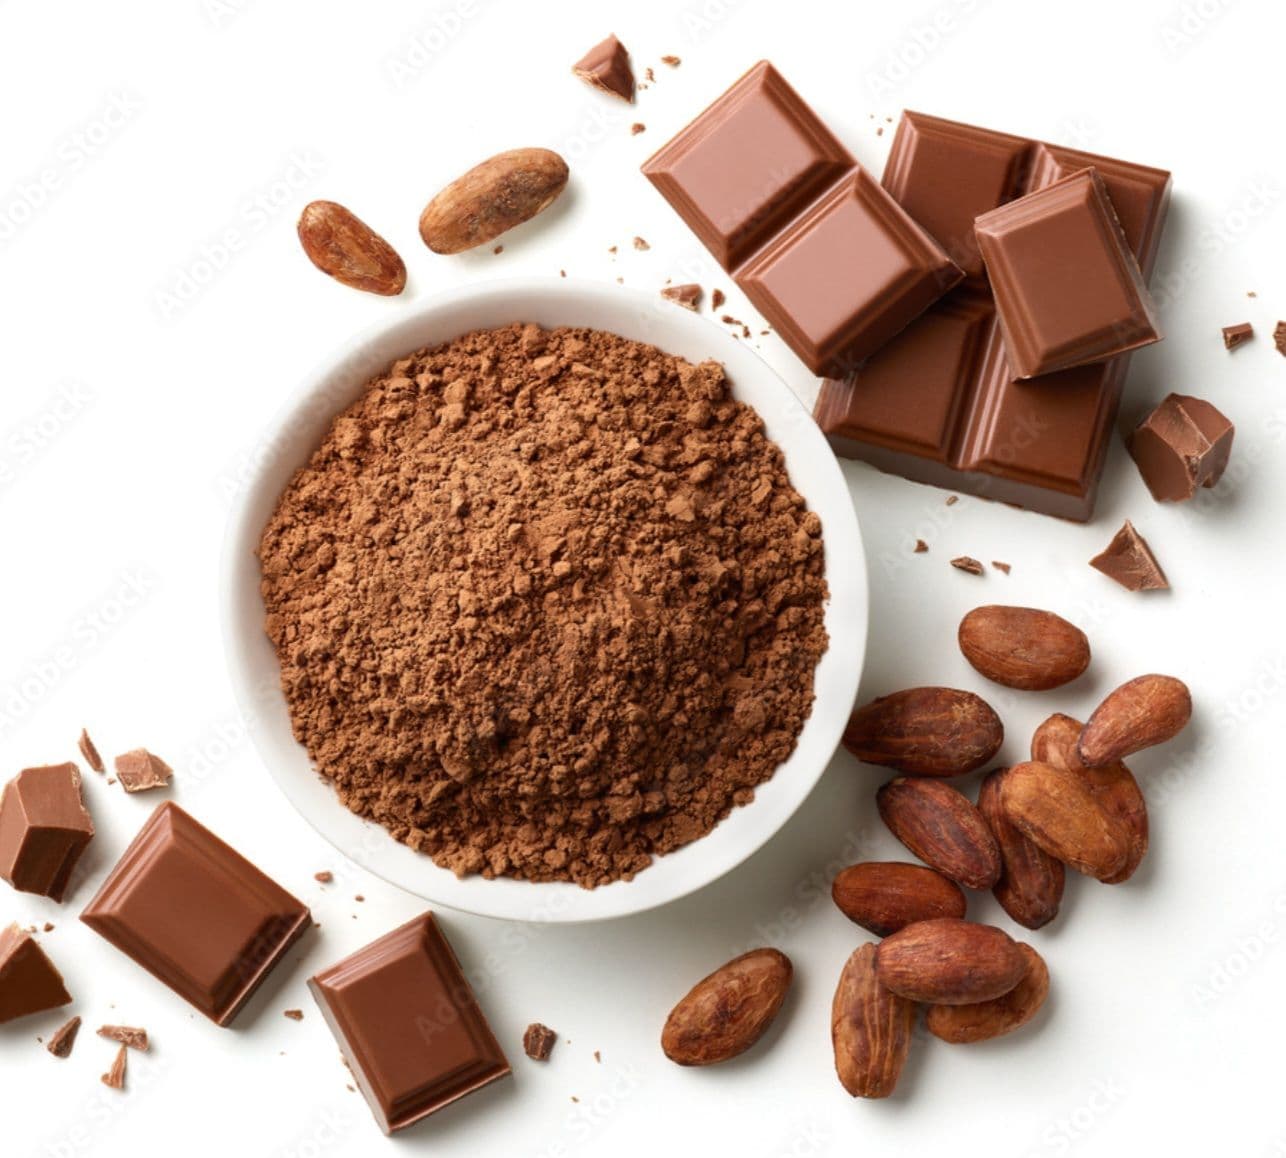 Cocoa powder6 tbsp
 Milk1 cup
Method
Prepare the Pressure Cooker (Preheat with Salt)
Remove the gasket (rubber ring) and whistle from the pressure cooker lid.
These must be removed for the entire baking process and must not be replaced.
Pour 2 cups of table salt evenly across the base of the pressure cooker.
Place a steel wire rack, an upturned steel bowl, or any heat-safe stand in the centre of the salt layer, this raises the cake tin above the salt and allows heat to circulate underneath.
Close the lid and heat the cooker on medium flame for 10 minutes to preheat it.
The cooker should feel hot to the touch from the outside by the end of the 10 minutes.
Chef's Tip:
Never use the whistle or gasket during cooker baking, the gasket seals the cooker and causes pressure to build, which will blow the lid off. Only the lid alone, without gasket or whistle, is used. The lid is simply a cover that traps heat, not a pressure-sealing device in this application.
Prepare the Cake Tin
While the cooker preheats, prepare a 7-8 inch round cake tin or any oven-safe mould that fits inside your cooker with at least 1 cm clearance on all sides.
Grease the inside of the tin generously with butter. Cut a circle of butter paper (parchment) to fit the base and press it in, then grease the paper as well.
If no butter paper is available, grease the tin with oil and dust the inside with plain flour, tap out any excess. The tin must be grease-and-paper lined to ensure the cake releases cleanly after baking.
Chef's Tip:
Test whether your cake tin fits inside the cooker before you make the batter. Place the empty tin inside the preheating cooker to confirm it sits on the rack with the lid closing fully over it. If the tin is too large and the lid cannot close, the cake will not bake evenly. If necessary, use a smaller tin and increase the bake time slightly
Mix the Dry Ingredients
In a large bowl sift together 2 cups plain flour, 6 tablespoons cocoa powder, 1.5 teaspoons baking powder, and 1 teaspoon baking soda.
Sifting is essential, cocoa powder and baking soda clump easily and must be fully distributed through the flour before the wet ingredients are added.
Mix the sifted dry ingredients with a whisk or spoon until the colour is completely uniform, no streaks of white flour visible against the cocoa. Set this dry bowl aside.
Chef's Tip:
Sift the dry ingredients twice if the cocoa powder has any lumps visible. Lumps of undissolved cocoa in the finished batter bake into hard, bitter spots in the sponge. Two siftings costs 30 seconds and eliminates this completely
Beat the Wet Ingredients
In a separate large bowl, add 2 cups condensed milk and 100g softened butter.
Beat with an electric hand mixer or a whisk until the butter and condensed milk are fully combined and smooth, approximately 2 minutes by hand, 1 minute by electric mixer.
Add 1/2 cup milk and beat again until incorporated.
Add 1/2 teaspoon vanilla essence and mix once more.
The wet mixture should be smooth, pale brown in colour, and slightly thick, the consistency of a cream soup.
Chef's Tip:
The butter must be softened to room temperature before beating. Cold butter straight from the refrigerator will not blend with the condensed milk and will leave small butter lumps throughout the batter that create uneven textures in the finished cake. Take the butter out 30 minutes before you begin.
Combine Wet and Dry, Add Remaining Milk
Add the sifted dry ingredients to the wet mixture gradually, in three additions, mixing gently with a spatula or wooden spoon after each addition using a folding motion.
Do not use an electric mixer at this stage. After the first two additions of dry ingredients are incorporated, add the remaining 1/2 cup milk and fold it in.
Add the final third of dry ingredients and fold until just combined, no streaks of flour should remain but stop mixing the moment they disappear.
The batter should be smooth, flowing, and slightly thicker than pancake batter.
Chef's Tip:
Do not overmix once the flour is in the bowl. Vigorous stirring develops gluten in the flour which makes the finished cake tough and slightly chewy rather than soft and tender. Fold with slow, deliberate strokes — cut down through the centre, sweep along the base, lift and fold over the top. Fifteen to twenty folds maximum after the last flour addition.
Add Vinegar and Transfer Immediately
Add 1 teaspoon of white vinegar to the batter. Fold it in quickly and gently, no more than 5-6 folds.
You may see slight bubbling as the vinegar contacts the baking soda; this is correct and expected. Immediately pour the batter into the prepared, greased cake tin.
Do not pause or take a phone call, the CO2 bubbles created by the vinegar-soda reaction must be preserved inside the batter by getting it into heat as quickly as possible.
Tap the filled tin firmly against the work surface twice to level the batter and release any large air pockets. Carefully open the cooker lid and place the filled tin on the rack inside.
Chef's Tip:
The vinegar step is time-sensitive. Once vinegar meets baking soda the reaction begins immediately and the bubbles start escaping. Batter that sits for 5-10 minutes after vinegar is added before going into the cooker will produce a denser, flatter cake than batter that goes in immediately. Prepare your cooker and tin completely before you add the vinegar
Bake in the Pressure Cooker
Close the pressure cooker lid (without gasket and without whistle). Reduce the flame to medium-low. Bake for 60 minutes without opening the lid.
After 60 minutes, insert a skewer or toothpick into the centre of the cake through the steam vent hole or by briefly lifting the lid, the skewer should come out completely clean with no wet batter on it.
If the skewer comes out with wet batter, close the lid and continue baking for another 10-15 minutes on low flame before testing again.
Once the skewer is clean, remove the tin from the cooker and place on a wire rack.
Chef's Tip:
Do not open the cooker lid during the first 45 minutes under any circumstances. Opening the lid releases the trapped heat and causes the rising cake to collapse in the centre, a sunken cake that no additional baking time will correct. The urge to check is strong but the result of checking early is always a disappointment. Wait for the full 60 minutes before the first test
Cool Completely Before Unmoulding
Leave the cake in its tin on the wire rack to cool for 20-30 minutes. Once it has cooled sufficiently that the tin is comfortable to hold, run a thin knife or spatula around the edge of the tin to loosen the cake.
Place a plate over the tin and invert, the cake should drop out cleanly. If it does not release, tap the base of the tin firmly.
Peel off the parchment paper from the base immediately.
Leave the cake to cool completely to room temperature before applying any icing at least 1 hour.
Icing applied to a warm cake melts and slides off.
Chef's Tip:
If the bottom of the cake looks darker than the sides, a common result of gas flame cooking, do not worry. The ganache icing covers all surfaces completely. If the bottom is very dark and slightly hard, use a serrated knife to shave off the thin crust layer before icing. This takes 30 seconds and produces a cake with uniform texture on all surfaces.
Make the Dark Chocolate Ganache Icing
Break 500g sweetened dark cooking chocolate into pieces and place in a heat-safe bowl.
Pour 200g cream over the chocolate. Melt together using a microwave in 2-minute bursts (stirring between each burst) or over a double boiler, a heat-safe bowl placed over a pan of simmering water, ensuring the bowl does not touch the water.
Once all the chocolate has melted, whisk the mixture vigorously until it is completely smooth, glossy, and uniform in colour with no streaks.
Allow to cool for 10-15 minutes until it reaches a thick, pourable consistency, like warm custard. It will thicken further as it cools.
Chef's Tip:
If the ganache splits or appearing greasy or grainy with the fat separatingx, add 1 tablespoon of warm milk and whisk vigorously. This almost always rescues a split ganache. Ganache splits when overheated, so if using a microwave, use 30-second bursts once the chocolate is mostly melted to prevent scorching.
Assemble, Ice and Decorate
Using a long serrated knife, cut the completely cooled cake horizontally into two equal layers.
Place the bottom layer on a serving plate or cake board cut-side up.
Pour a generous layer of ganache, approximately one third of the total and spread to the edges with a palette knife or the back of a spoon.
Place the top layer cut-side down on the ganache.
Pour the remaining ganache over the top and sides, using a spatula to spread it evenly and coat the sides completely.
Place cherries in a circle around the top edge of the cake for decoration.
Refrigerate the iced cake for 30-60 minutes to allow the ganache to set before slicing.
Chef's Tip:
For a cleaner finish, apply a thin 'crumb coat' first , a light layer of ganache over the entire cake that seals any loose crumbs. Refrigerate for 15 minutes until this thin coat sets, then apply the final, thicker ganache layer over it. The crumb coat traps all loose crumbs beneath it so they never appear in the final surface
Master Tip: Salt in the Cooker, Not in the Batter.
The 2 cups of table salt placed at the cooker base is the technique's invisible engine. Salt has a very high specific heat capacity, it absorbs and holds heat extremely well and distributes it evenly rather than creating hot spots. This is why salt is used and not sand or pebbles (though those also work). The salt prevents the cooker's metal base from directly scorching the cake tin, while simultaneously conducting steady, even heat upward around the tin on all sides. This is as close to a convection oven environment as a gas stovetop can produce.
Nutritions
Per Slice (~150g)
People Also Ask
Three most common causes. First, the vinegar was added too early or the batter sat too long after the vinegar was added before going into the cooker. The CO2 bubbles escaped before the heat could set them. Always add vinegar last and transfer immediately. Second, the cooker was not preheated for the full 10 minutes before the cake tin went in. The sudden cold environment when a cake hits an unheated cooker causes it to sit flat before the heat builds. Third, the lid was opened during the first 45-50 minutes, releasing trapped heat and causing the rising cake to collapse.
Yes, absolutely. Any large, heavy-bottomed pot with a tight-fitting lid works identically. Place salt at the base, set a rack or stand in the centre, and proceed exactly as for the pressure cooker. The bake time may vary slightly, check with a skewer at 55 minutes and continue as needed. The advantage of a regular pot over a pressure cooker is that there is no risk of accidentally leaving the gasket in the pot has no gasket to remove in the first place.
Yes. Preheat the oven to 180 degrees Celsius (350 Fahrenheit). Pour the batter into the prepared greased tin and bake on the middle rack for 40-45 minutes. Check with a skewer at 40 minutes. The oven bake time is significantly shorter than the cooker method because the oven heats from all sides simultaneously. All other steps, batter preparation, icing, assembly remain identical.
A slightly dark base is normal for cooker-baked cakes, especially if the flame was on medium rather than medium-low for the full bake time. As long as it does not smell burnt and the skewer comes out clean, the cake is fine. The ganache icing covers the base when the cake is plated. If the very bottom layer tastes bitter, shave it off with a serrated knife before icing. This removes a millimetre of crust without affecting the rest of the cake.
Yes. For a lighter ganache, use 300g chocolate to 200g cream, this produces a pourable, thinner coating that sets to a soft finish. For a thicker, firmer ganache closer to a fudge icing, increase chocolate to 600g with the same 200g cream. Using unsweetened dark chocolate instead of sweetened cooking chocolate will also reduce the sugar content of the icing significantly while keeping the deep chocolate flavour. Adjust cream quantity upward by 1-2 tablespoons when using unsweetened chocolate as it tends to produce a slightly stiffer ganache.