
Black Forest Cake

Faiza Zarif
Chef
“Faiza Zarif, known globally as Cook with Faiza, is a prominent Pakistani culinary instructor and YouTube personality based in the UK. Since 2012, she has earned millions of followers by sharing authentic, step-by-step traditional recipes. Her clear teaching style makes complex South Asian dishes accessible to home cooks worldwide.”

Aarif
Food Journalist
Aarif is a devoted content writer at Regional Heritage Food (RHF), passionate about cooking and travel. He shares his culinary experiences and discoveries, inspiring others to explore new recipes and flavors.
Chocolate Sponge Layers, Chilled Cream, Cherry Filling and Chocolate Curls
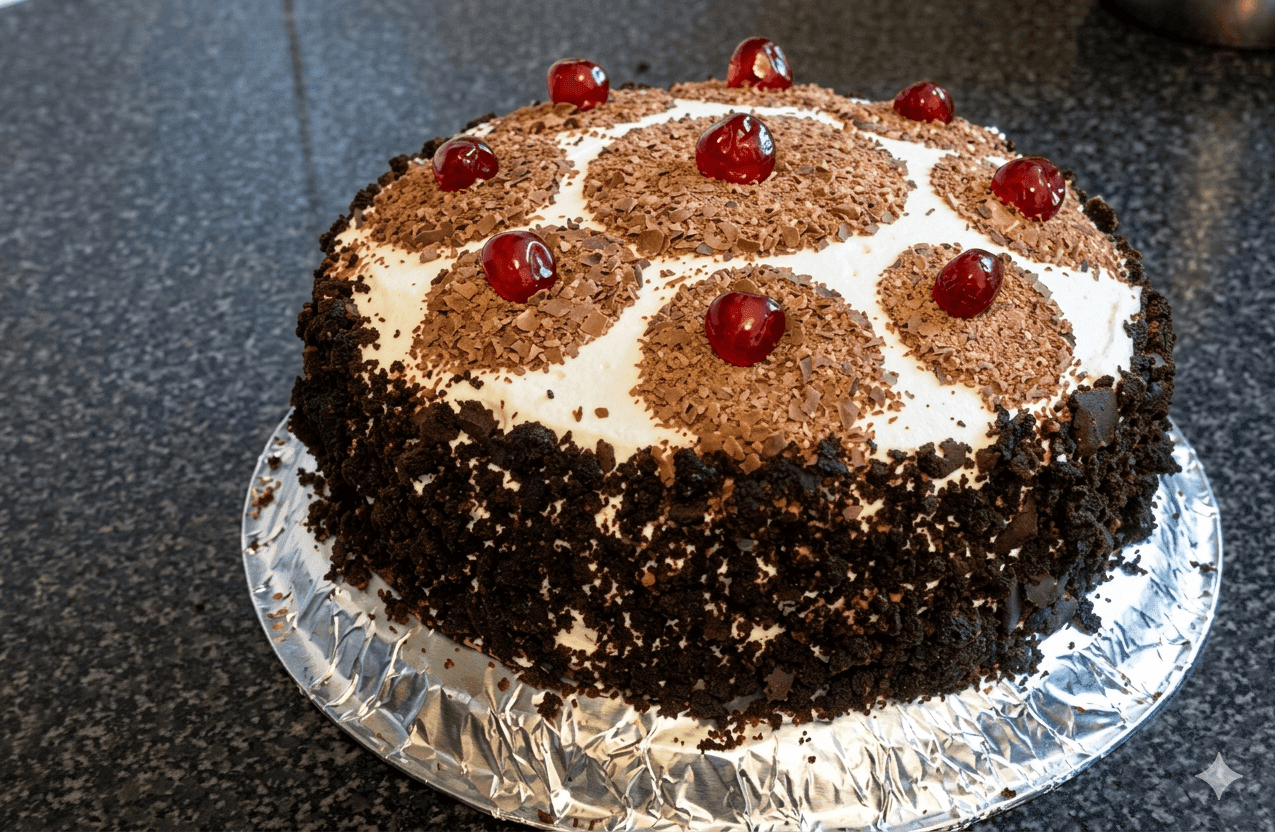
Walk into any bakery and honestly the Black Forest Cake is just showing off. Dark chocolate sponge, clouds of whipped cream, cherries that catch the light, and enough chocolate shavings piled on top that you know exactly what it is before you even reach the door. It is called Pakistan's national birthday cake for good reason: no other cake commands the same loyalty across generations, cities, and income levels. Whether it is homemade or bakery-bought, the Black Forest Cake is what is carried through the door when something worth celebrating happens.
Faiza's black forest cake is the Pakistani home baker's approach: a light chocolate sponge beaten to triple volume using whipped eggs alone, soaked with a plain vanilla sugar syrup that replaces the traditional German Kirschwasser making it halal and family friendly, then layered with cold whipped fresh cream and canned cherries.
The finishing touch is pure visual drama: hand curled dark chocolate shavings and piped cream rosettes that give it that unmistakeable bakery counter look, all without a drop of alcohol in sight. It is the recipe that made Black Forest Cake accessible in Pakistani kitchens everywhere, no special ingredients, nor a special equipment, all flavour.
Why This Recipe Works Better Than Others
Eggs Beaten to Triple Volume Create the Lightest Possible Sponge
The sponge uses no oil and no butter as a primary fat instead, eggs beaten with caster sugar for 8-10 minutes until they triple in volume provide all the structure and lift. The air beaten into this egg foam is what makes the sponge rise and stay tender. This genoise method, used consistently across Cook With Faiza's cake recipes, produces a sponge that is genuinely light and airy, one that absorbs the soaking syrup without becoming soggy and holds its layers cleanly when sliced.
Vanilla Sugar Syrup Replaces Kirsch
Traditional German Black Forest Cake uses Kirschwasser (cherry brandy) to soak the sponge layers. Cook With Faiza's recipe replaces this entirely with a plain vanilla sugar syrup, sugar dissolved in hot water with vanilla essence. This makes the recipe halal and suitable for all ages without any compromise on the function of the soaking step, which is to add moisture and prevent the sponge from drying during assembly and refrigeration.
Cold Whipped Cream Applied in Generous Layers, Not Thinly Spread
The cream is whipped to stiff peaks with icing sugar and vanilla and applied generously between the layers, not thinly spread as a glaze. This thick cream layer is what gives each slice the visual cross-section — dark sponge, white cream, red cherries that makes Black Forest Cake instantly recognisable. Cream must be ice-cold before whipping; even slightly warm cream will not achieve stiff peaks and will collapse during assembly.
Chocolate Shavings Made Fresh Give the Signature Finish
Chocolate shavings are not optional garnish in this recipe, they are the defining visual element of the Black Forest Cake's exterior. Running a vegetable peeler along the edge of a room-temperature dark chocolate bar produces delicate curls that stick to the cream sides and top. Using good-quality dark chocolate (at least 50% cocoa solids) ensures the shavings have colour contrast against the white cream and a slightly bitter counterpoint to the sweetened filling.
prep time
30 min
chill time
3h
bake time
30 min
servings
12
Ingredients
 Eggs4 pieces
 Caster sugar200 g
2 cup
 Plain flour (maida)90 g
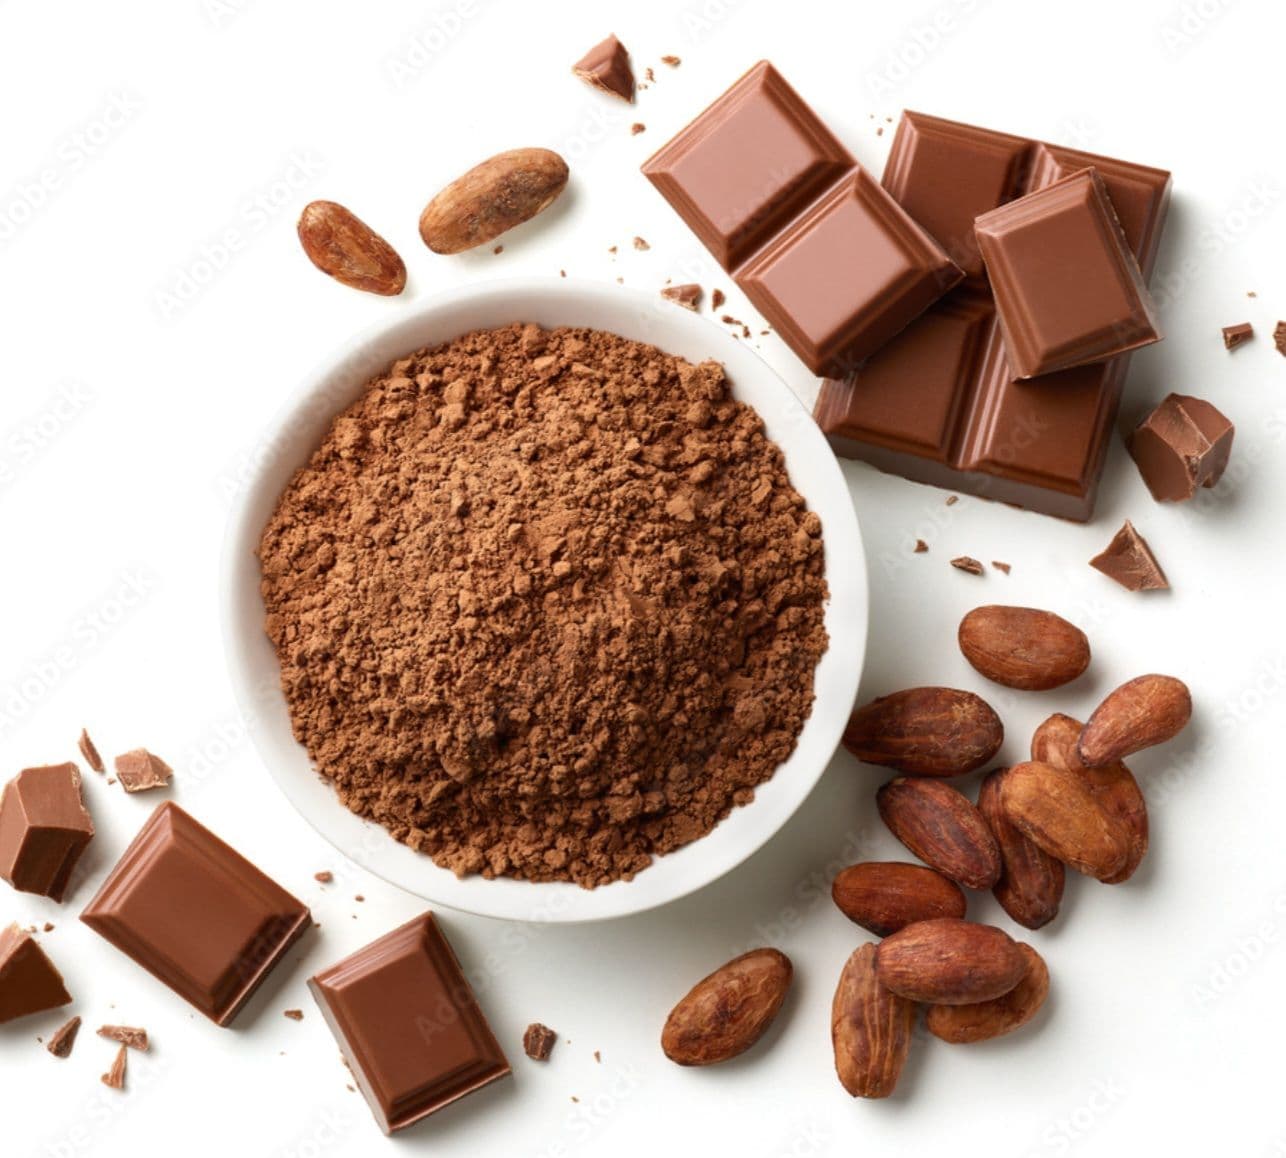 Cocoa powder25 g
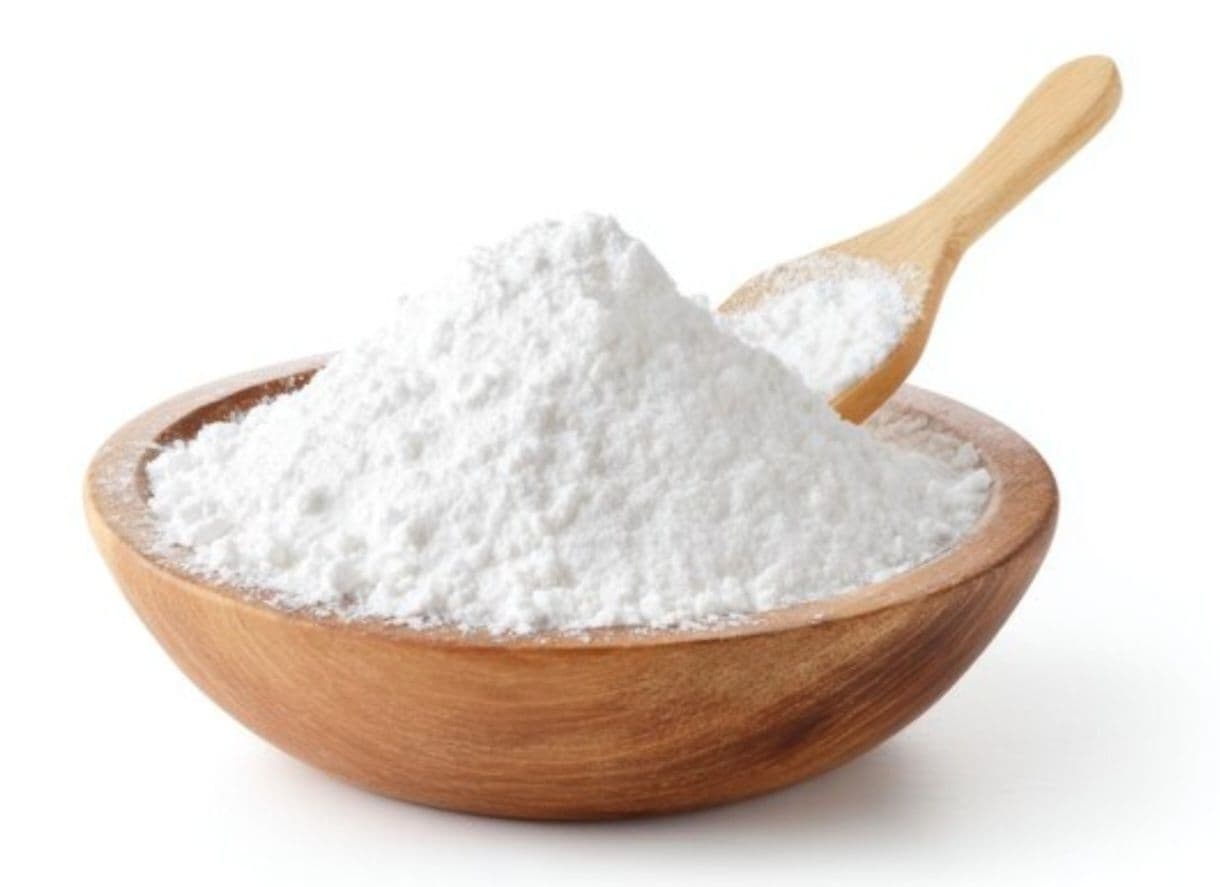 Baking powder1 tsp
Method
Prepare the Tins and Preheat the Oven
Preheat the oven to 170°C (340°F / Gas Mark 3).
Grease two 8-inch round cake tins with butter. Line the base of each tin with a circle of baking parchment, then grease the parchment.
Dust the inside of each greased tin lightly with flour, tap out any excess.
This double-preparation greased tin, greased parchment, flour dusted ensures the sponge releases cleanly without tearing.
Chef's Tip:
Do not grease the sides of the tin above the parchment. An ungreased side allows the sponge batter to grip the pan wall as it rises, producing a level, even sponge with a flat top rather than a domed one that needs trimming. The sponge will release cleanly when inverted even without greased sides
Make the Soaking Syrup
Dissolve 3 tablespoons of sugar completely in 1/2 cup hot water. Stir until no grains remain, then add 1/2 tsp vanilla essence.
Set aside to cool to room temperature. This syrup will be spooned over the sponge layers during assembly to add moisture and flavour.
It must be completely cool before it touches the cake, warm syrup applied to a fresh sponge makes it collapse and become dense rather than moist.
Chef's Tip:
Make the syrup before the sponge so it has maximum time to cool. If in a hurry, place the syrup bowl over a larger bowl of cold water and stir for 2-3 minutes to speed up cooling. A warm syrup soaks the sponge too fast and makes the layers structurally weak at assembly
Beat the Eggs and Sugar to Triple Volume
In a large, completely clean and dry bowl (any trace of grease or water will prevent the eggs from aerating), add 4 large room-temperature eggs and 1 cup caster sugar.
Using an electric hand mixer or stand mixer with the whisk attachment, beat on high speed for 8-10 minutes.
The mixture should triple in volume, turn very pale, almost white in colour, and become thick enough that when you lift the whisk and drop a trail back into the bowl, the ribbon sits on the surface for 3-4 seconds before disappearing.
This stage is the entire rising structure of the cake; do not reduce the beating time.
Chef's Tip:
Room temperature eggs not cold from the refrigerator beat to a significantly greater volume than cold eggs. If eggs are straight from the fridge, place them in a bowl of warm (not hot) water for 10 minutes before beating. Cold eggs produce a dense sponge with poor rise regardless of how long they are beaten.
Fold in the Dry Ingredients
Sift together 3/4 cup plain flour, 1/4 cup cocoa powder, and 1 tsp baking powder into a separate bowl.
Sift this dry mixture a second time for maximum fineness. Add one third of the sifted dry ingredients to the whipped egg mixture.
Using a large metal spoon or rubber spatula, fold gently with a figure-eight motion, cutting down through the centre, sweeping along the bottom, folding up over the top.
Fold until just combined and no streaks of flour should remain but stop the moment they disappear.
Repeat with the second and third thirds.
Chef's Tip:
Fold, never stir or beat once the flour is in. Stirring or beating at this stage develops gluten and, more critically, collapses the air beaten into the eggs in the previous step. The air in the egg foam is the cake's only rising agent; losing it now produces a flat, dense sponge that no amount of baking time can rescue.
Add the Melted Butter and Bake
Drizzle 2 tablespoons of cooled melted butter around the edge of the batter (not into the centre, which risks sinking to the bottom).
Fold in gently with three or four strokes only until just combined.
Divide the batter equally between the two prepared tins.
Tap each tin gently on the work surface once to settle the batter and eliminate any large air bubbles.
Place both tins on the middle rack of the preheated oven and bake for 30-35 minutes.
The cakes are done when the surface springs back when lightly pressed and a skewer inserted in the centre comes out clean.
Chef's Tip:
Add butter last and fold minimally. Butter added too early or folded in too vigorously sinks to the base of the batter and creates a dense, greasy layer at the bottom of the finished sponge. Cool the melted butter to room temperature first, hot butter starts to cook the eggs on contact and creates a streaky batter that bakes unevenly.
Cool the Sponge Layers
Remove the tins from the oven. Leave the sponge layers to cool in their tins for 10 minutes.
This rest period allows the structure to firm up so the layers do not crack when turned out.
After 10 minutes, run a thin knife around the edge of each tin and invert onto a wire cooling rack.
Peel off the parchment paper immediately while it is still warm.
Leave the sponge layers to cool completely at least 1 hour before attempting to assemble.
Assembling a warm sponge causes the cream to melt and the layers to slide.
Chef's Tip:
Once completely cool, the sponge layers can be wrapped tightly in cling film and refrigerated overnight before assembly. Cold sponge is firmer, easier to handle, absorbs the soaking syrup more slowly and evenly, and produces cleaner slices when the finished cake is cut. Making the sponge a day ahead is not just permitted — it is recommended
Whip the Cream Filling
Pour 2 cups of chilled whipping cream into a cold bowl (chill the bowl and whisk in the freezer for 15 minutes beforehand).
Add 3-4 tablespoons of sifted icing sugar and 1 tsp vanilla essence.
Beat with an electric mixer on high speed until the cream forms stiff peaks
It should hold its shape firmly when the beater is lifted and not slide when the bowl is tilted. Do not over-beat.
Drain the canned cherries and pat them dry with kitchen paper. Keep the cream refrigerated until you are ready to assemble.
Chef's Tip:
Stop beating the moment the cream reaches stiff peaks. Over-beaten cream turns grainy and then separates into butter and liquid within seconds. If this begins to happen, fold in 1-2 tablespoons of fresh un-whipped cream with a spatula, this can sometimes bring it back. Chilling the bowl and whisk reduces the time needed to reach stiff peaks and significantly reduces the risk of over-beating.
Assemble the Cake
Place one sponge layer on a cake board or plate, flat side up. Using a spoon, soak the top surface evenly with half the cooled vanilla syrup.
Spread a generous layer of the whipped cream over the soaked surface, approximately one third of the total cream.
Arrange the drained canned cherries over the cream in an even layer, pressing them in lightly.
Place the second sponge layer on top, flat side down. Soak the top of this layer with the remaining syrup.
Spread cream over the top and then around the sides, using a palette knife or scraper to smooth the exterior as evenly as possible.
Refrigerate the assembled cake for at minimum 2 hours, ideally 3-4 hours or overnight before decorating.
Chef's Tip:
Place the top sponge layer flat-side down, the flat baked bottom of the cake is smoother and more even than the rounded top surface, and it gives the finished cake a perfectly flat top for decoration. The rounded side should always be at the base or hidden inside the filling, never on the top of the assembled cake.
Decorate with Chocolate Shavings and Piped Cream
Hold a 100g dark chocolate bar at room temperature for 10-15 minutes until slightly softened.
Run a vegetable peeler firmly along the flat edge to produce curls and shavings.
Press the chocolate shavings gently onto the sides of the cream-coated cake with your palm. Scatter a generous layer across the top surface.
Whip the extra 1 cup of cream with 2 tablespoons icing sugar to stiff peaks.
Transfer to a piping bag fitted with a large star nozzle. Pipe 12-14 cream rosettes around the top edge of the cake, spacing evenly.
Place one whole cherry on top of each rosette. Refrigerate until ready to serve.
Chef's Tip:
Make chocolate shavings by working quickly, chocolate warms rapidly from your hands and will smear rather than curl if it gets too warm. If the chocolate starts smearing, place the bar in the refrigerator for 2 minutes and try again. Alternatively, freeze the bar for 10 minutes before shaving for extra-fine, fragile curls that look professional.
Master Tip: The Vanilla Syrup Soak Is Not Optional.
Many home bakers skip the soaking syrup, believing the cream provides enough moisture. It does not. The chocolate genoise sponge bakes relatively dry by design. It is the syrup soak that transforms it into the moist, tender layer that melts in the mouth. Spoon the syrup slowly and evenly over every centimetre of the sponge surface, allowing it to absorb before adding cream. A well-soaked sponge will still feel firm and hold its shape; a poorly soaked one will be dry and crumbly at the centre of each slice.
Nutritions
Per Slice (~160g)
People Also Ask
The most common cause is insufficient beating of the eggs and sugar. The mixture must beat for a full 8-10 minutes and reach triple its original volume before any flour is added. Stopping at 4-5 minutes (when the mixture looks pale but has not yet tripled) produces a flat, dense sponge. A second common cause is folding too aggressively after adding the flour, which collapses the beaten-in air. Use a large metal spoon and fold as few times as possible — stop the moment no flour streaks remain.
Yes. Pit approximately 300g of fresh dark sweet cherries and use directly. Fresh cherries are less sweet than canned ones so add 2 tablespoons of icing sugar to the cream filling to compensate. The texture will be firmer and less juicy than canned. If using fresh cherries, the cake should be assembled and consumed within 24 hours as fresh cherries release more juice than canned over time, which can make the cream layer weep.
Cream that will not whip to stiff peaks is almost always a temperature problem. The cream must be very cold, straight from the refrigerator, not just cool. The bowl and whisk should also be chilled for 15 minutes in the freezer before use. If the kitchen is warm, place the bowl over a second bowl filled with ice water while you beat. Cream with a fat content below 30% (single cream, half and half) will not whip at all regardless of temperature. Use only whipping cream or heavy cream with at least 35% fat.
Store the cake covered in the refrigerator at all times. The cream filling is perishable. A well-covered Black Forest Cake keeps for up to 3 days in the refrigerator without significant quality loss; the sponge continues to absorb moisture from the cream and actually improves in texture on day 2. Do not freeze the assembled cake as whipped cream does not survive freezing and thawing. The unassembled sponge layers can be frozen individually, wrapped tightly, for up to 1 month.